Store Settings
The store settings allow you to adjust the overall theme of the store, button color, banner graphics, store logo, and store currency.
These settings are applied to all vendors by default.
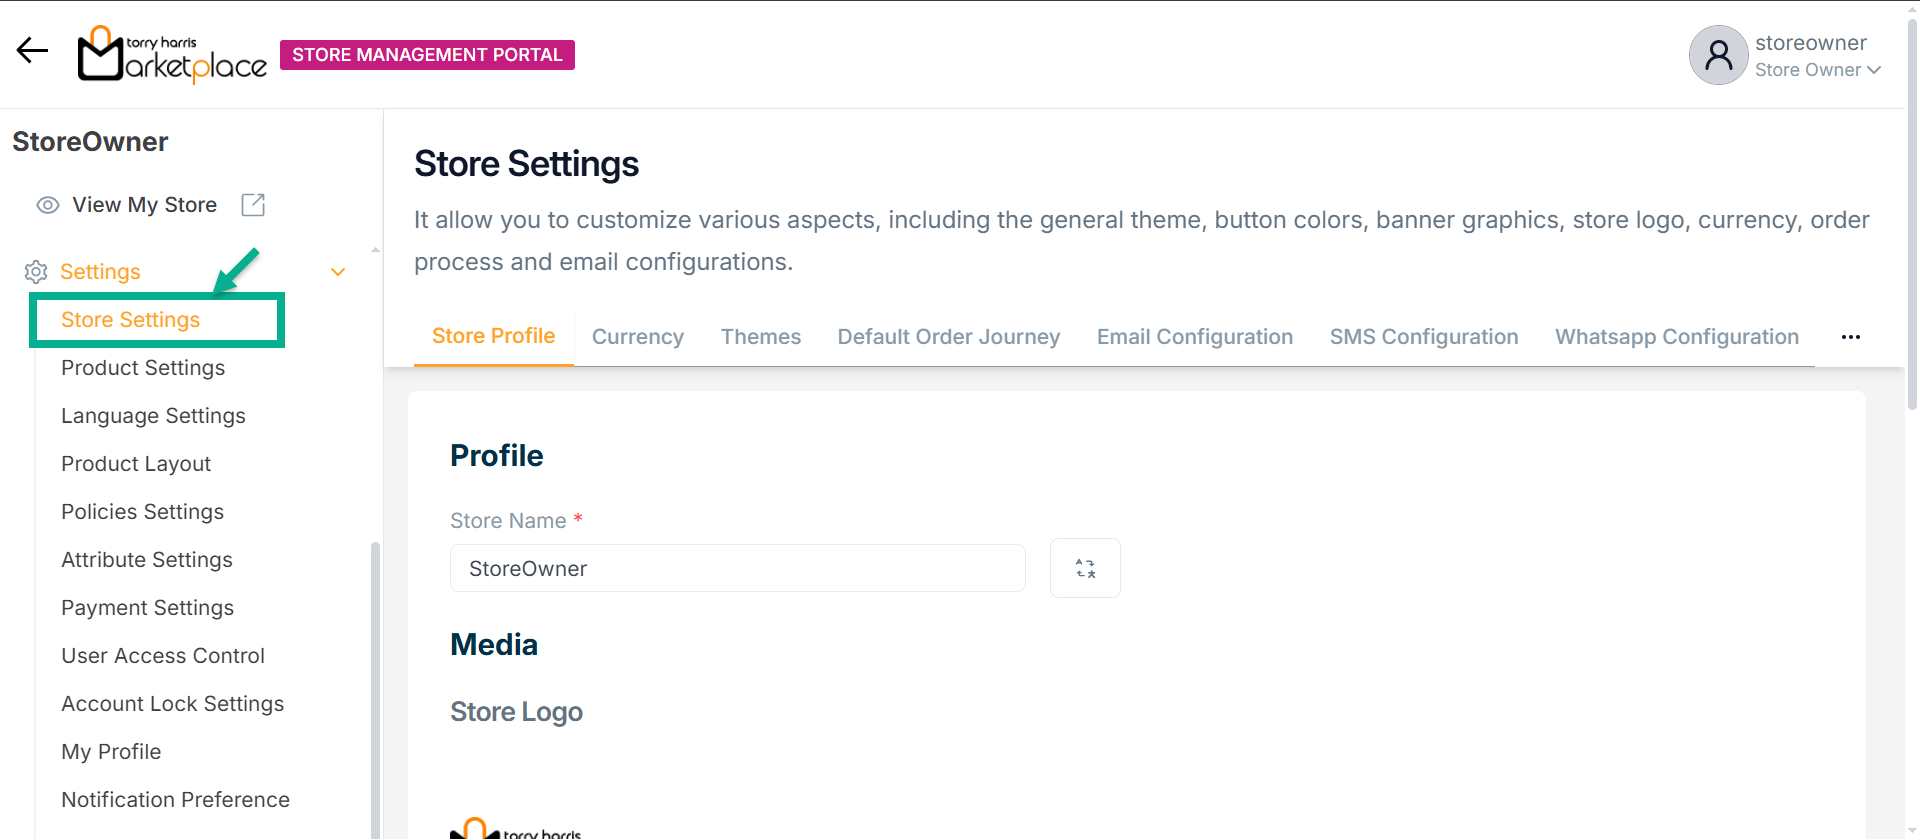
Store Profile
The Store Name, Store Logo and Banner Images set up in the admin portal when updating store data are displayed in store settings; the user may edit the Store Name, Store Logo and Banner Images if required.
- Click the Translate icon to update the Store Name in the respective language.
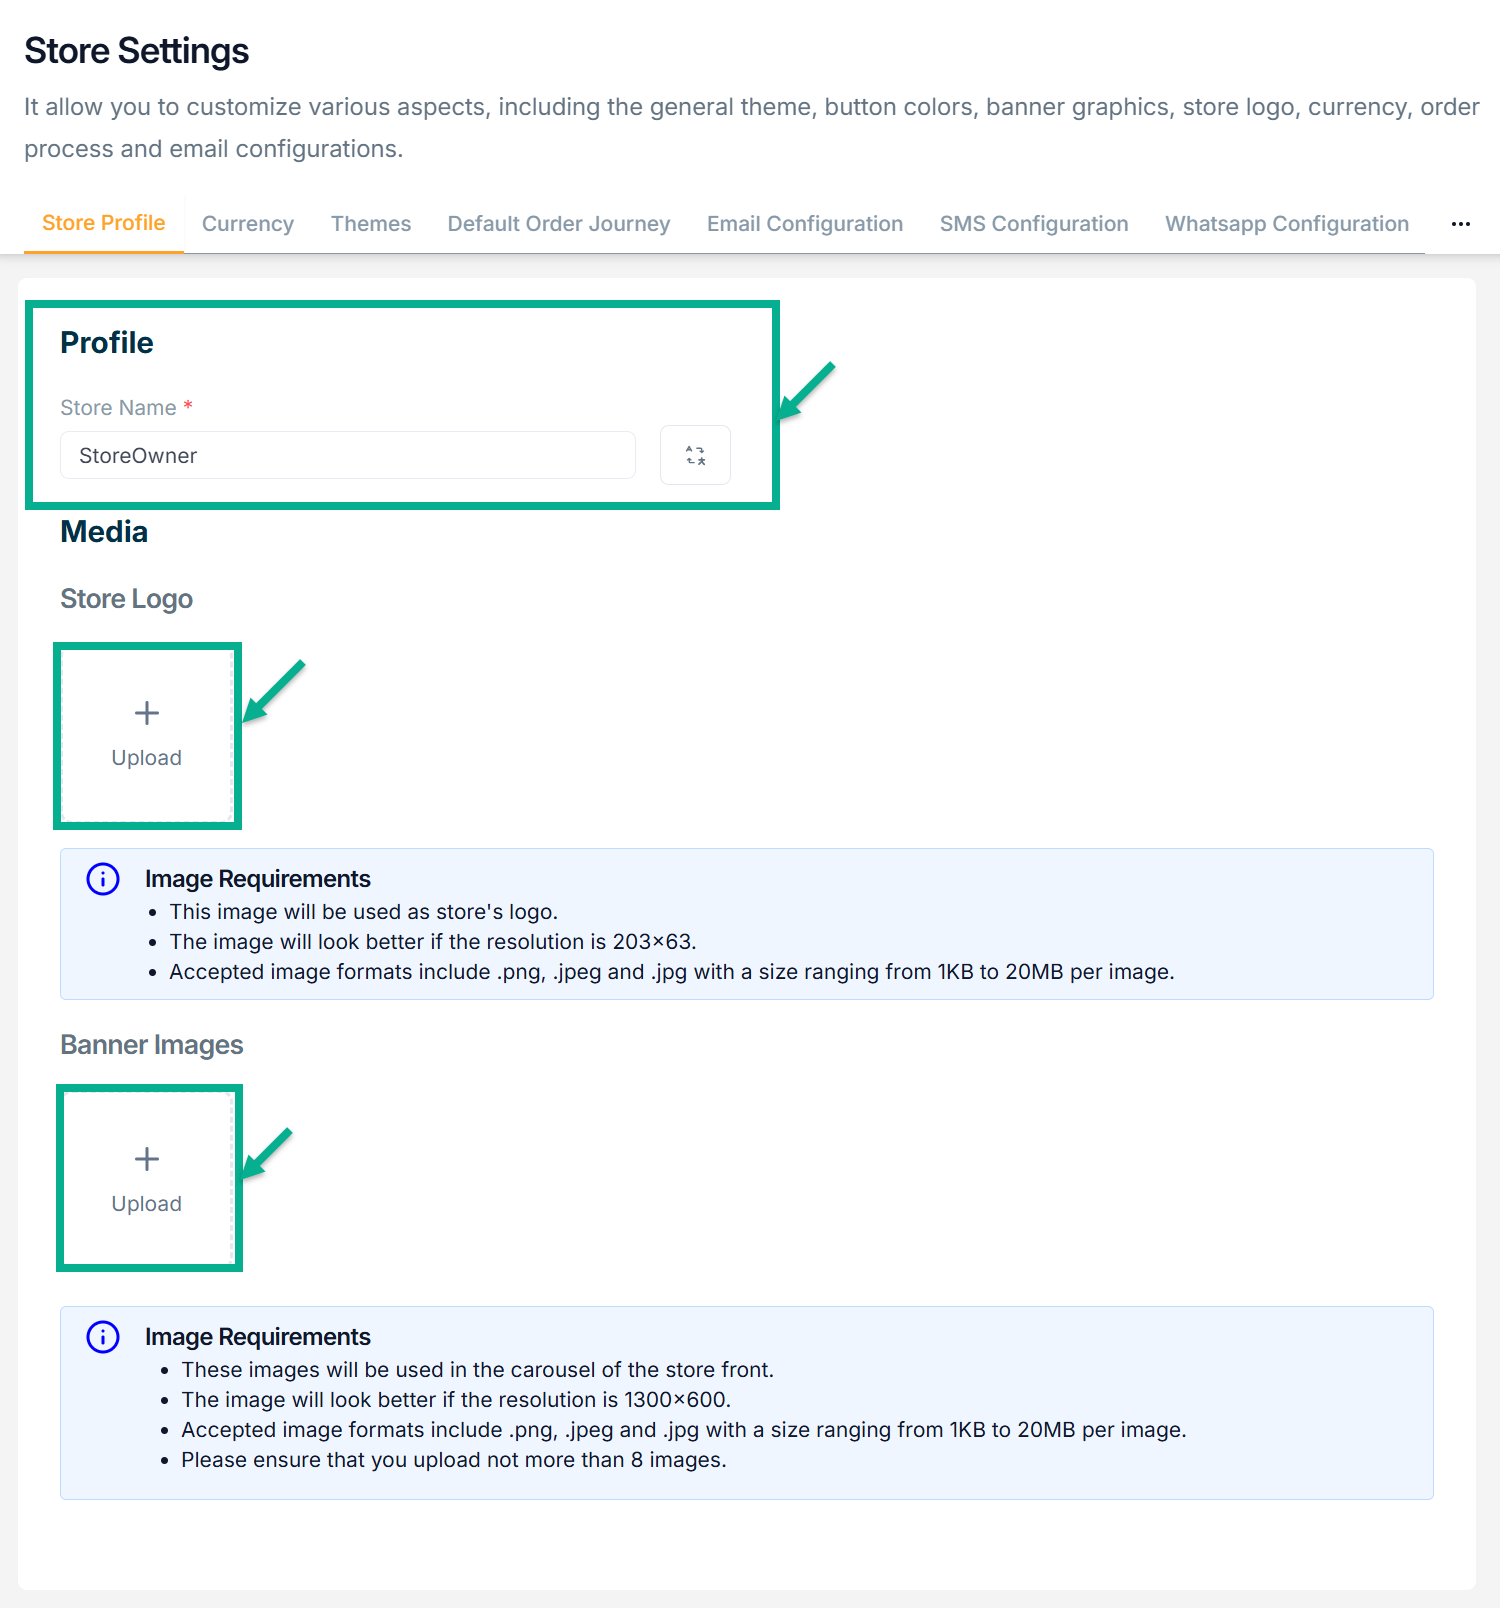
- Click Upload to upload the Store Logo, and Banner Images from your local drive.
Store Logo: Upload a .png, .jpeg, or .jpg image (1KB–20MB) with a recommended resolution of 203x63 to be used as the store's logo.
Banner Image: Upload up to 8 .png, .jpeg, or .jpg images (1KB–20MB each) with a recommended resolution of 1300x600 for the store front carousel.
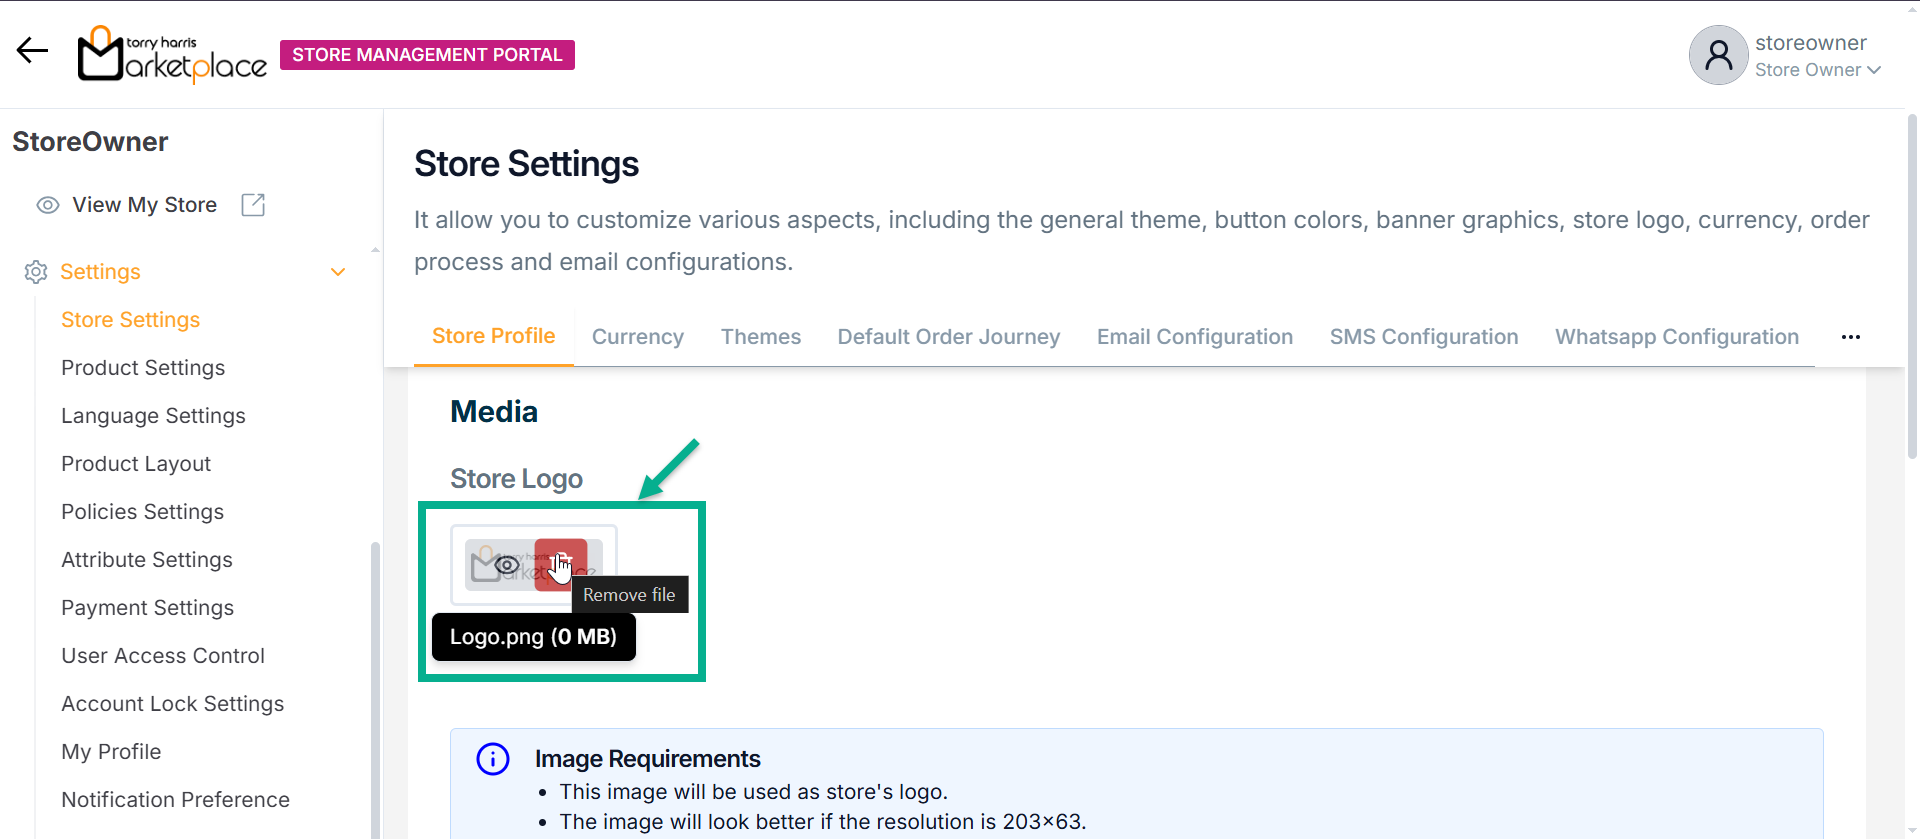
Click Preview icon to preview the images respectively.
Click Delete icon to delete the Store Logo and Banner Images respectively.
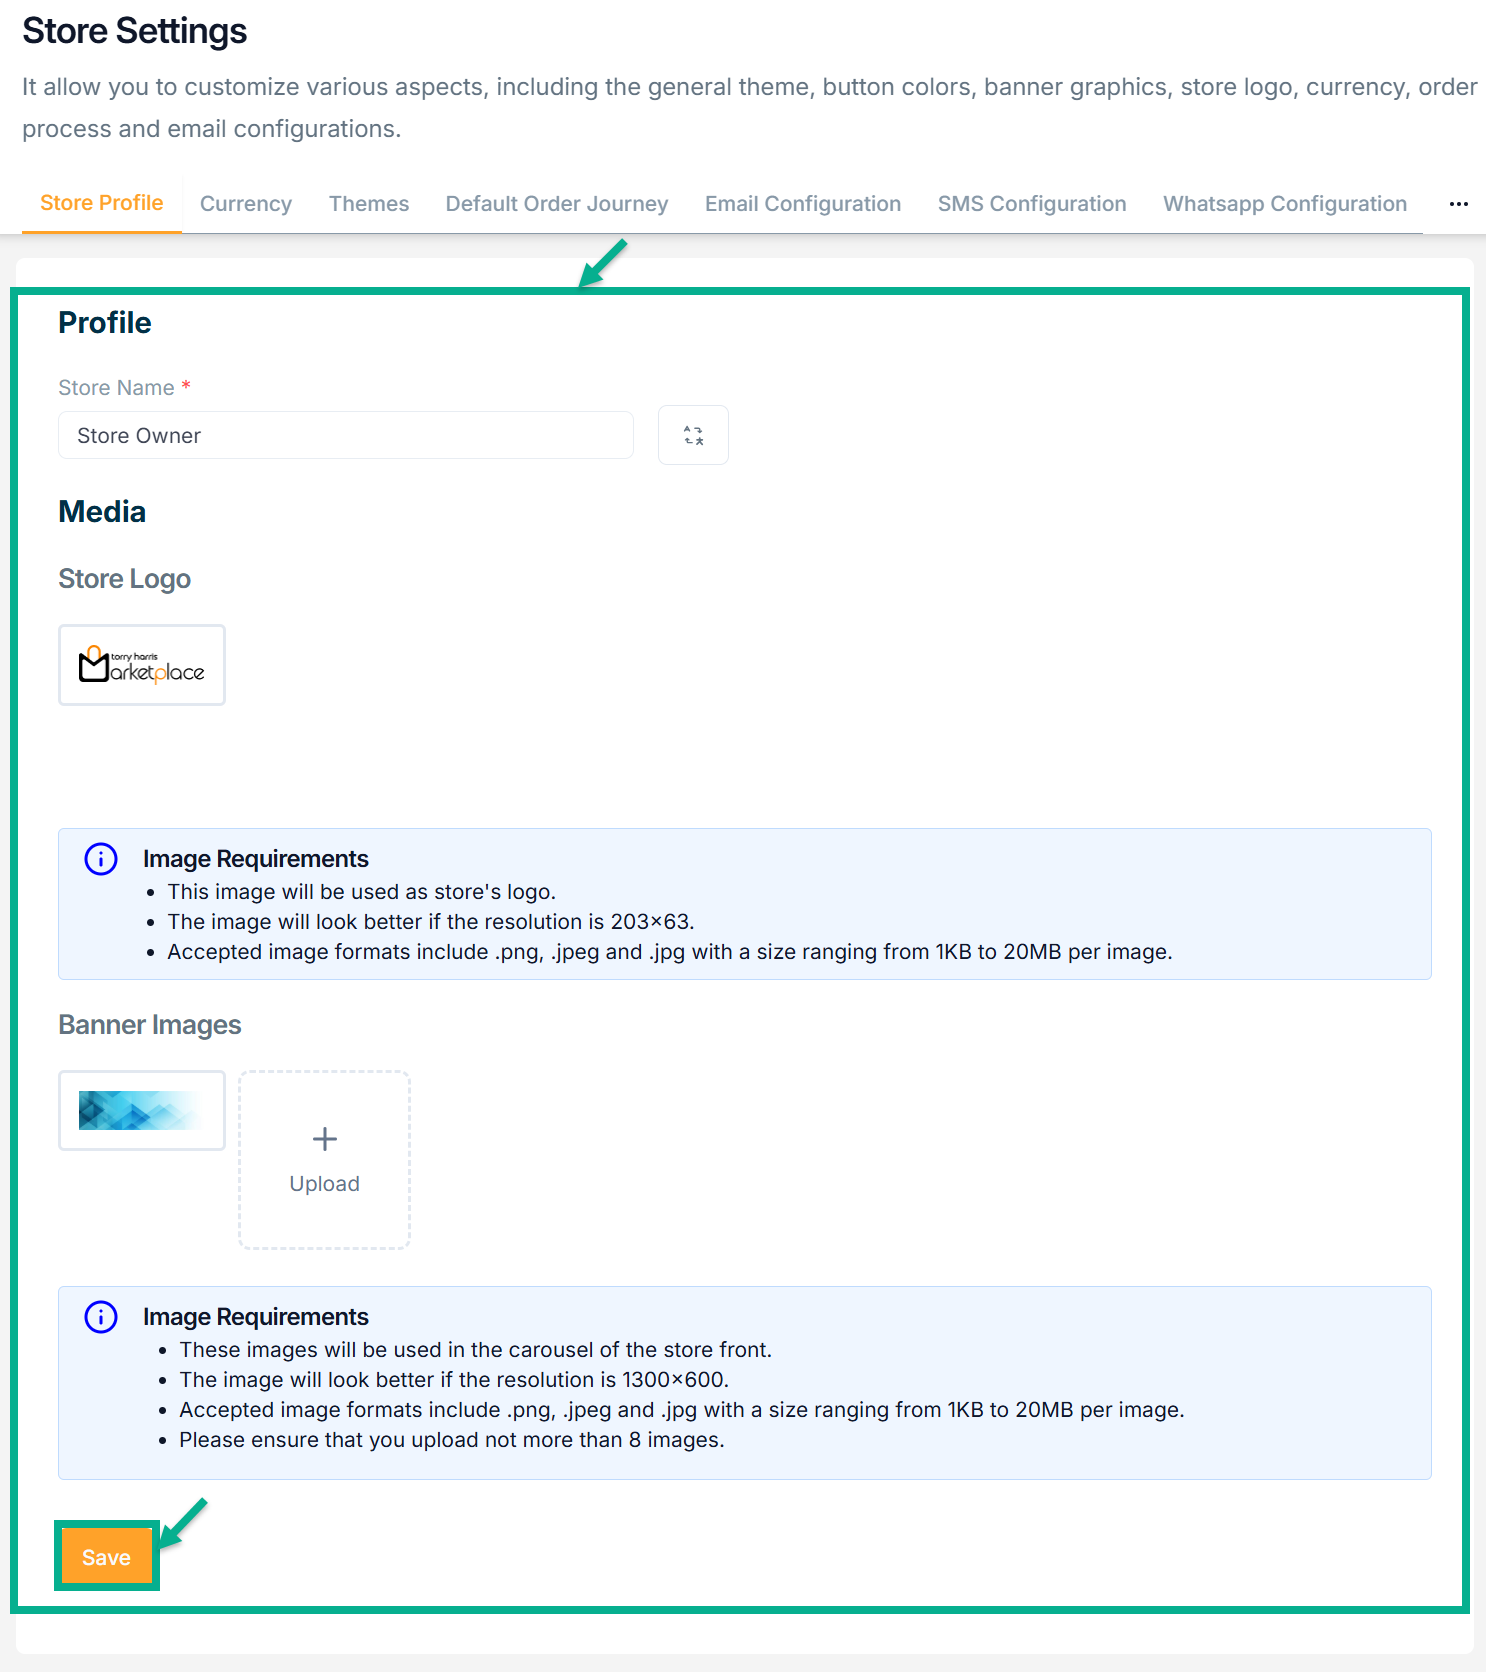
- Click Save.
On saving, the confirmation message appears as shown below.

Currency
Once the store is activated, the currency can be changed only before the vendor is onboarded and before any products are created in the storefront; after a product is created, the store currency cannot be changed.
- Click on Currency tab.
The Currency screen appears as shown below.
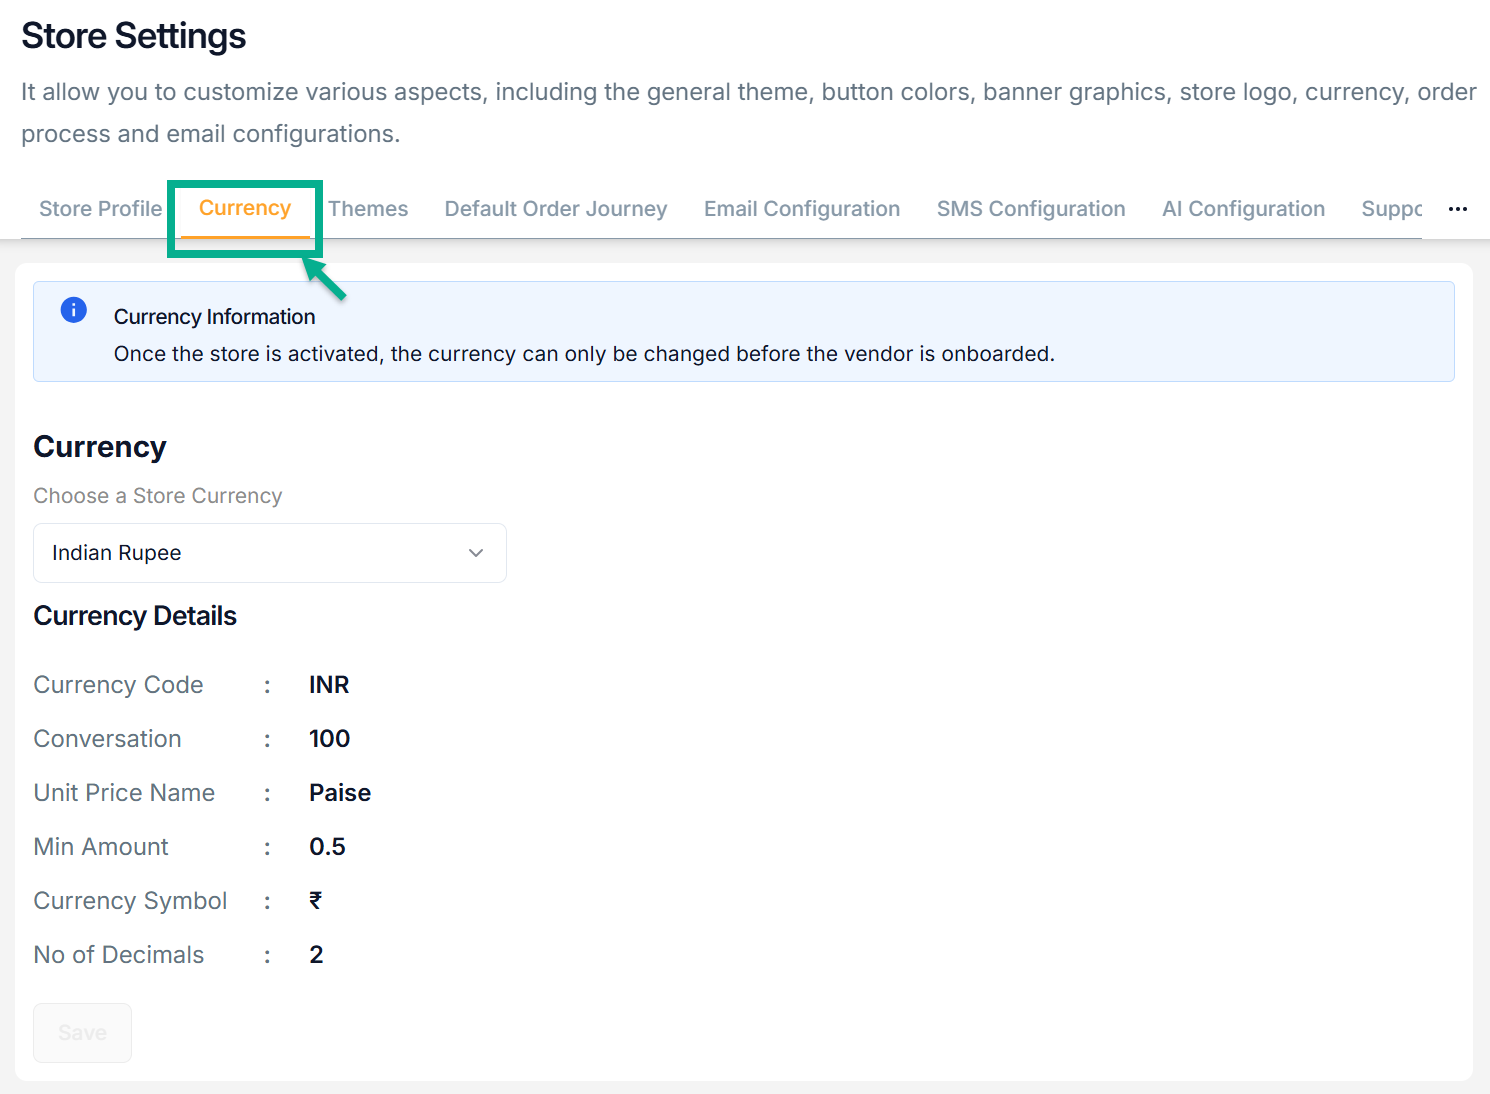
- Choose a Store Currency form the dropdown
The Change Currency Details popup appears as shown below.
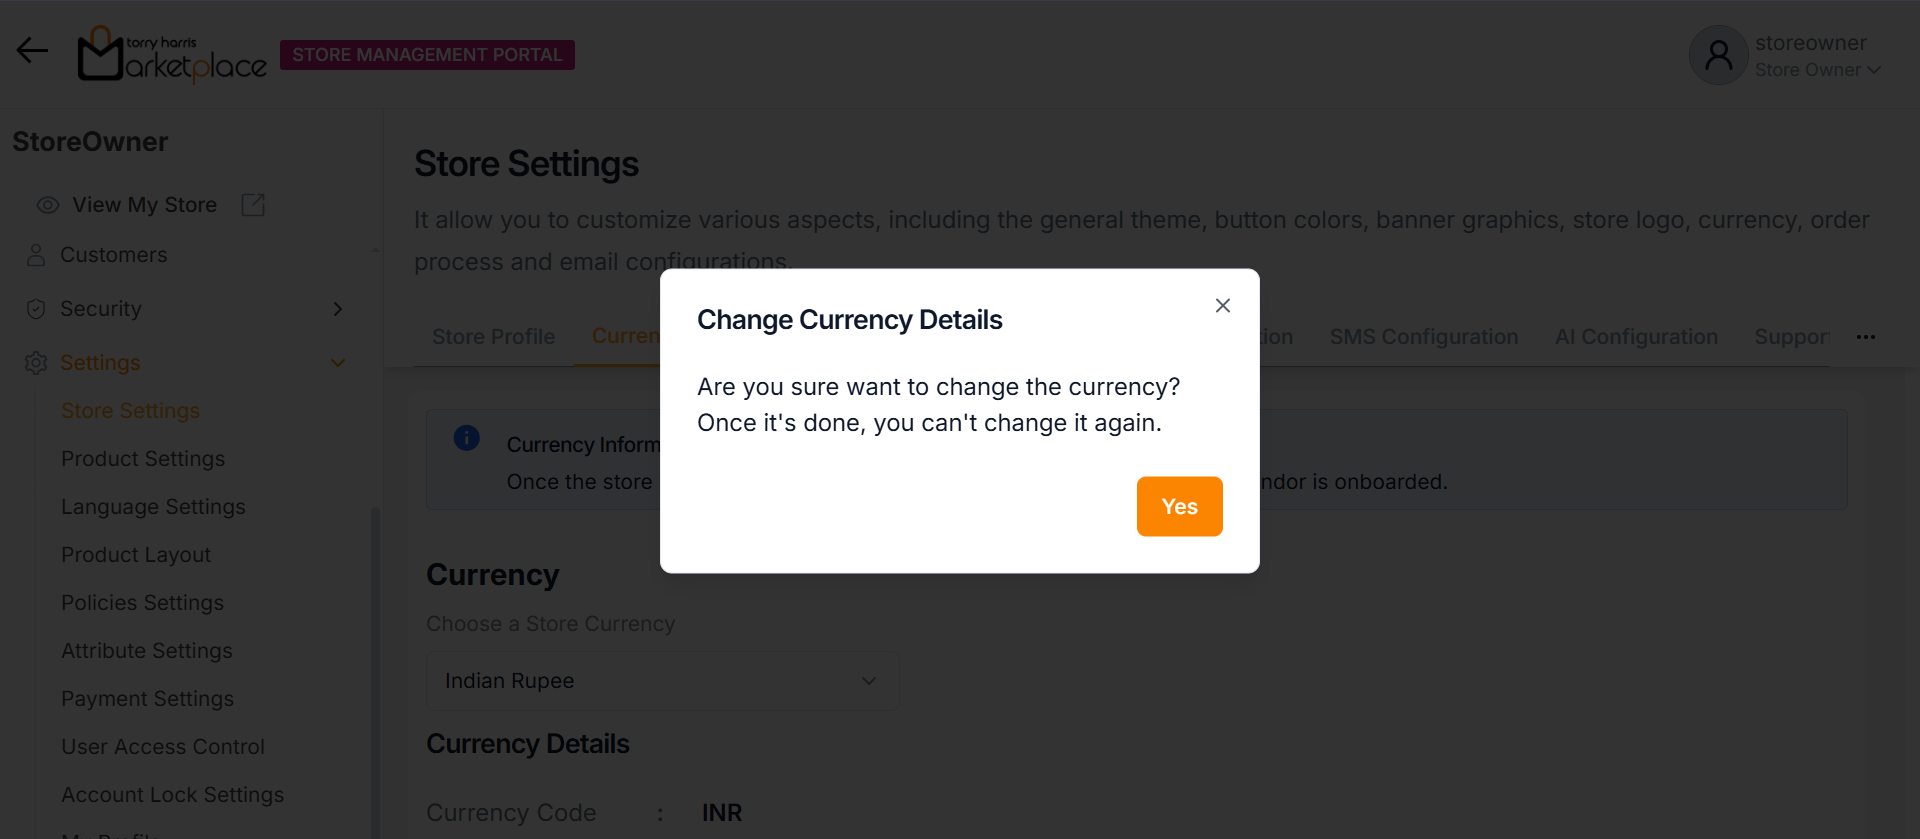
- Click Yes.
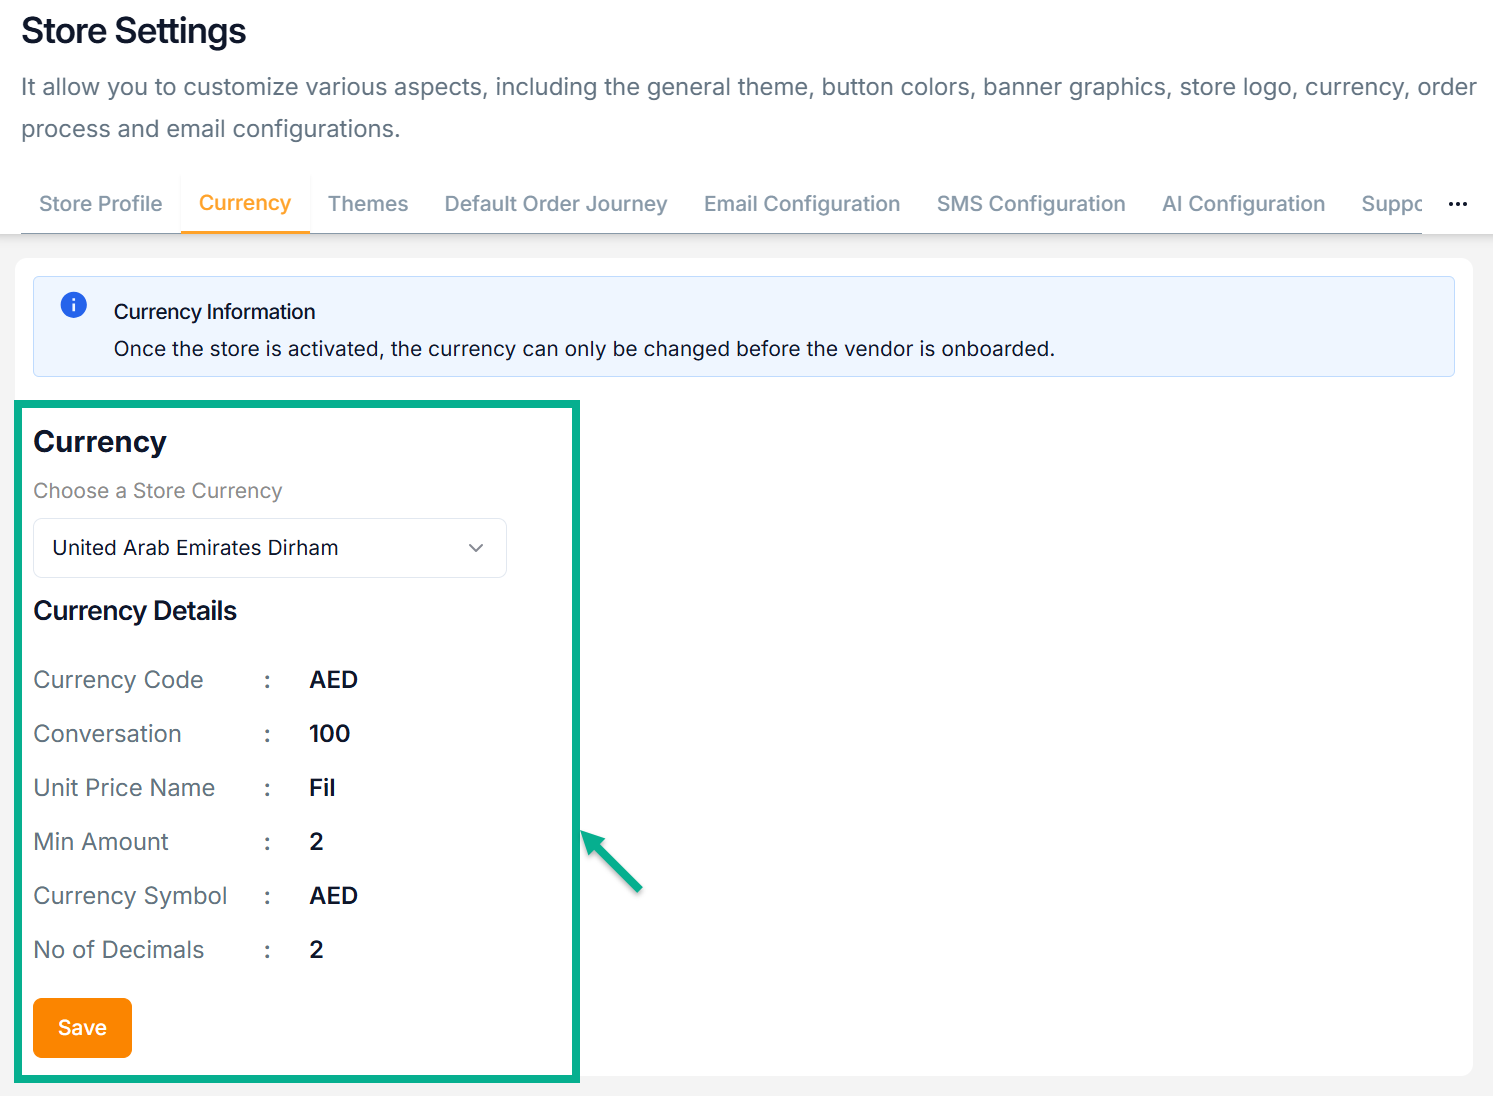
- Click Save.
On saving, the confirmation message appears as shown below.
Themes
- Click the Themes tab and select the Page Theme using the corresponding color picker as needed.
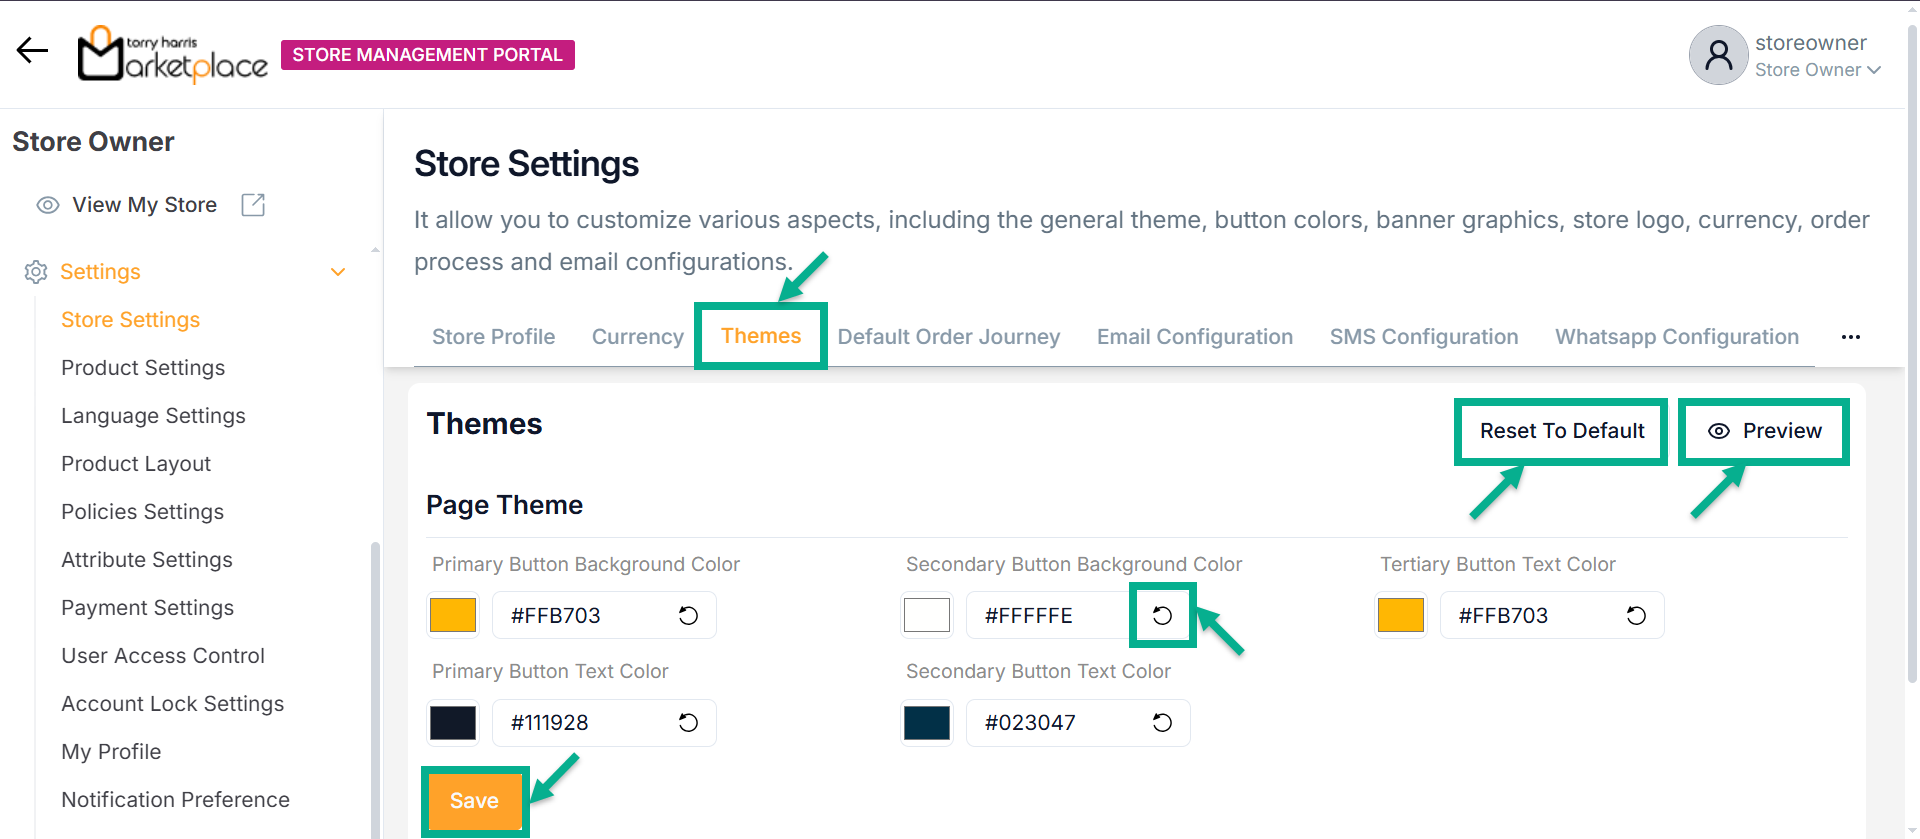
Click the Preview button to preview the Page Theme color codes.
Click the Reset To Default button to reset the updated Page Theme values to the default value.
Click the Undo Changes icon to undo the selected color.
- Click Save.
On saving, the confirmation message appears as shown below.

Default Order Journey
The Default Order Journey allows you to configure an automated workflow (e.g., email notifications) triggered by specific order events like New Order.
- Click the Default Order Journey tab and select Associated Journey from the dropdown for New Order as Customer Email Journey.

Email Configuration
- Click the Email Configuration tab.
Email configuration allows the store to send emails by integrating with an external services
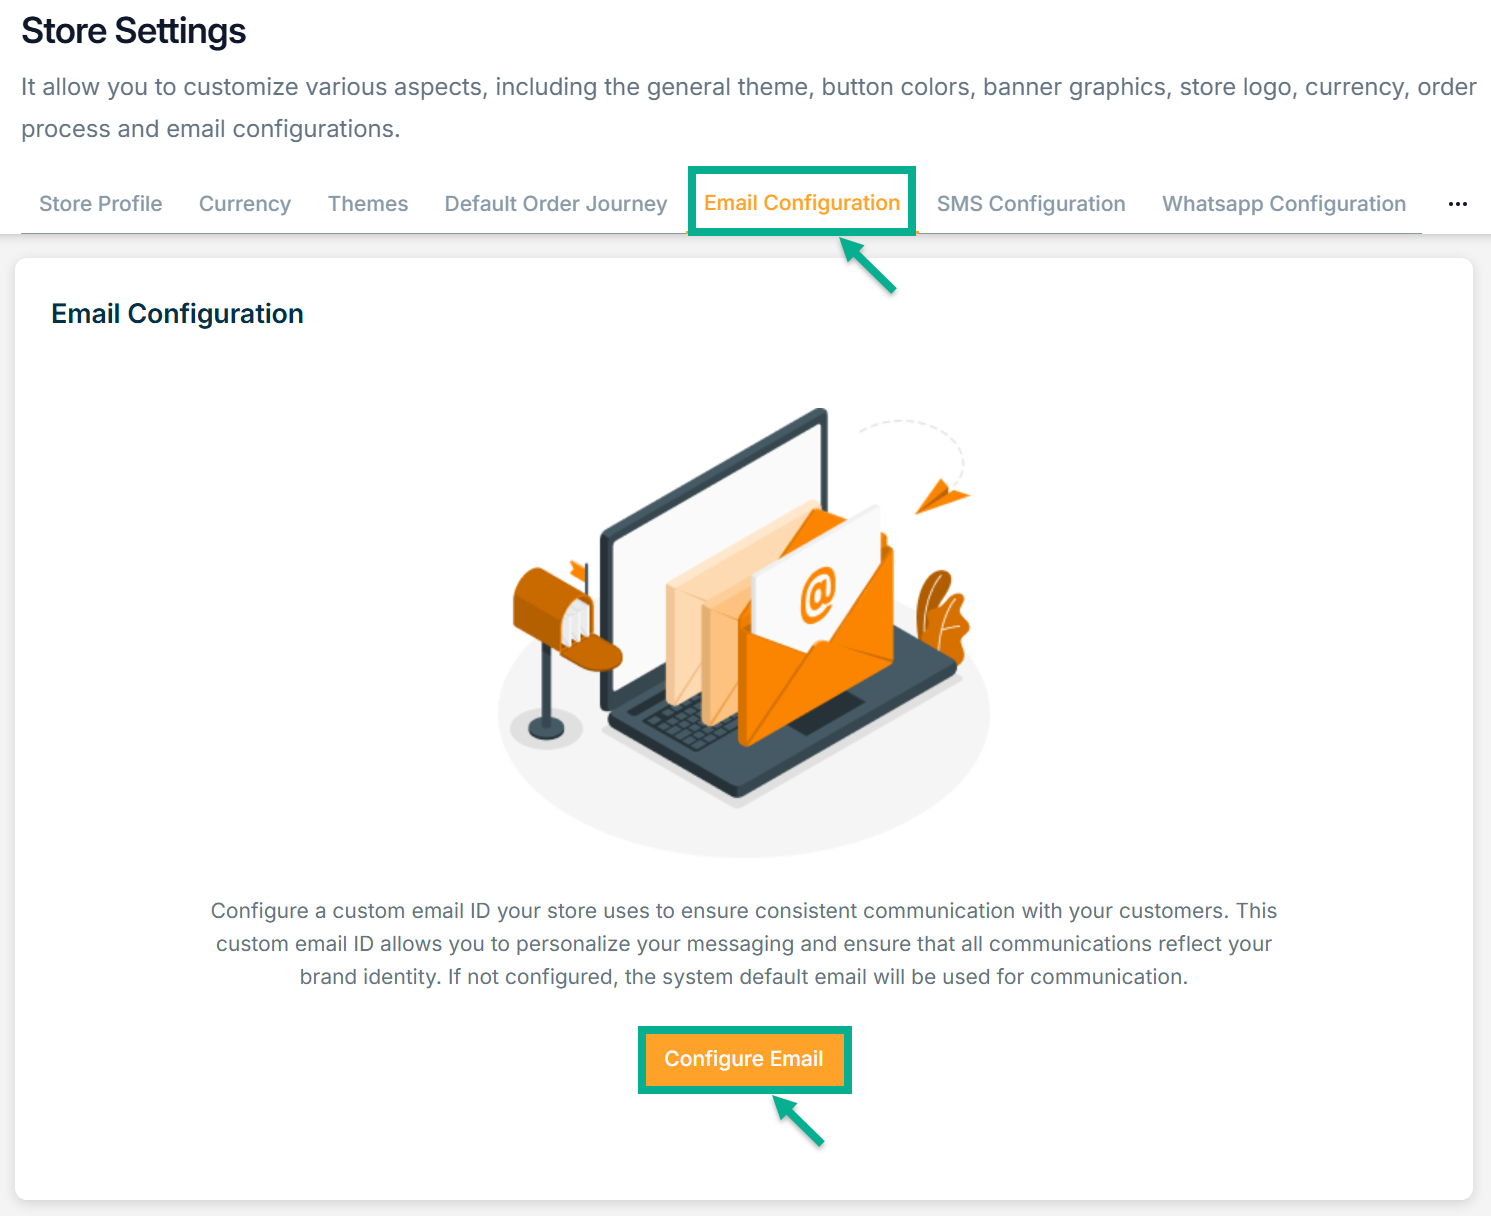
Configuring Email
- Click Configure Email button.
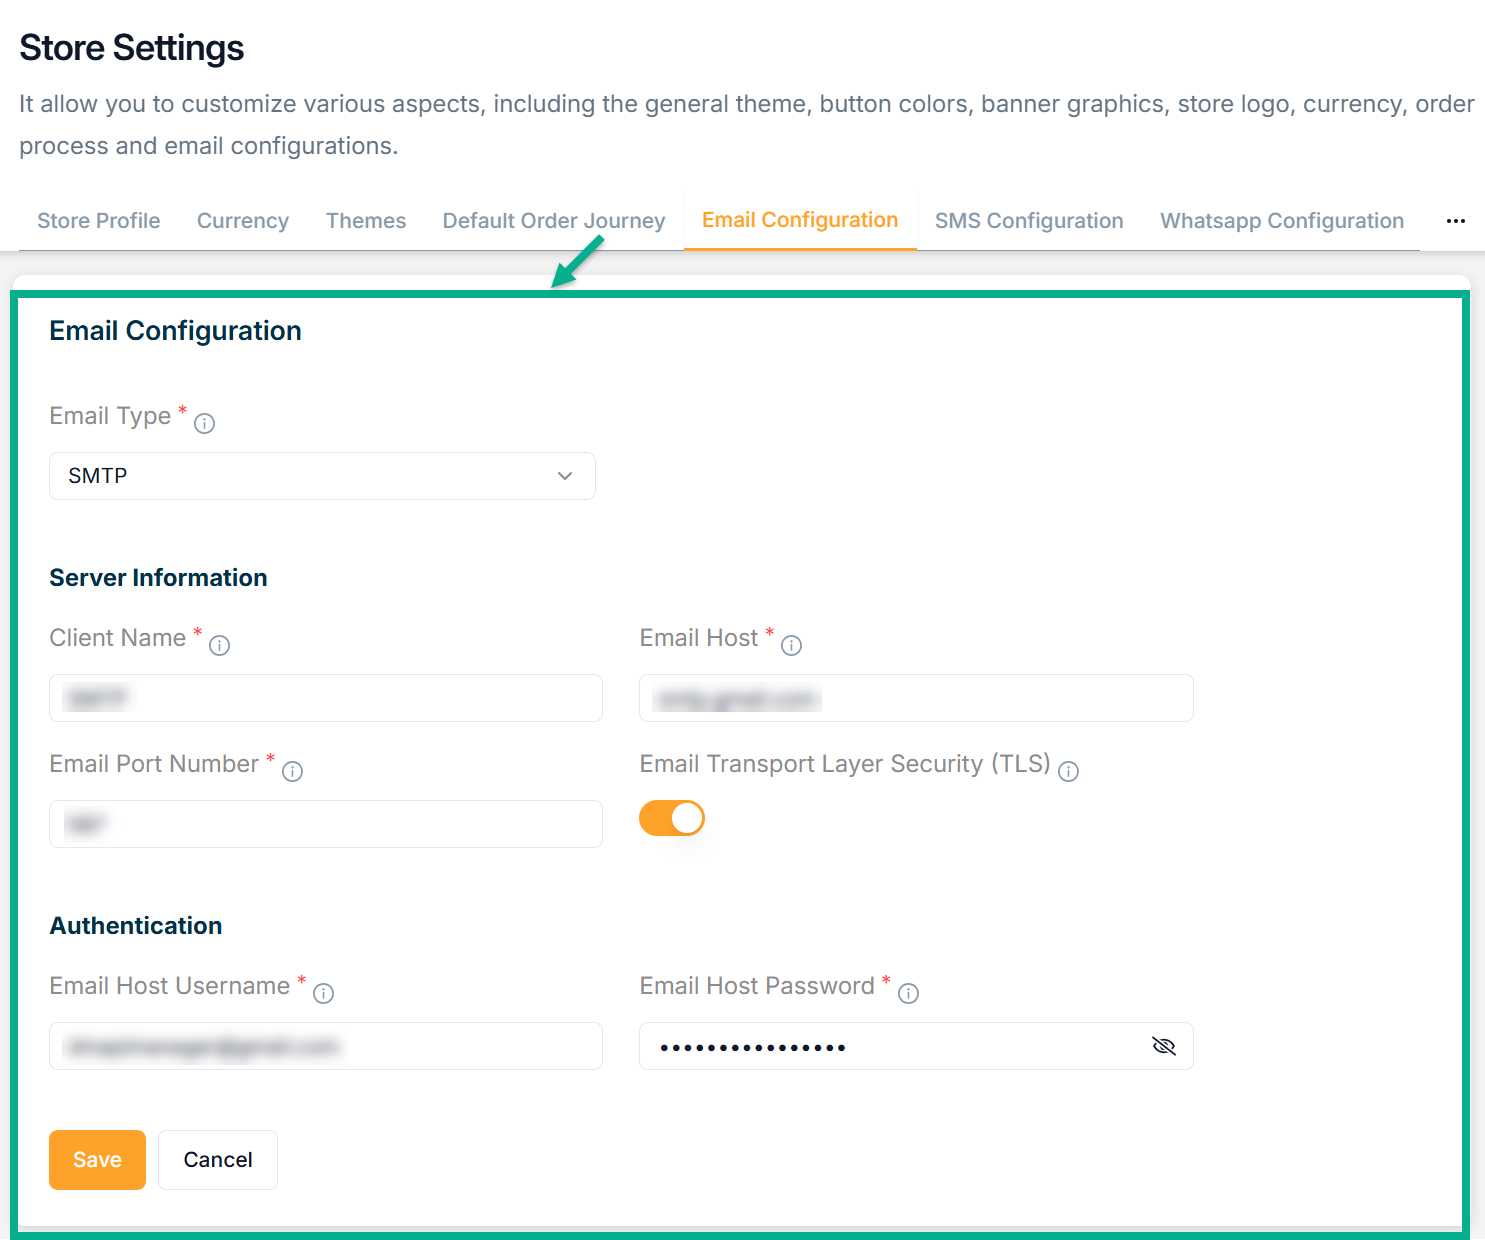
There are two types of Email Type: AWS SES, SMTP and Twilio.
For instance: If the user selects the Email Type as SMTP
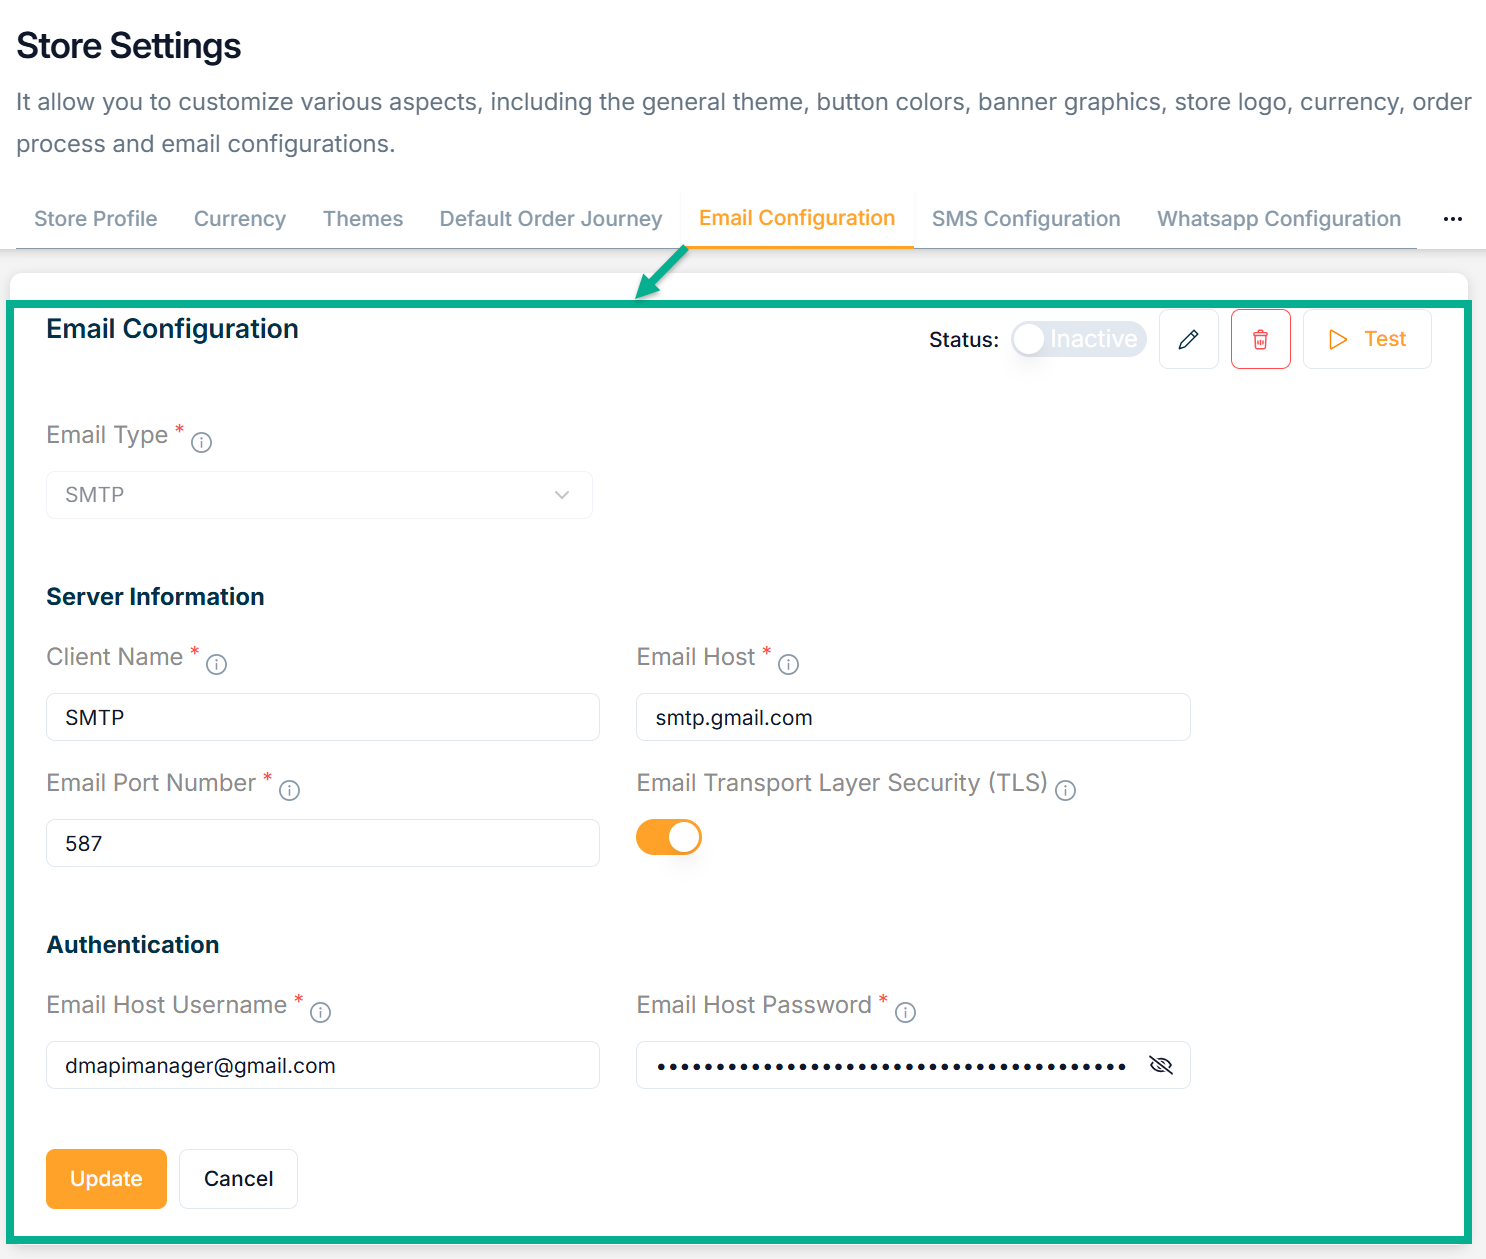
The Email Configuration screen appears as shown below.
-
Select the Email Type from the dropdown.
-
Enter Client Name, Email Host and Email Port Number.
-
Enable Email Transport Layer Security (TLS) toggle.
-
Enter Email Host Username and Email Host Password.
-
Click Save.
Upon saving, the confirmation message appears as shown below.

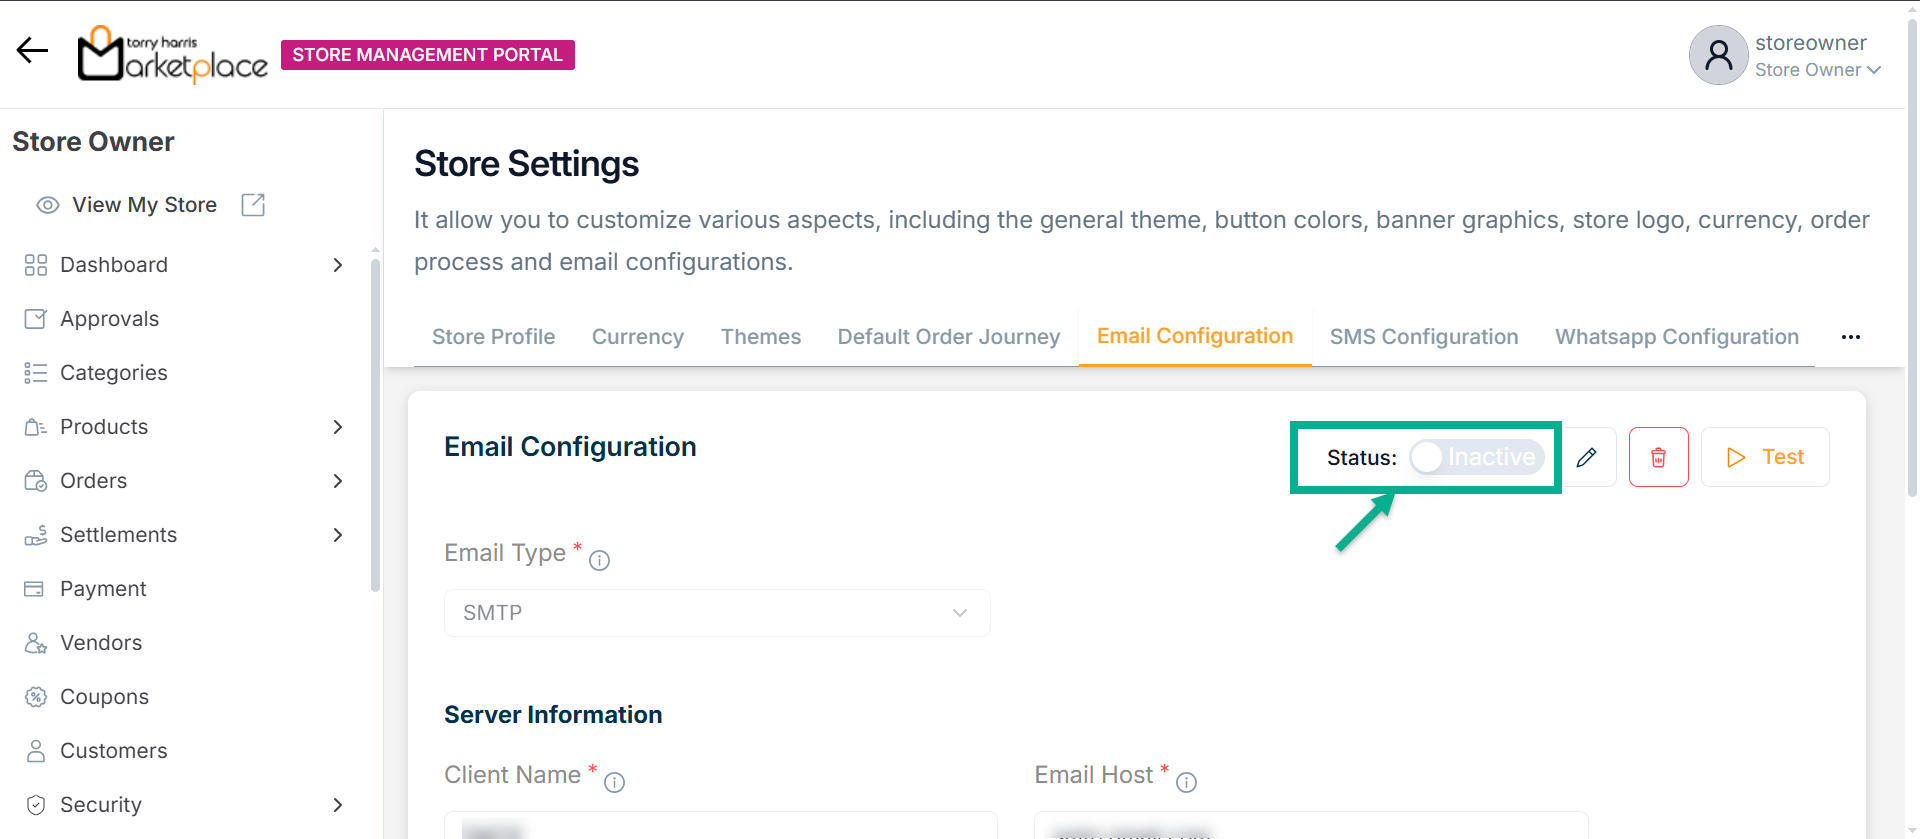
Activating Email Configuration
- Enable the Status toggle button to Activate the Email Configuration.
The Email Configuration Activation dialogue box appears as shown below.
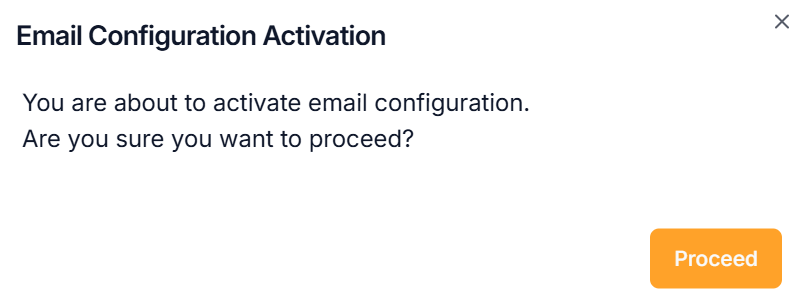
- Click Proceed.
Upon proceed, the confirmation message appears as shown below.

Test Run for Email Configuration
Use the Test Run option to verify the email configuration by sending a test email to a valid email address.
- Click Test Run.
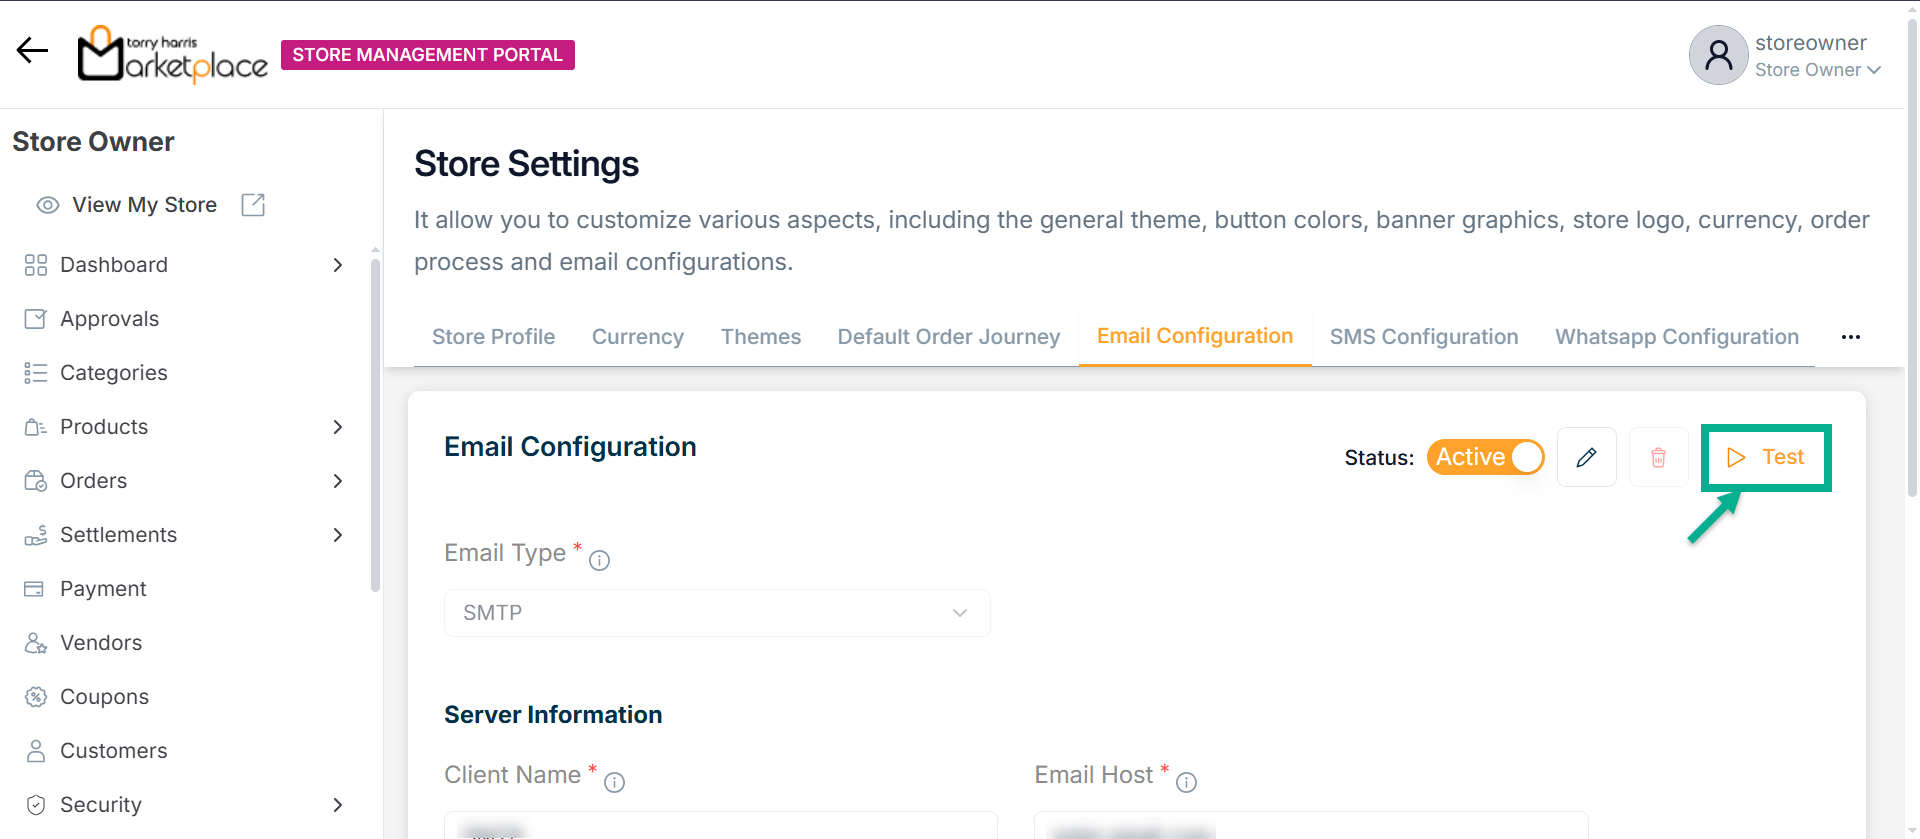
The Test Mail dialogue box appears as shown below.
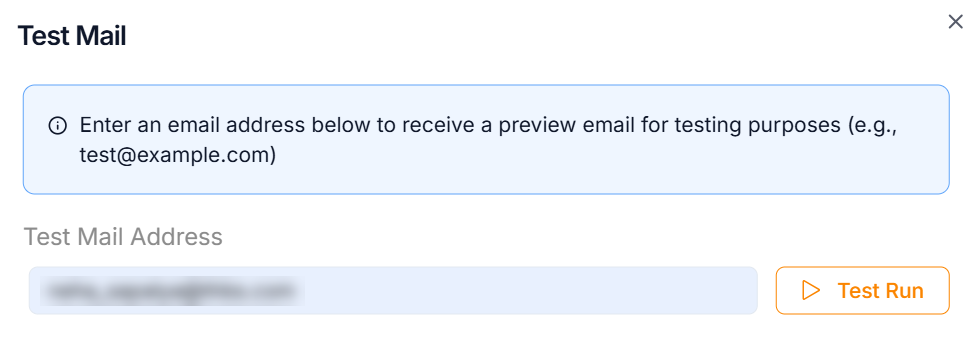
-
Enter the Test Mail Address with the appropriate country code.
-
Click Test Run.
Upon running, the confirmation message appears as shown below.
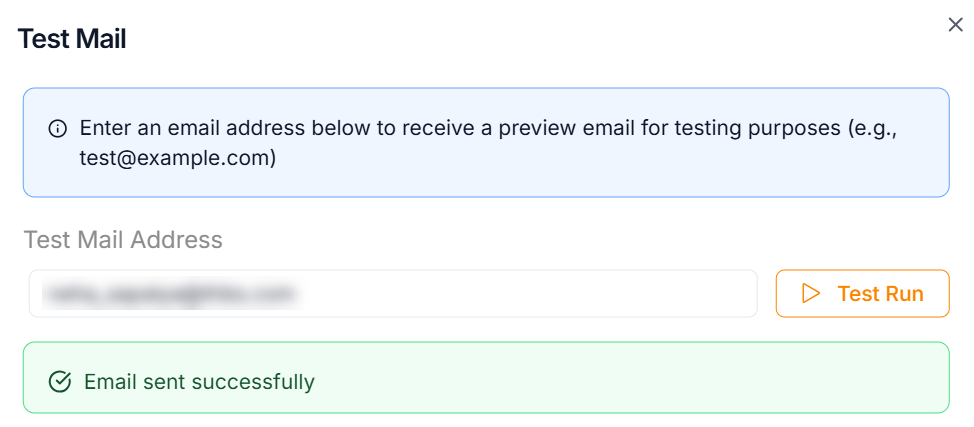
After performing the test run, a confirmation email should be successfully delivered to the specified email ID.
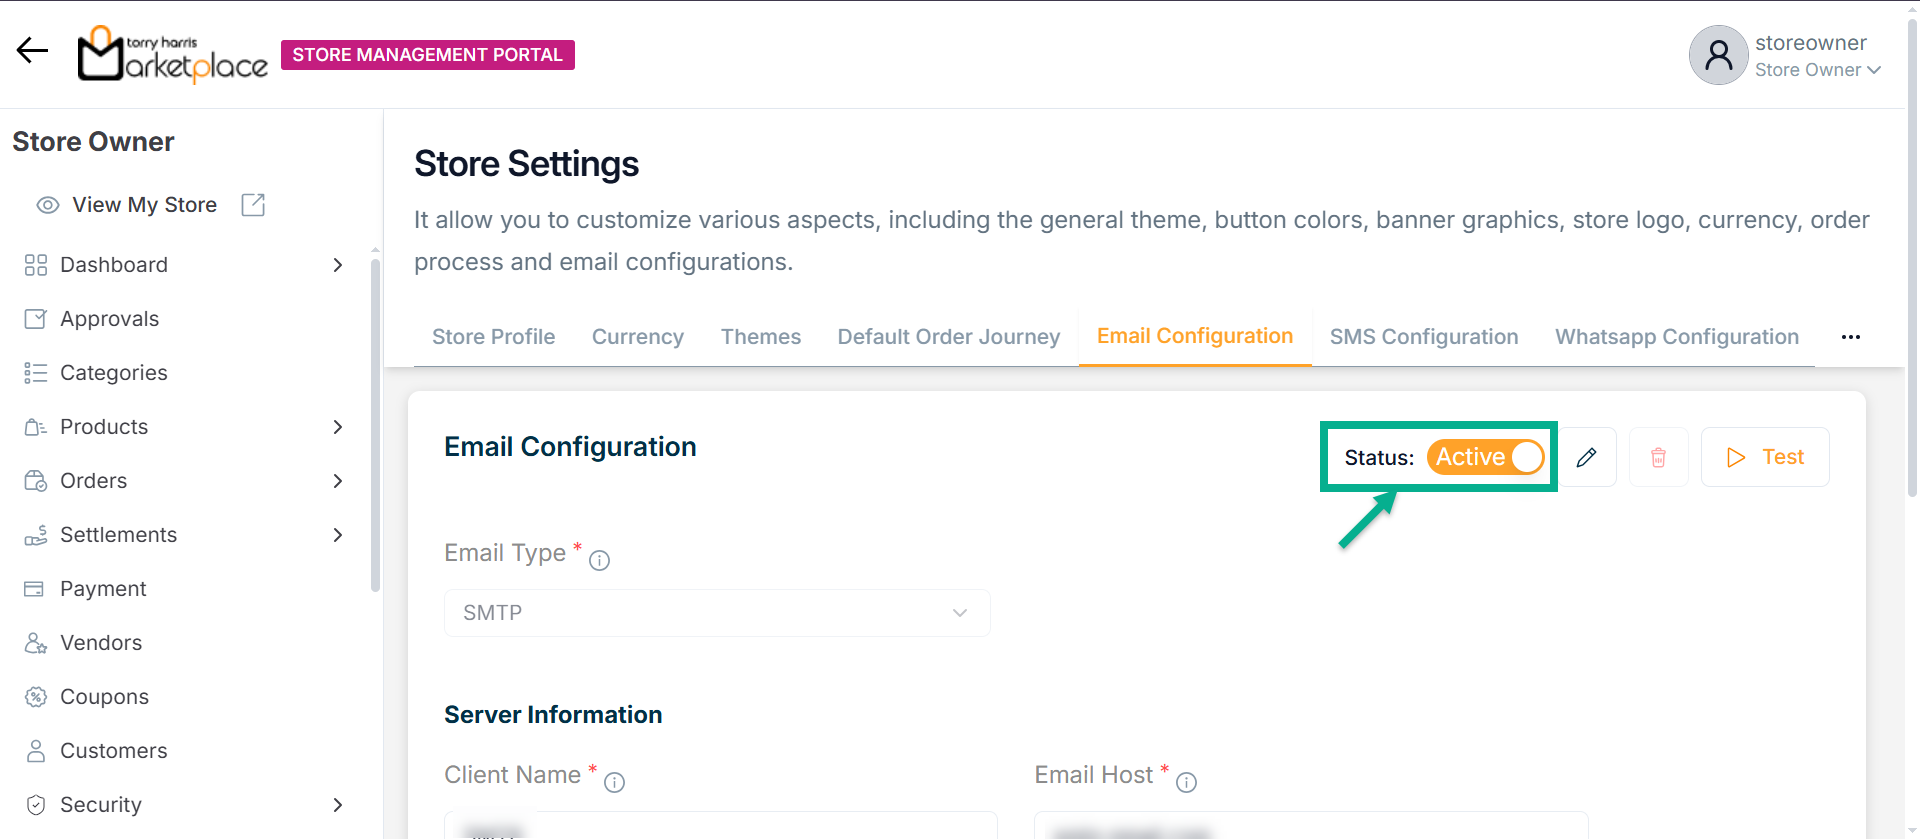
Deactivating Email Configuration
- Disable the Status toggle button to Deactivate the Email Configuration.
The Email Configuration Deactivation dialogue box appears as shown below.
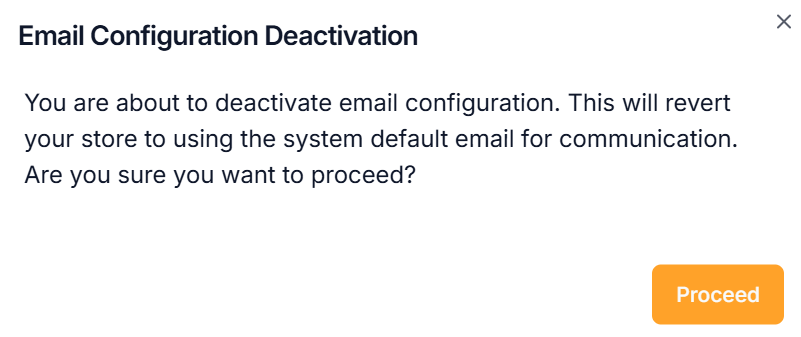
- Click Proceed.
On proceeding, the confirmation message appears as shown below.
Updating Email Configuration
- Click Edit.
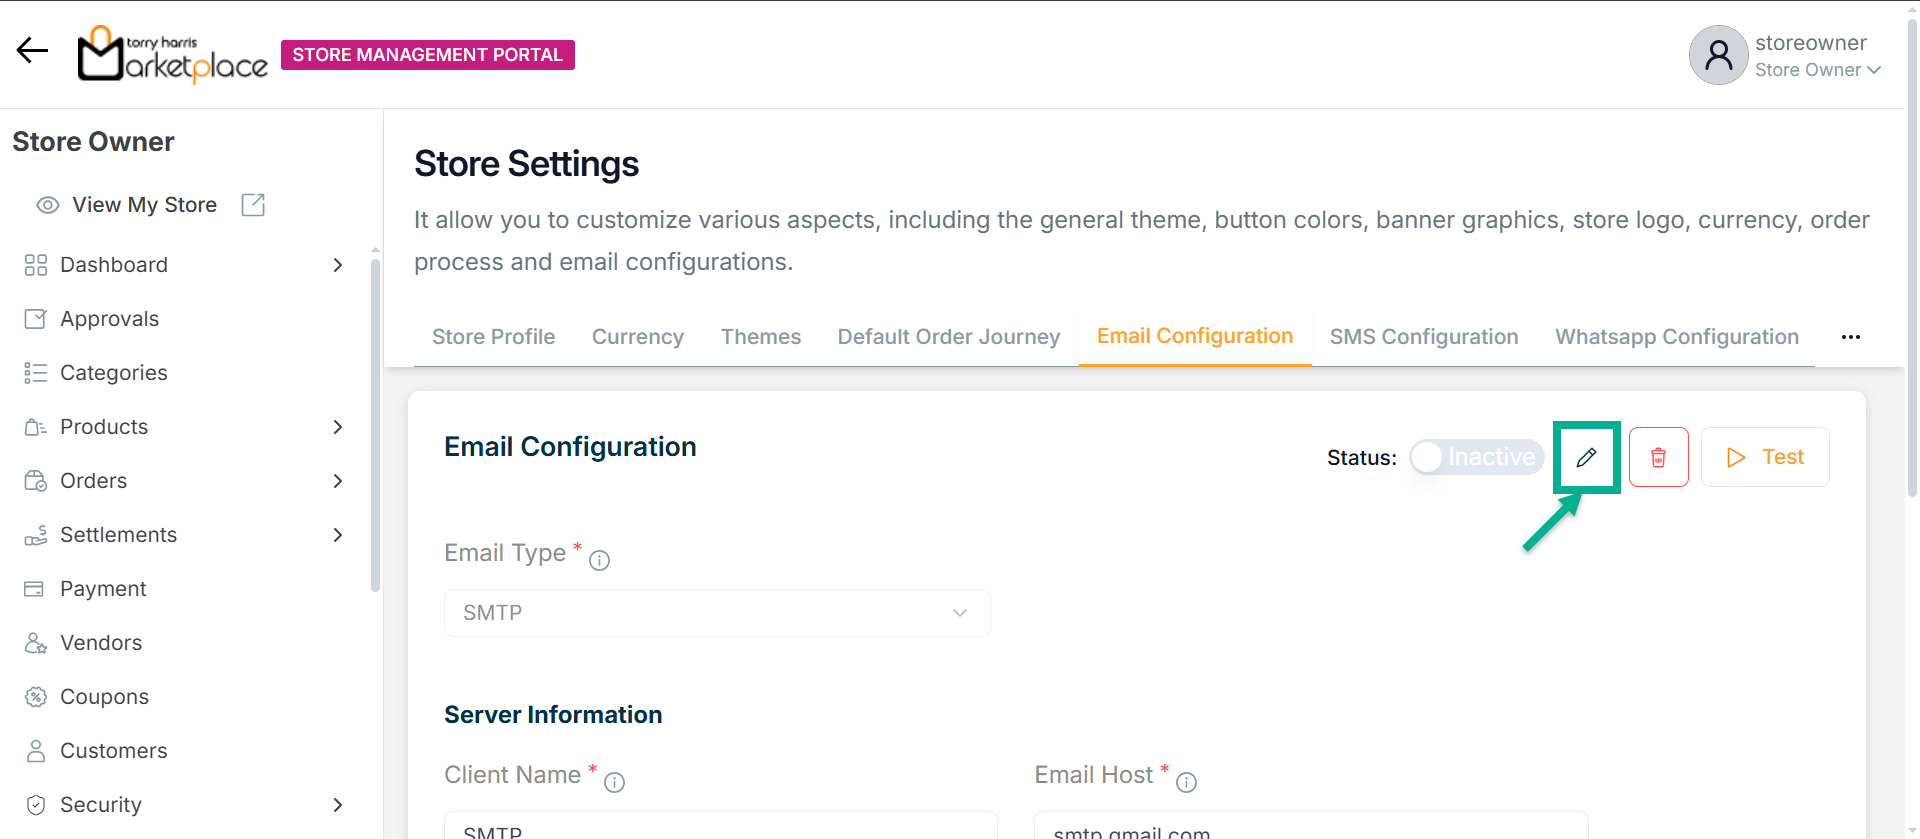
The Email Configuration screen appears as shown below.
-
Update the fields if needed.
-
Click Update.
Upon updating, the confirmation message appears as shown below.

Deleting Email Configuration
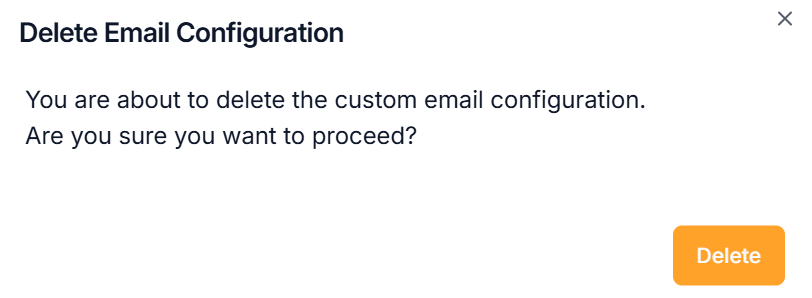
- Click Delete.

The Delete Email Configuration dialogue box appears as shown below.
Upon deactivating, the confirmation message appears as shown below.

SMS Configuration
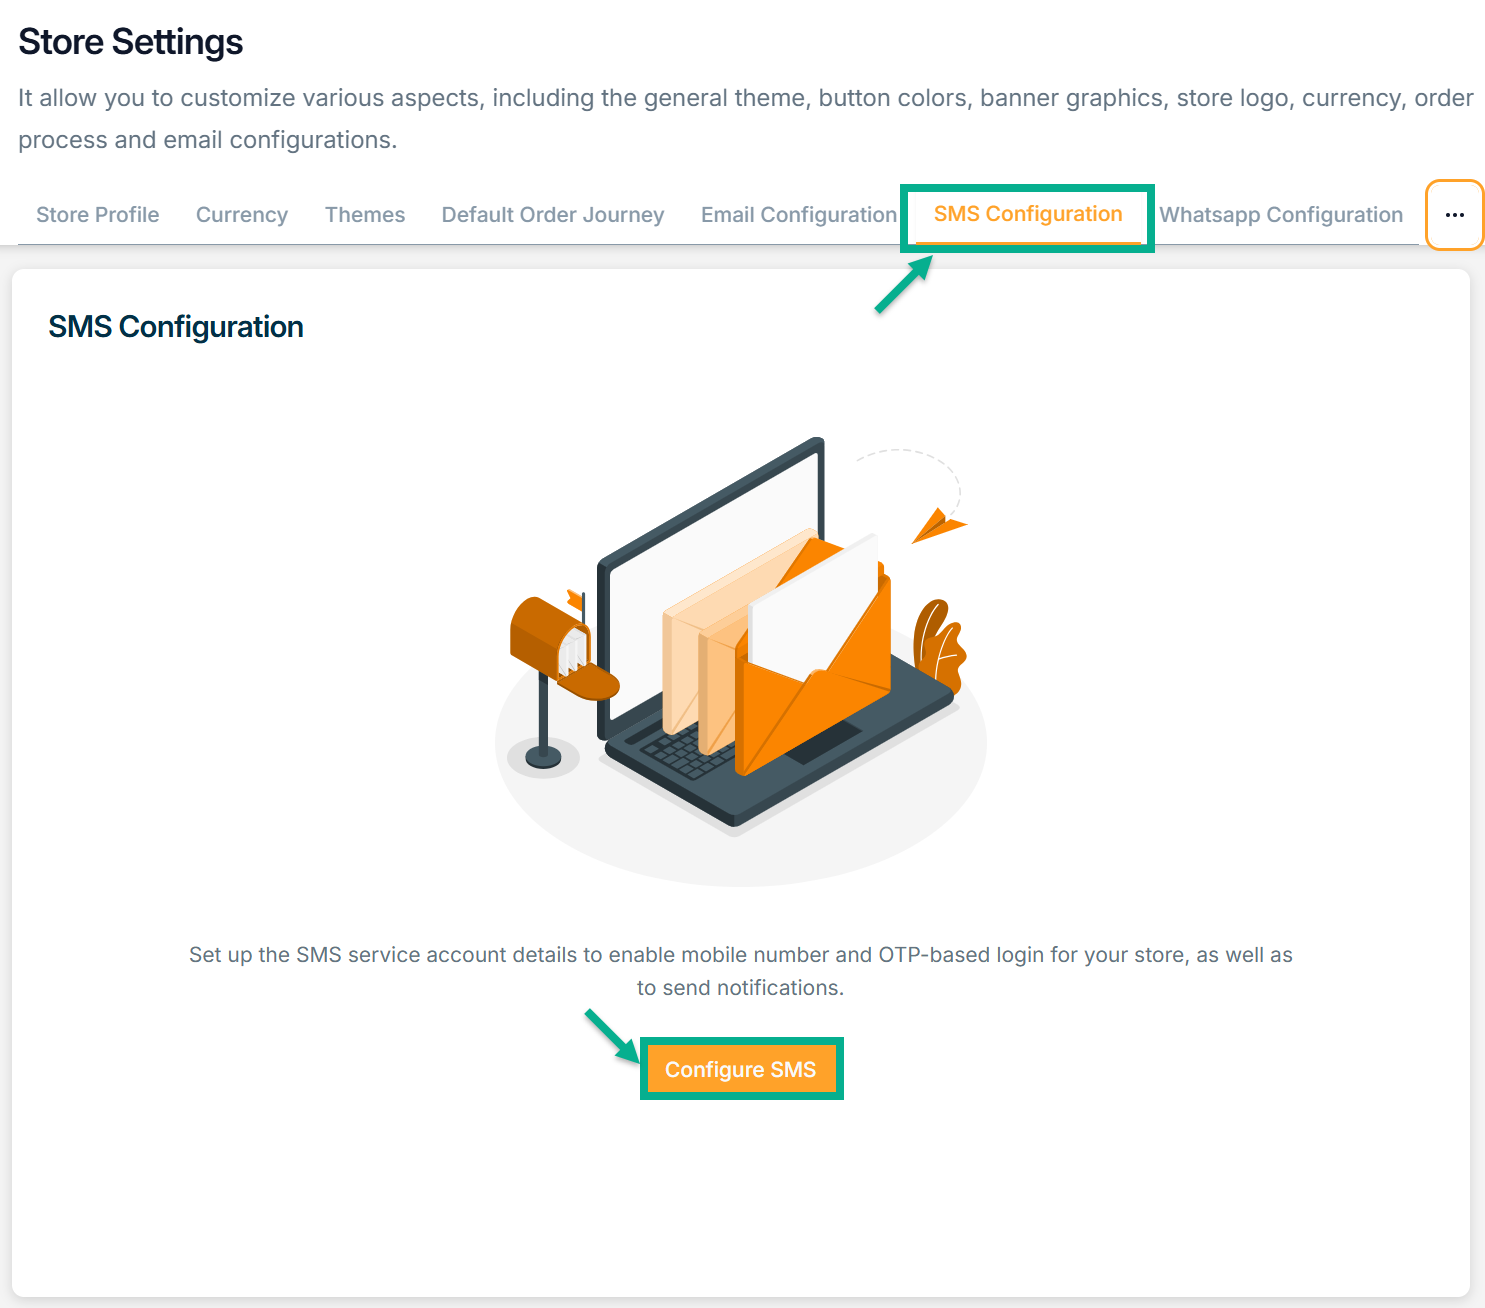
- Click SMS Configuration tab.
To enable mobile number and OTP-based login along with user SMS notifications, set up an SMS service account. The store offers built-in integration with AWS and Twilio.
If SMS configuration is not completed, the store will not be allowed to enable mobile-based login or update the mobile number.
Configuring SMS
- Click Configure SMS button.
There are two types of Service Providers: Twilio and AWS.
For instance: If the user selects the Service Provider as Twillio
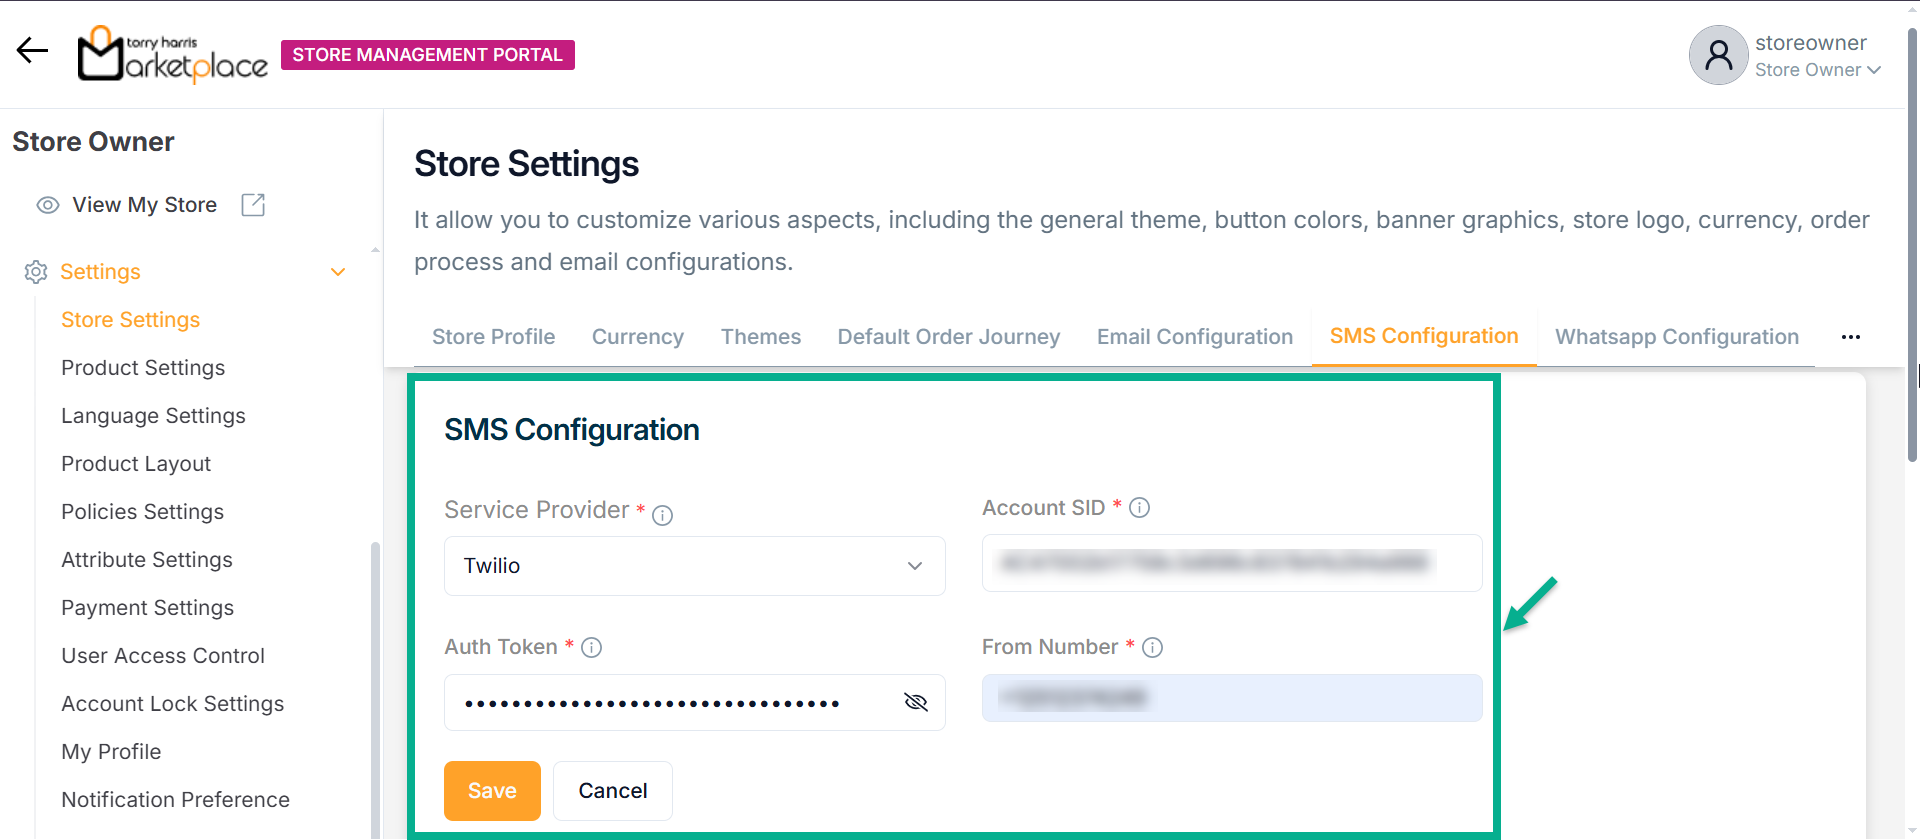
The SMS Configuration screen appears as shown below.
-
Select the Service Provider from the dropdown.
-
Enter Account SID and Auth Token.
-
Enter From Number.
-
Click Save.
Upon saving, the confirmation message appears as shown below.
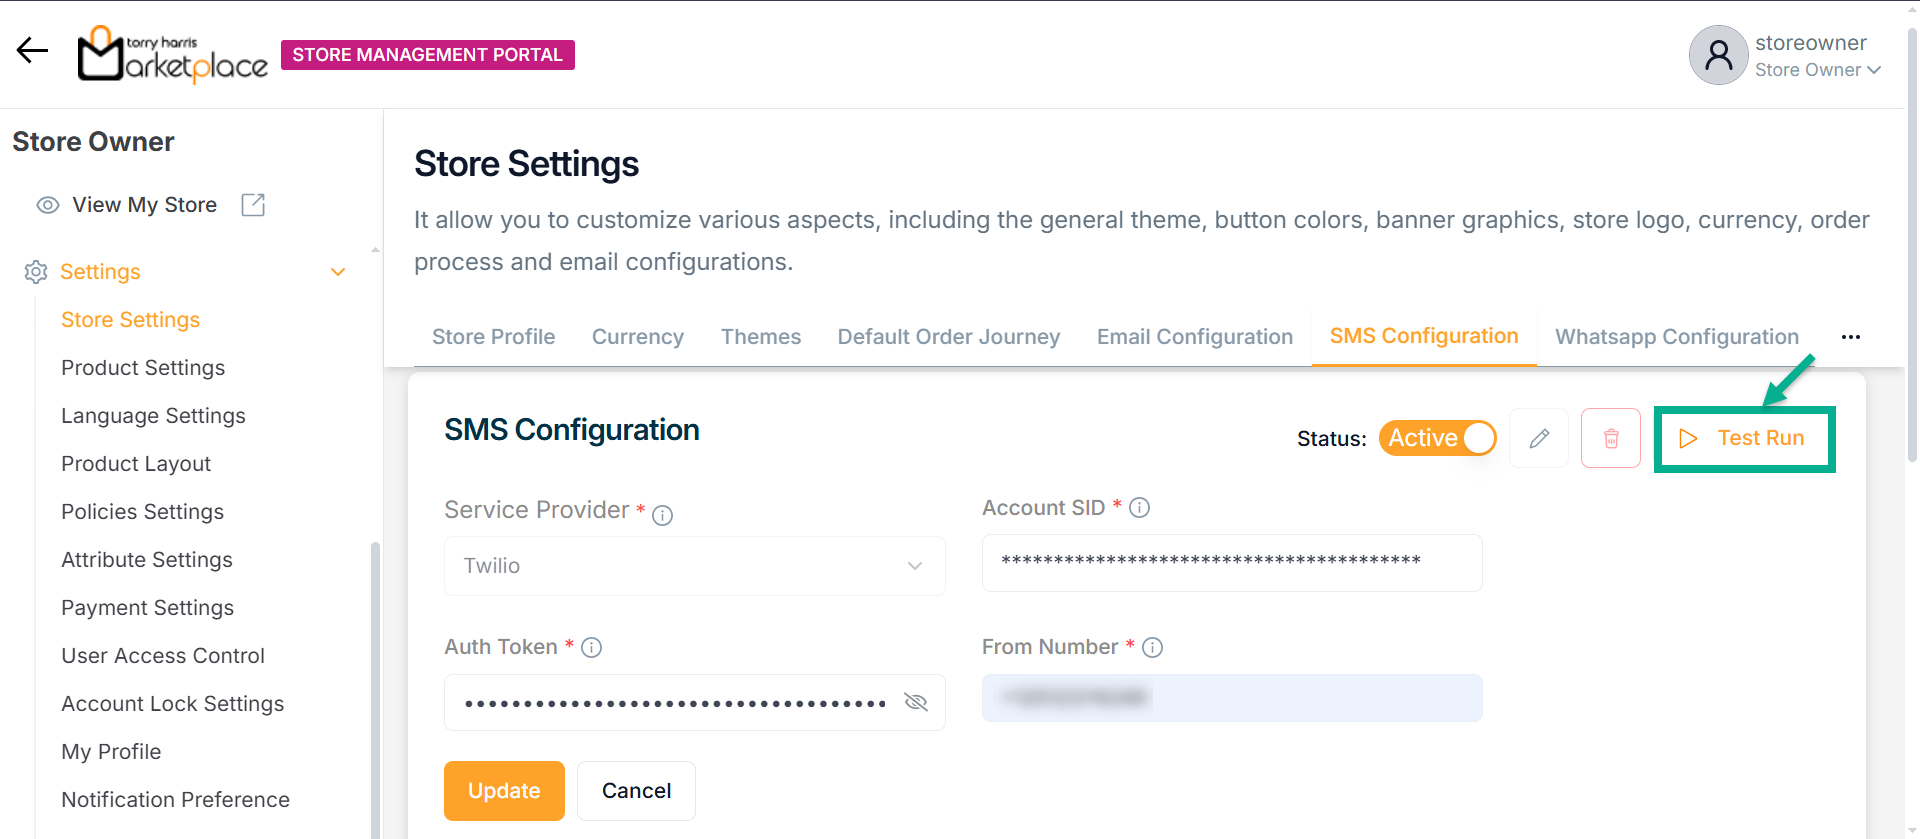
Activating SMS Configuration
- Enable the Status toggle button to Activate the SMS Configuration.
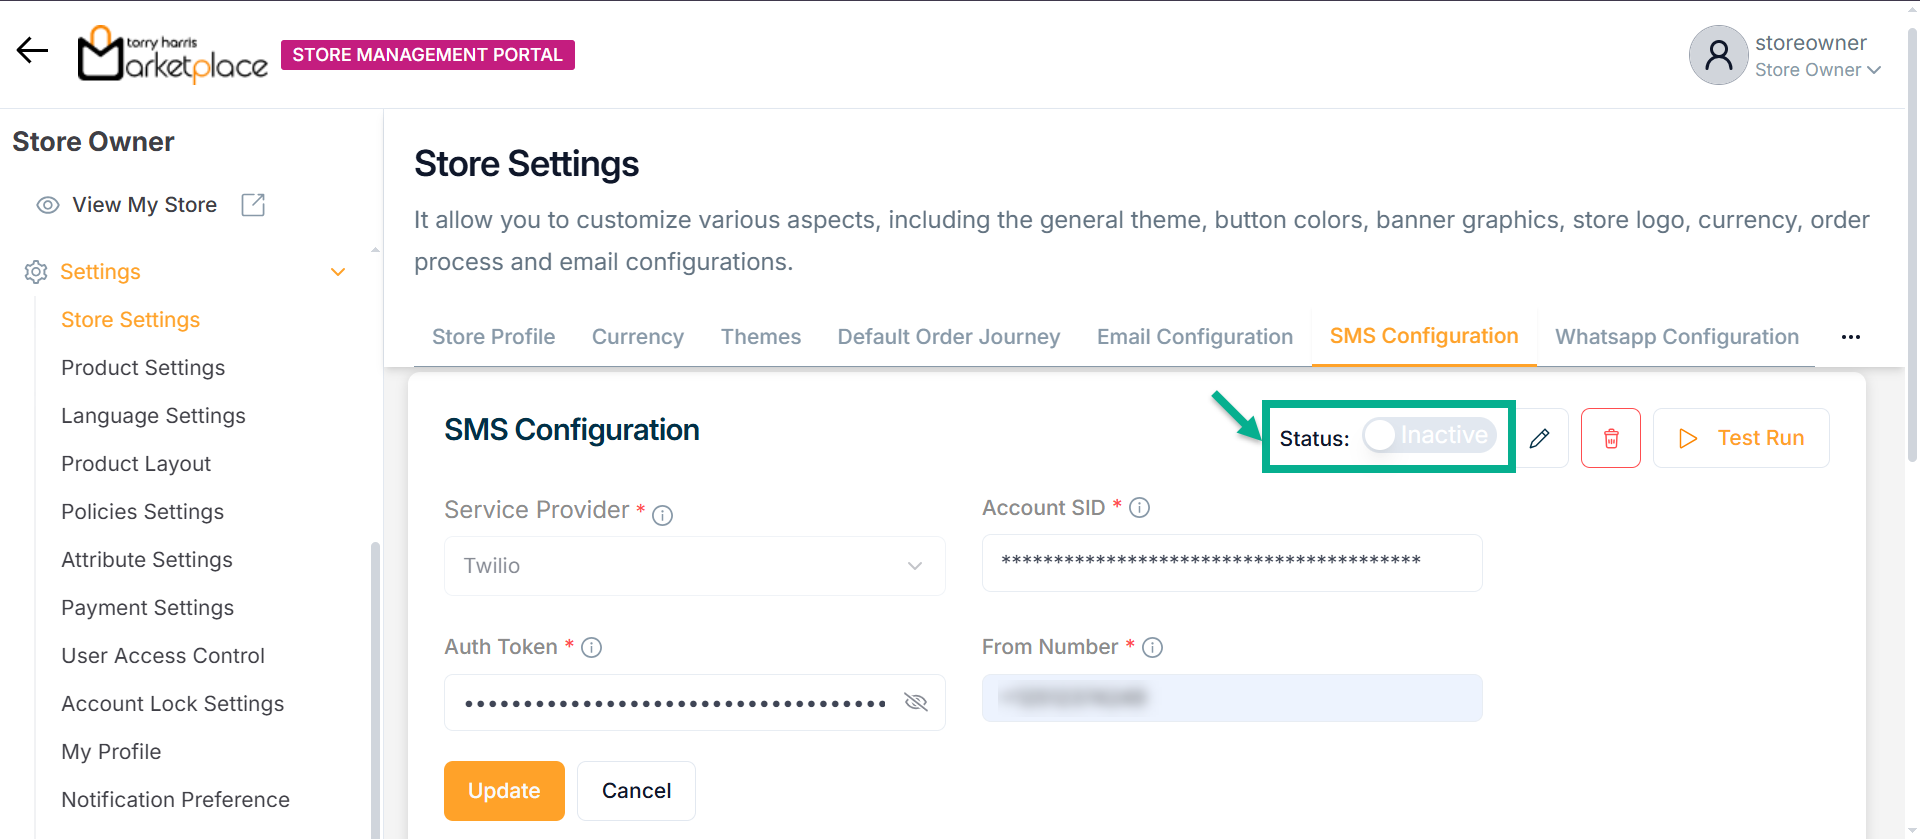
Test Run for SMS Configuration
Use the Test Run option to verify the SMS configuration by sending a test message to a valid phone number with the appropriate country code.
- Click Test Run.
The Test Phone Number dialogue box appears as shown below.

-
Enter the Test Phone Number with the appropriate country code.
-
Click Test Run.
Upon running, the confirmation message appears as shown below.

After performing the test run, an SMS should be successfully delivered to the specified mobile number.
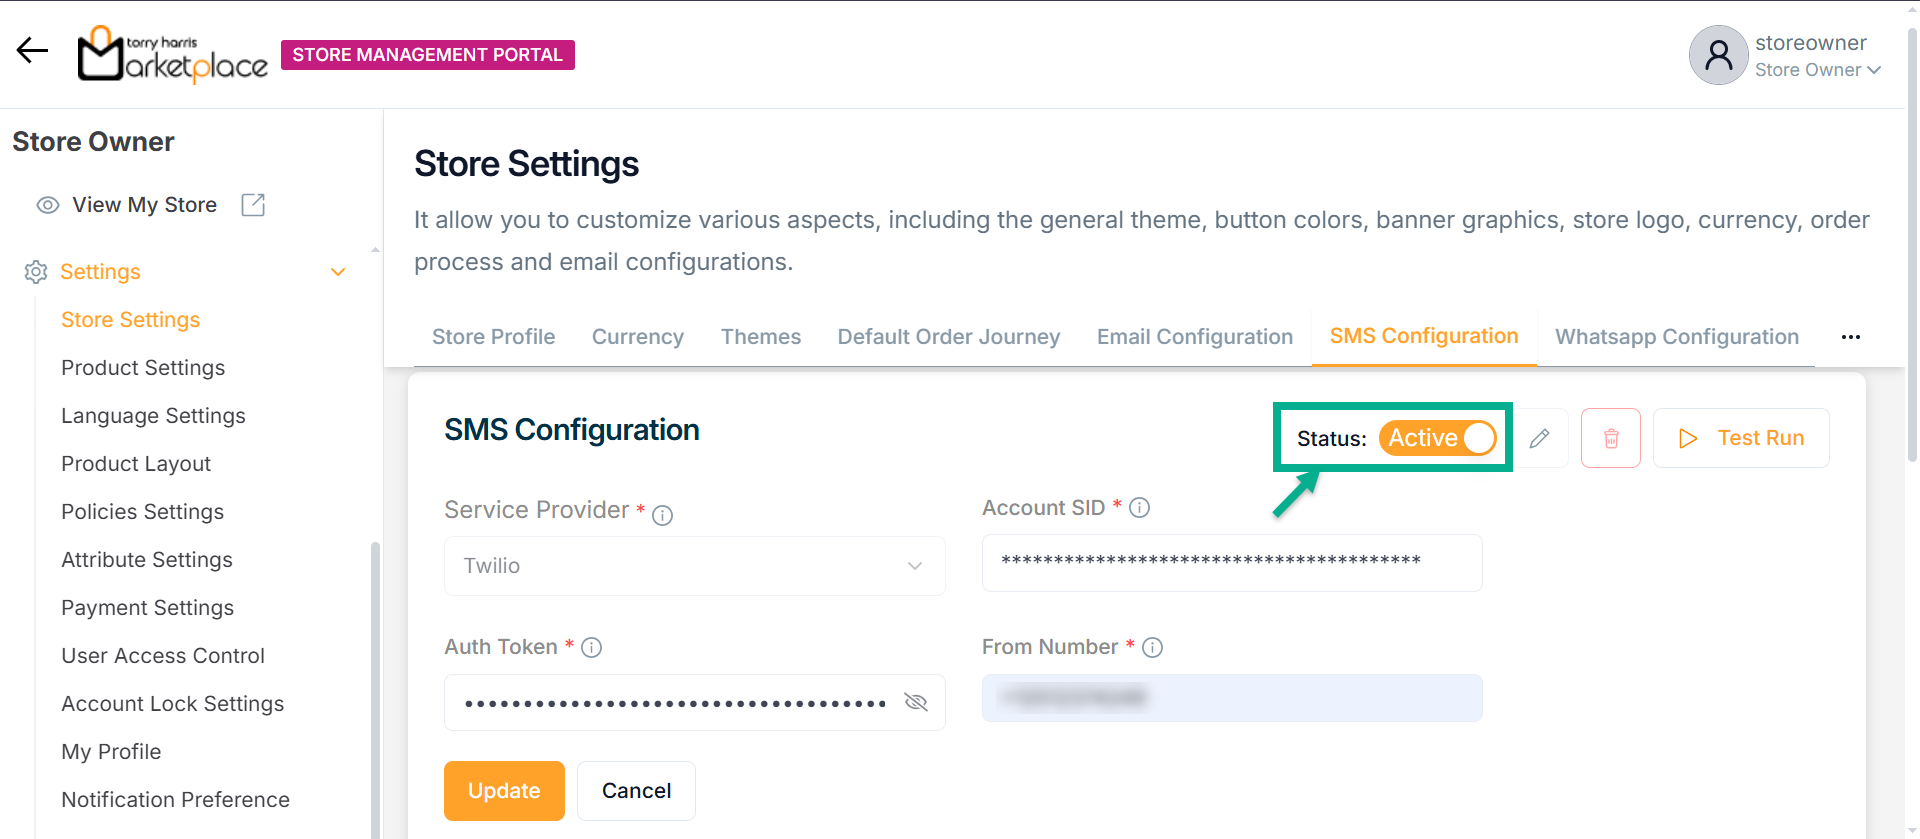
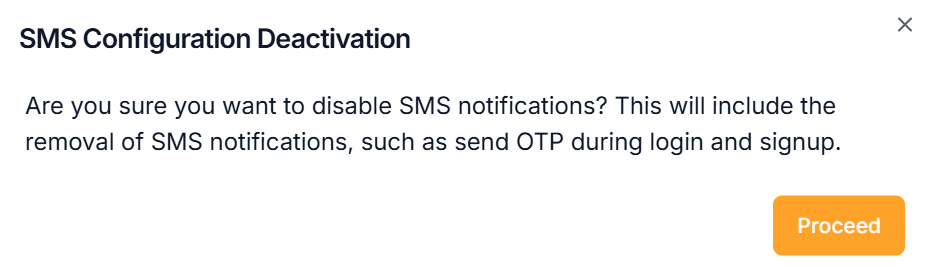
Deactivating SMS Configuration
- Disable the Status toggle button to Deactivate the SMS Configuration.
The SMS Configuration Deactivation dialogue box appears as shown below.
Updating SMS Configuration
- Click Edit.
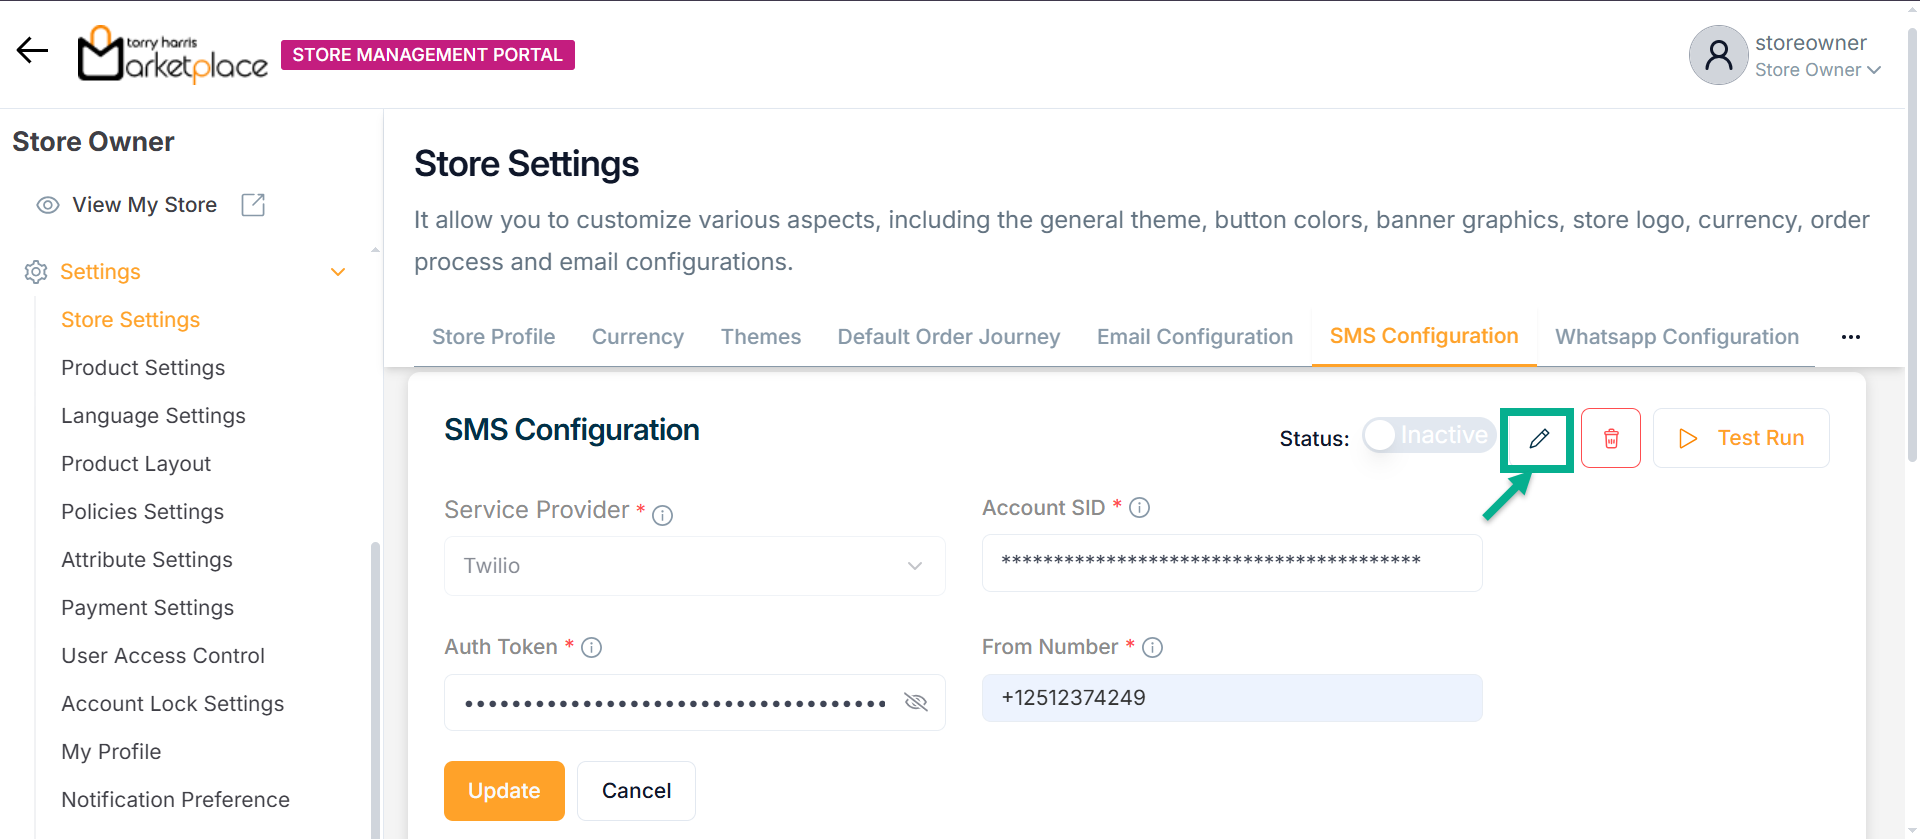
The SMS Configuration screen appears as shown below.
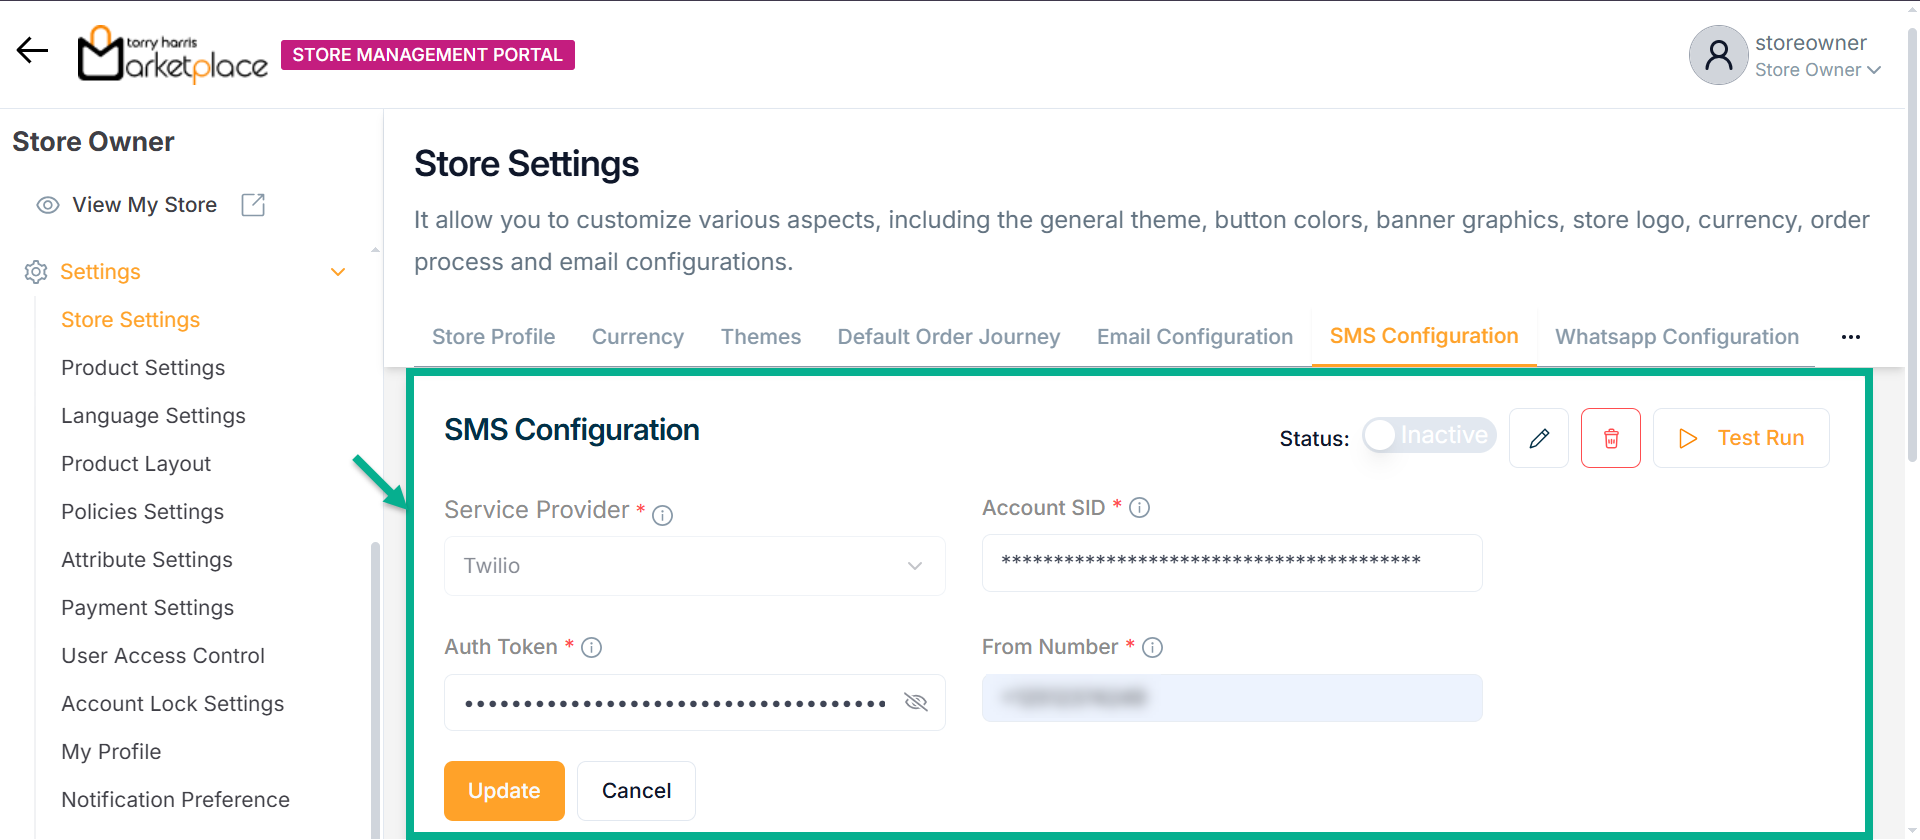
-
Update the fields if needed.
-
Click Update.
Upon updating, the confirmation message appears as shown below.

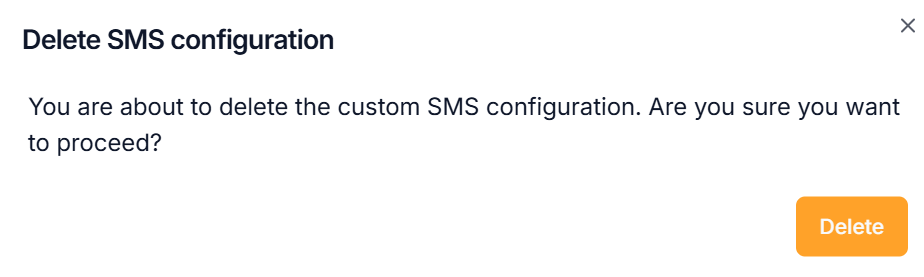
Deleting SMS Configuration
- Click Delete.
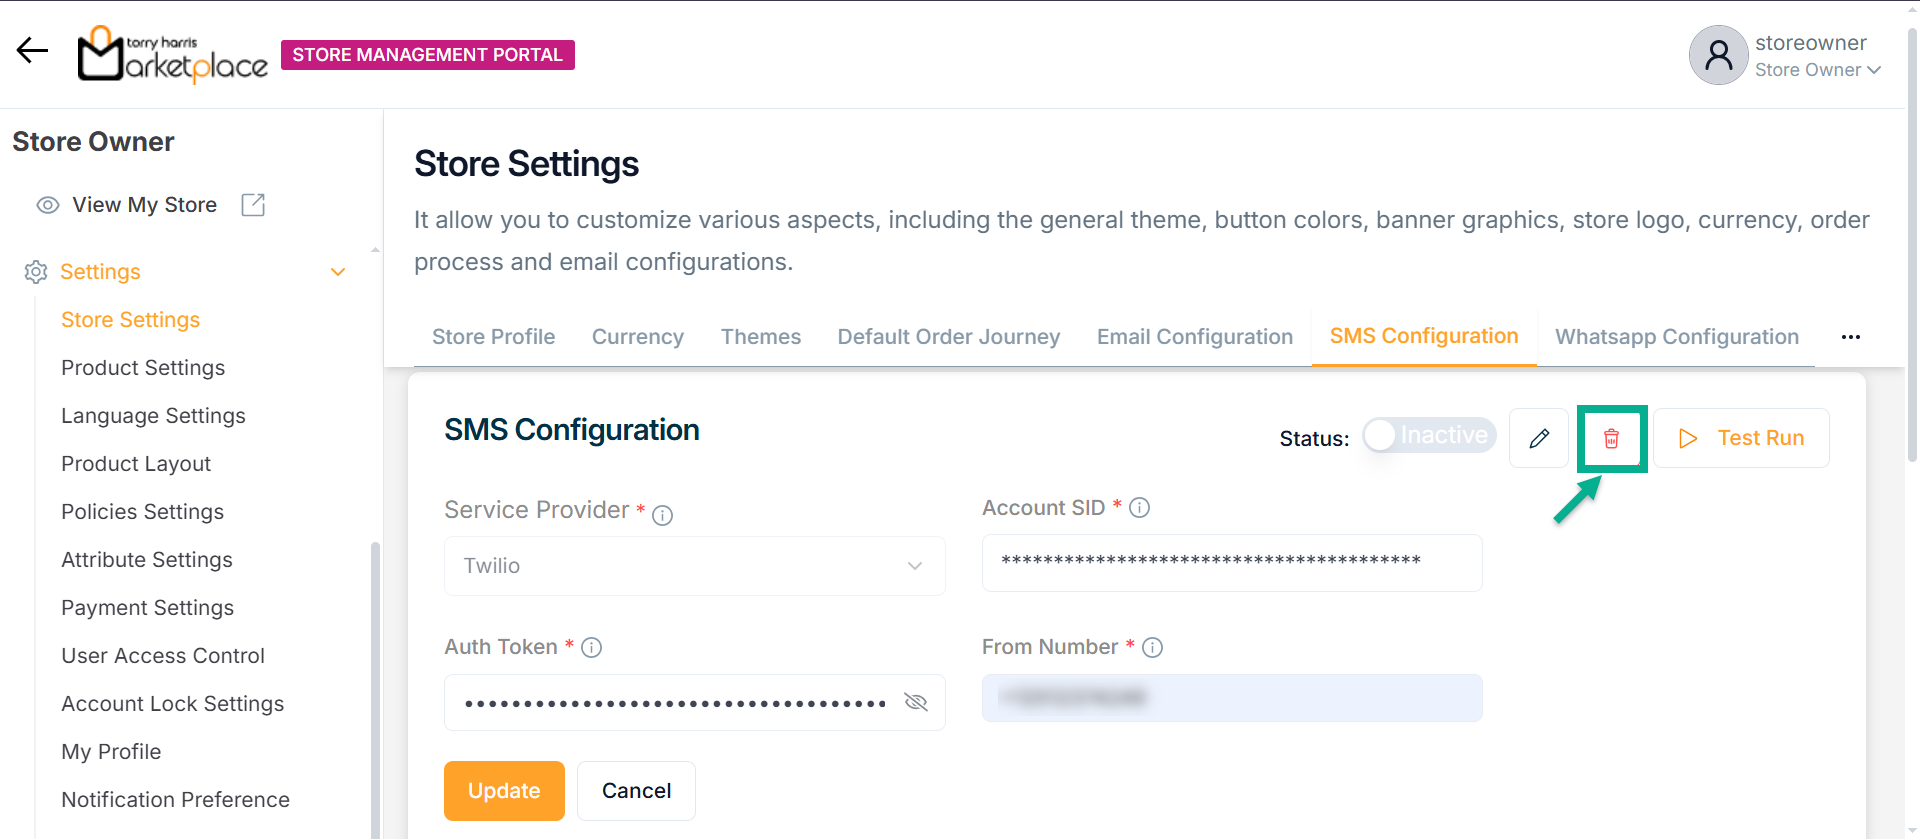
The Delete SMS Configuration dialogue box appears as shown below.
Upon deactivating, the confirmation message appears as shown below.

Whatsapp Configuration
- Click Whatsapp Configuration tab.
WhatsApp Configuration enables the store to send automated messages to customers via WhatsApp by connecting with an external service provider.
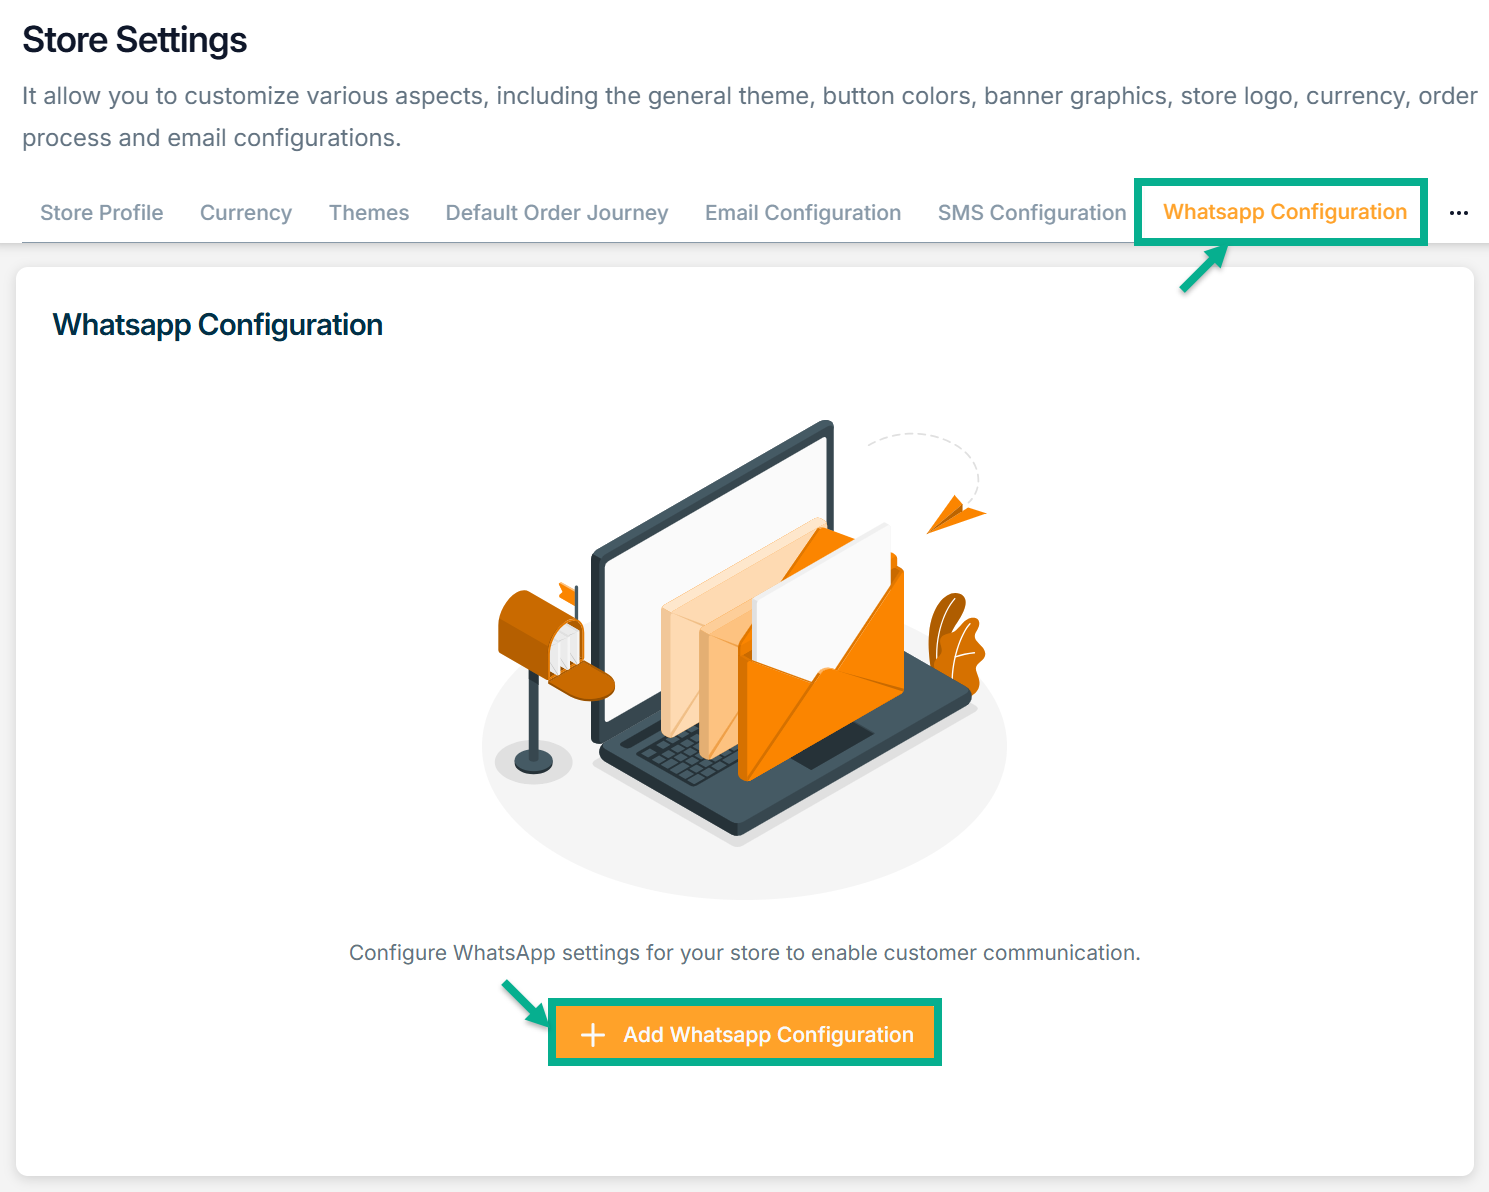
Configuring Whatsapp
- Click Add Whatsapp Configuration button.
There are two types of Service Providers: Whatsapp Business Cloud Api and Twilio Whatsapp.
For instance: If the user selects the Service Provider as Twilio Whatsapp
The Whatsapp Configuration screen appears as shown below.
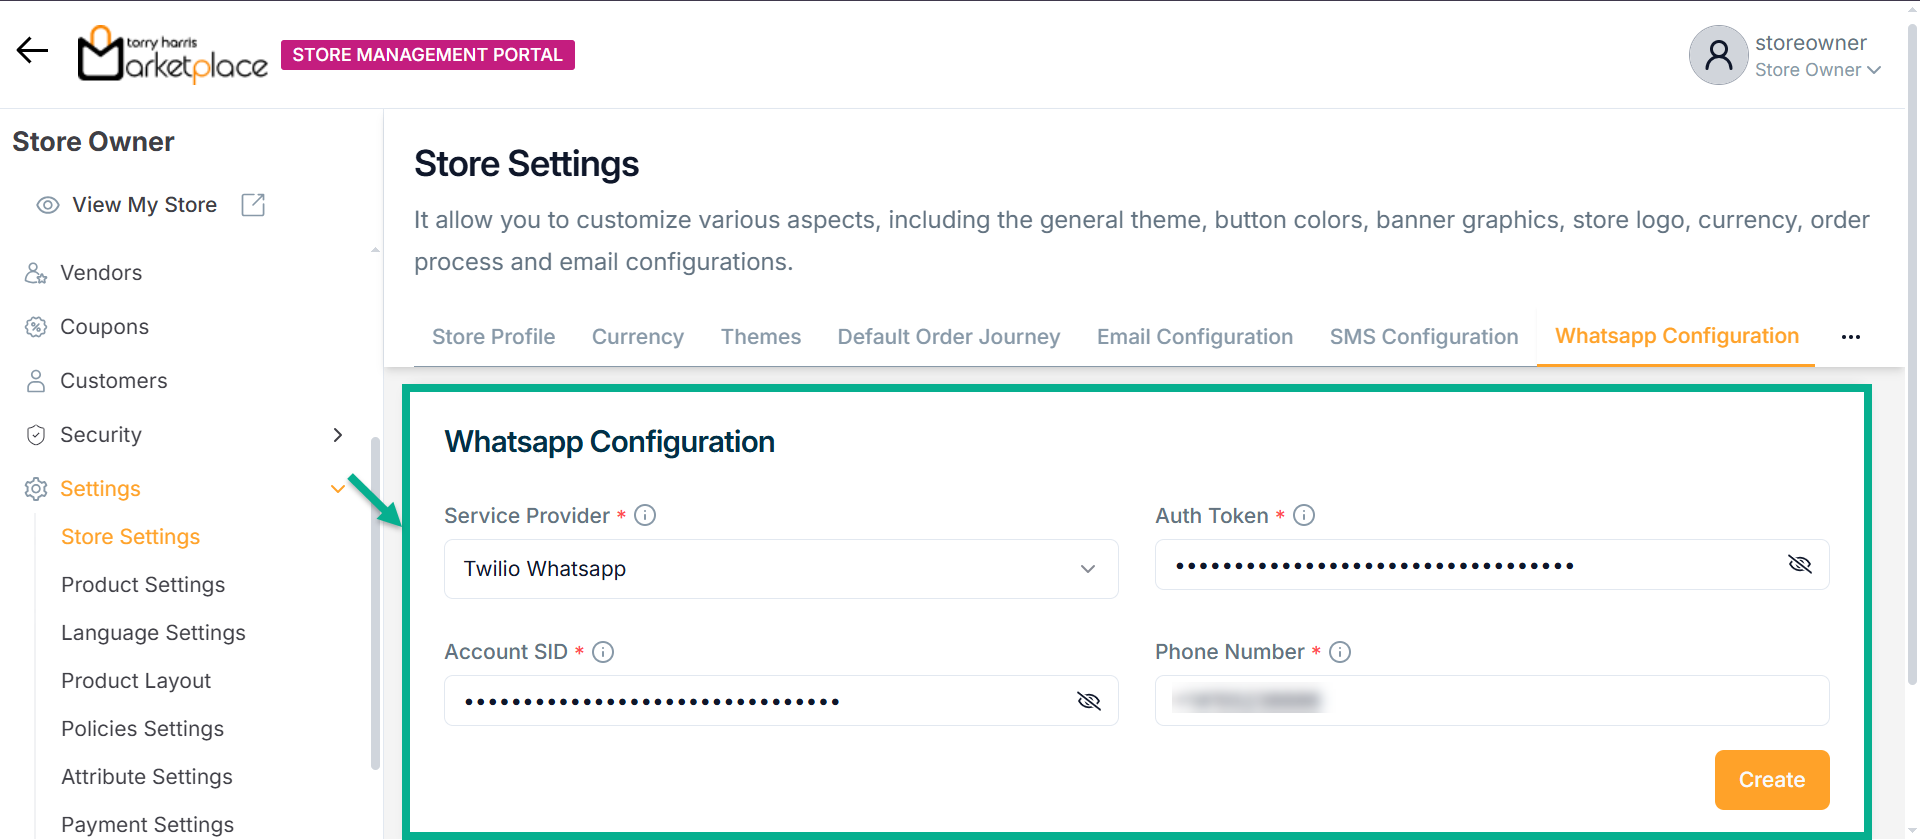
-
Select the Service Provider from the dropdown.
-
Enter Auth Token and Account SID.
-
Enter Phone Number.
-
Click Create.
Upon creating, the confirmation message appears as shown below.

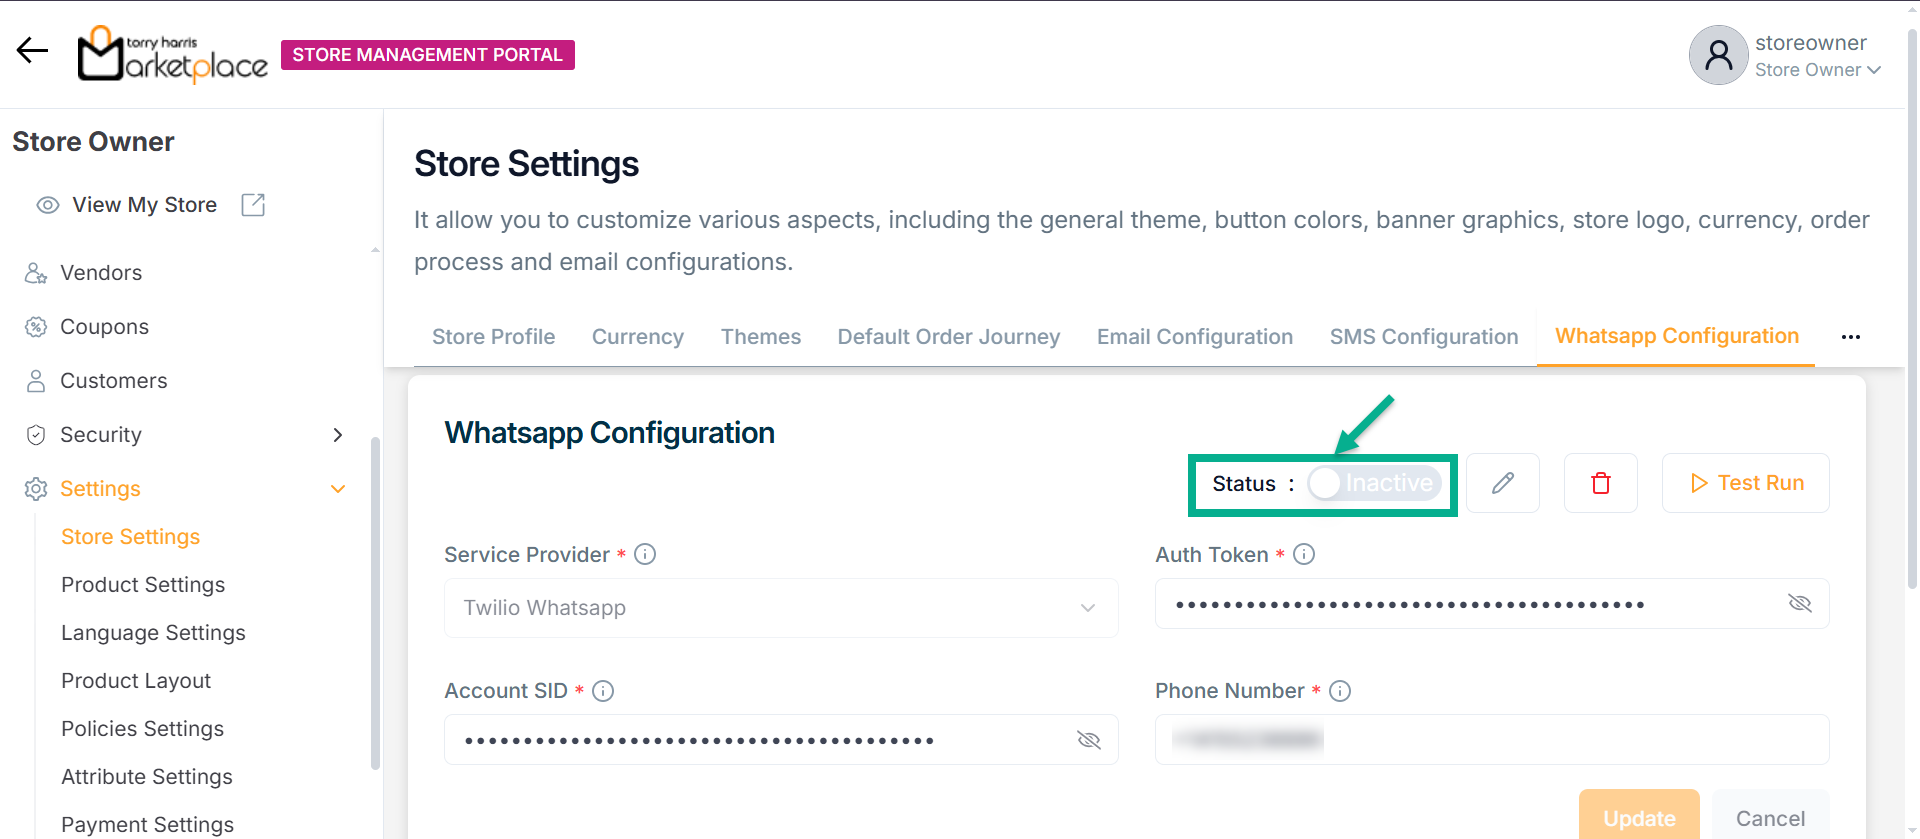
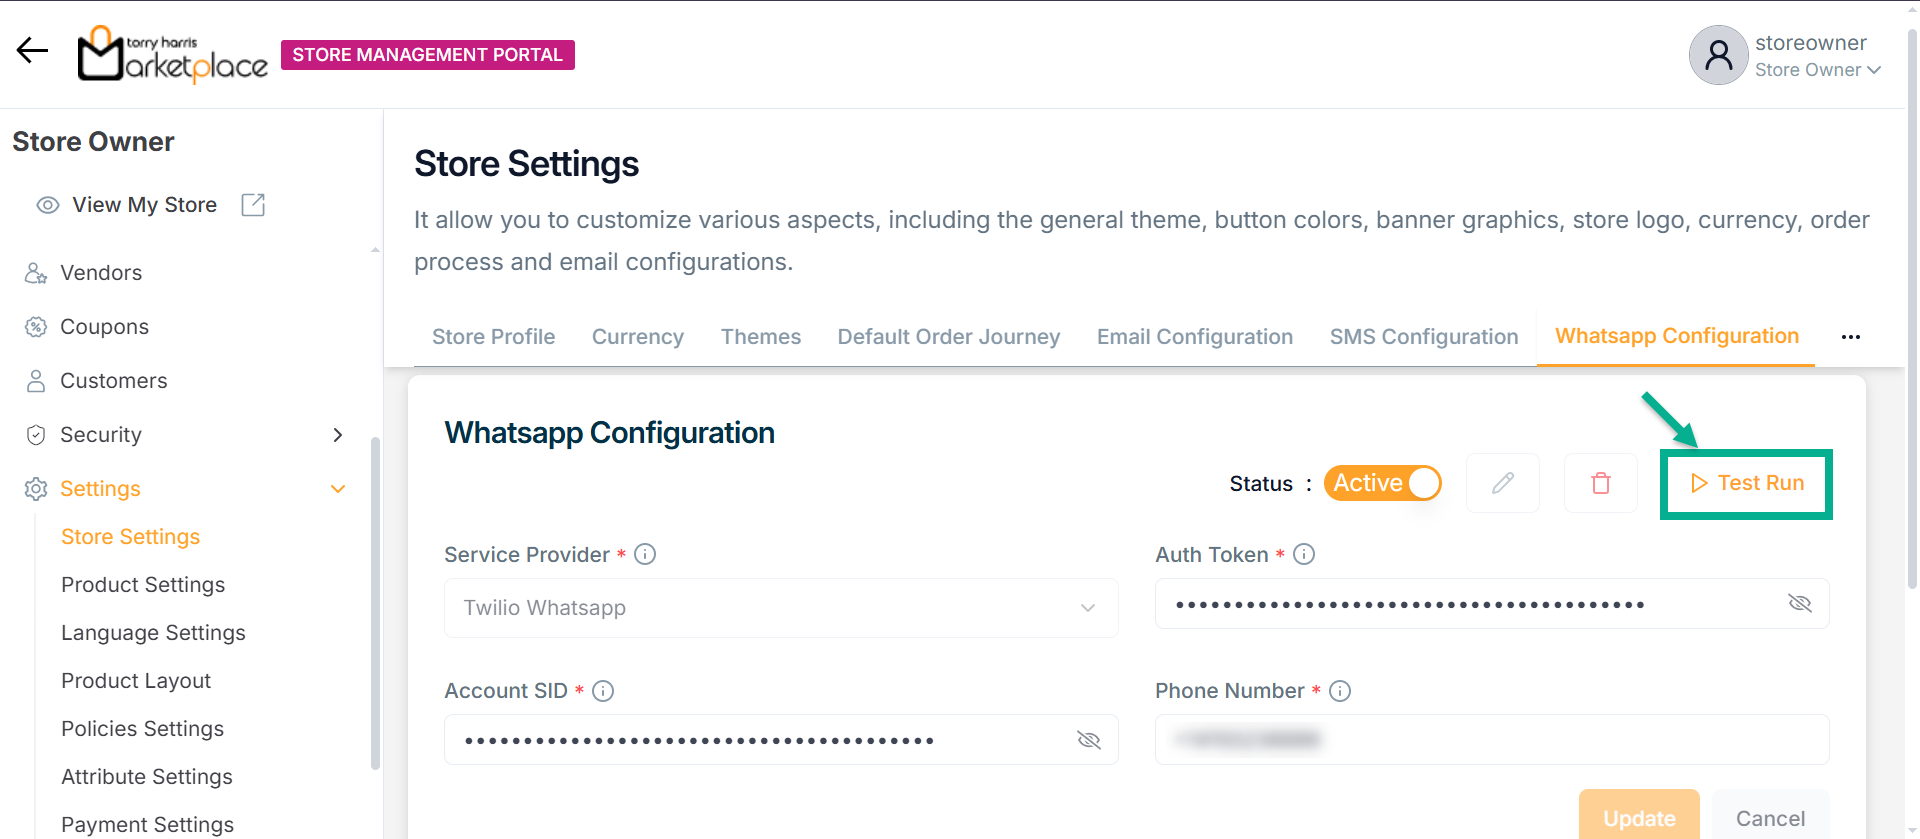
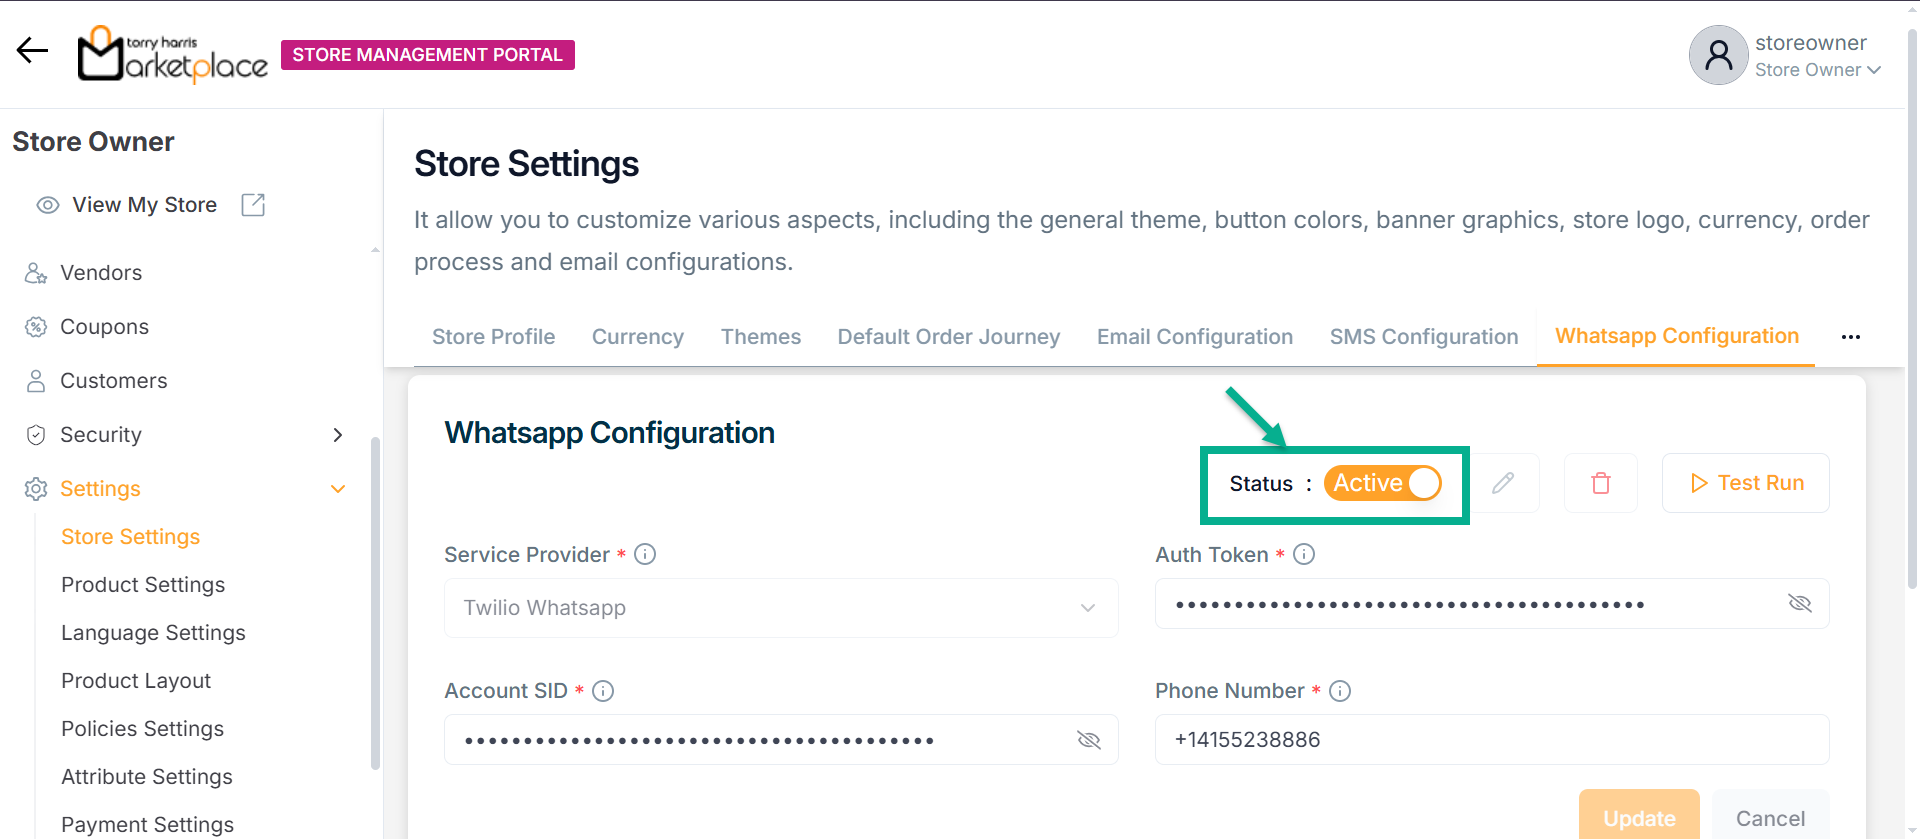
Activating Whatsapp Configuration
- Enable the Status toggle button to Activate the Whatsapp Configuration.
Upon activating, the confirmation message appears as shown below.
Test Run for Whatsapp Configuration
Use the Test Run option to verify the Whatsapp configuration by sending a test message to a valid phone number with the appropriate country code.
- Click Test Run.
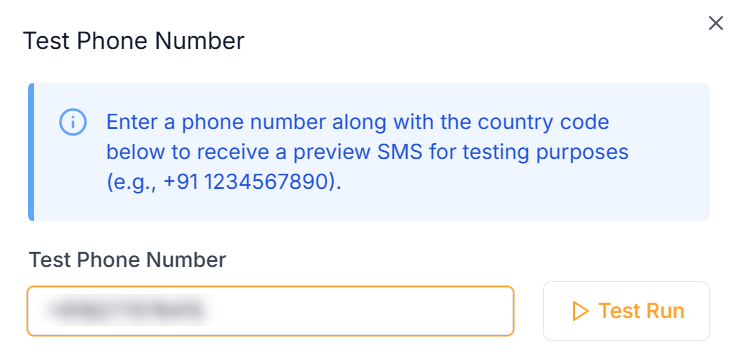
The Test Phone Number dialogue box appears as shown below.
-
Enter the Test Phone Number with the appropriate country code.
-
Click Test Run.
Upon running, the confirmation message appears as shown below.

After performing the test run, an message should be successfully delivered to the specified Whatsapp mobile number.
Deactivating Whatsapp Configuration
- Disable the Status toggle button to Deactivate the Whatsapp Configuration.
The Whatsapp Configuration Deactivation dialogue box appears as shown below.
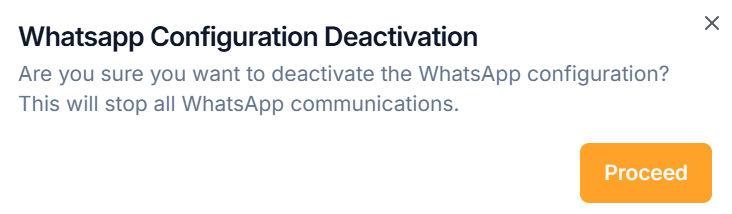
- Click Proceed.
Upon proceeding, the confirmation message appears as shown below.
Updating Whatsapp Configuration
- Click Edit.
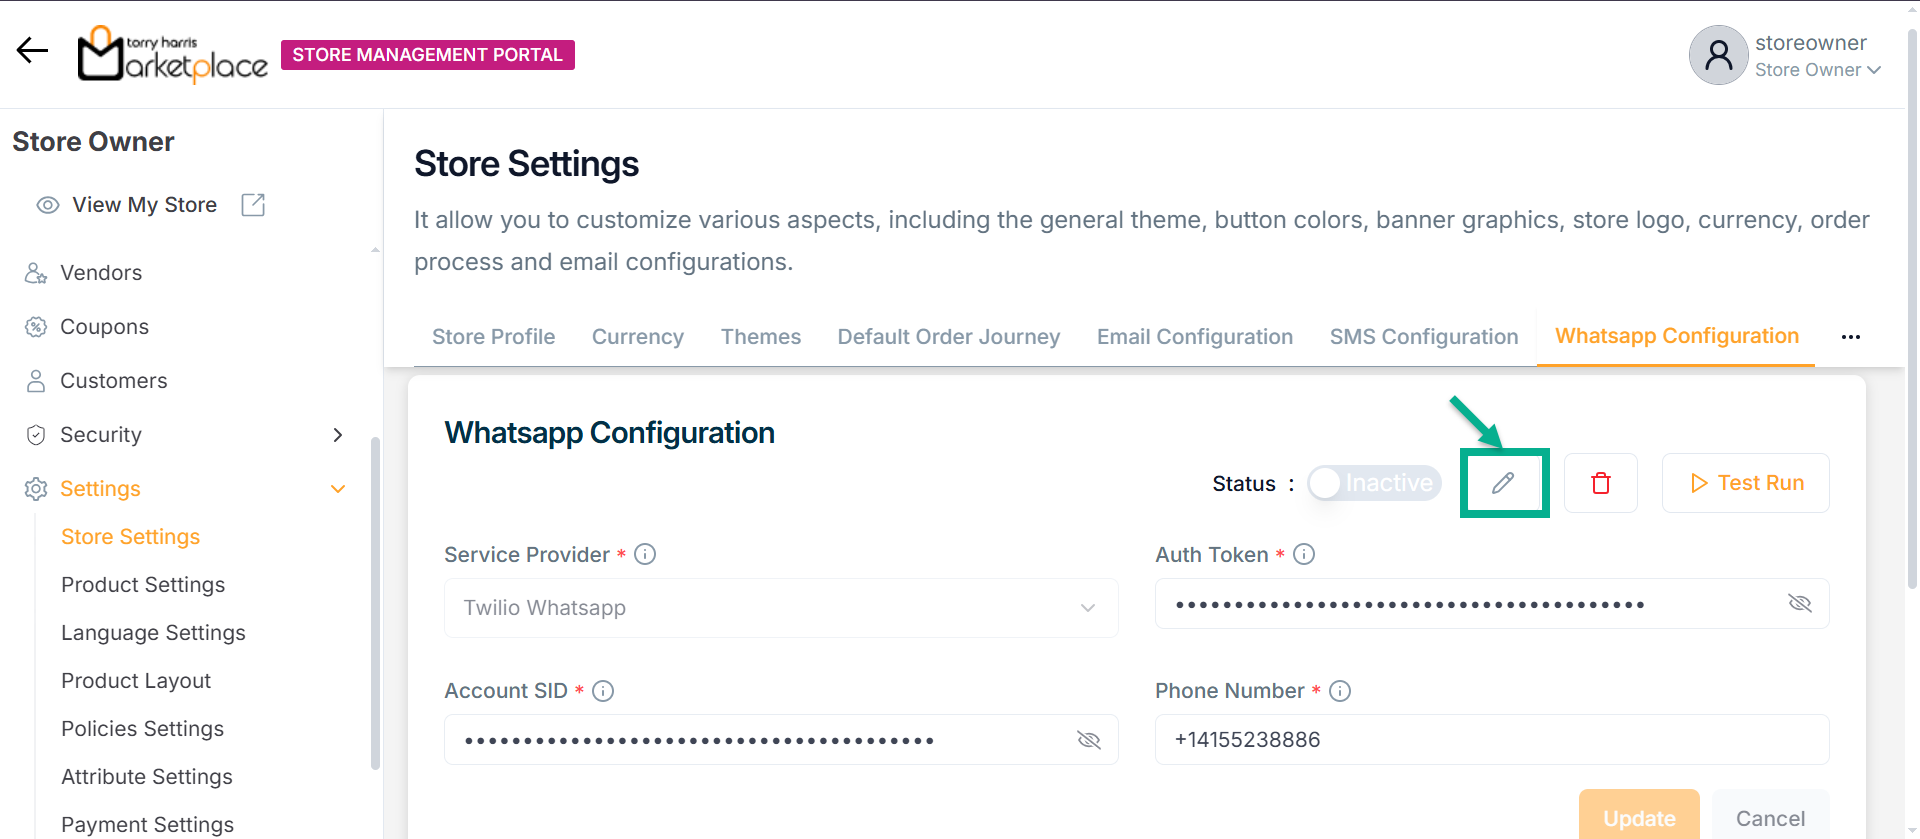
The Whatsapp Configuration screen appears as shown below.
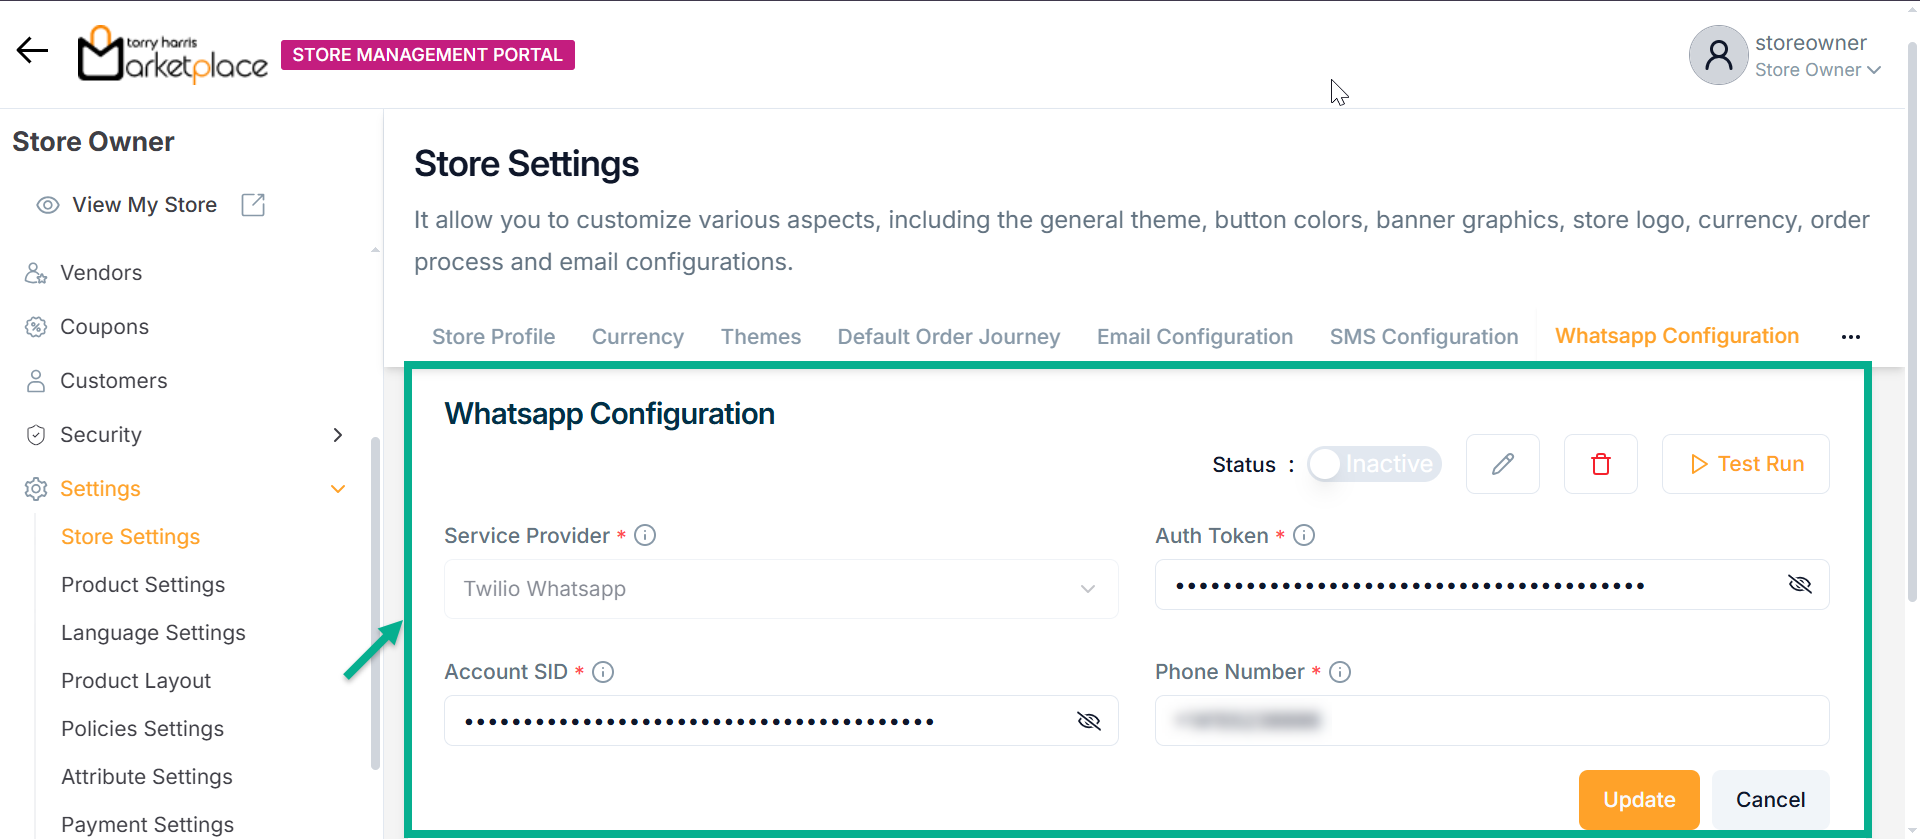
-
Update the fields if needed.
-
Click Update.
Upon updating, the confirmation message appears as shown below.
Deleting Whatsapp Configuration
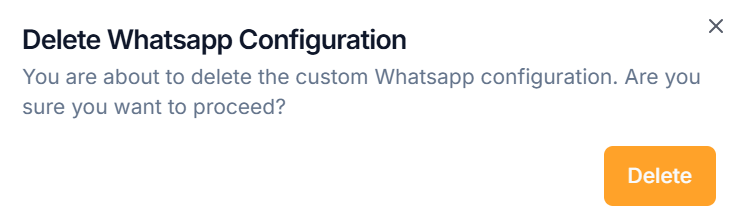
- Click Delete.
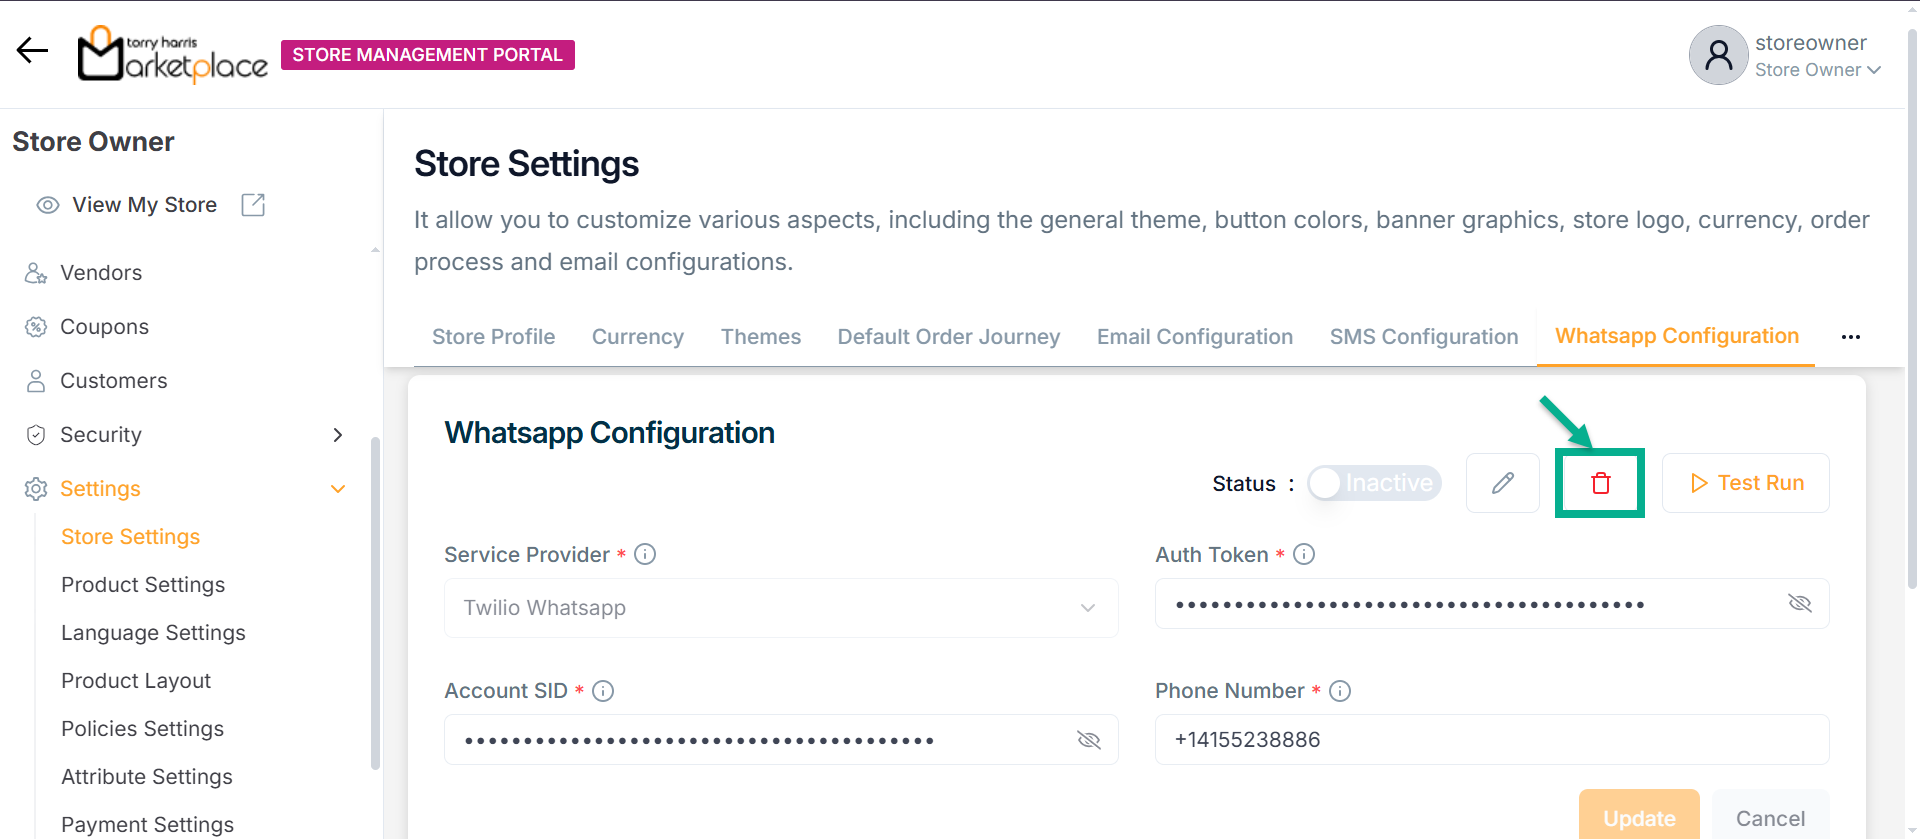
The Delete Whatsapp Configuration dialogue box appears as shown below.
Upon deactivating, the confirmation message appears as shown below.
AI Configuration
AI Configuration enables integration and management of AI-powered features like review summarization, image generation, and product descriptions to automate and enhance store content.
- Click on AI Configuration tab.
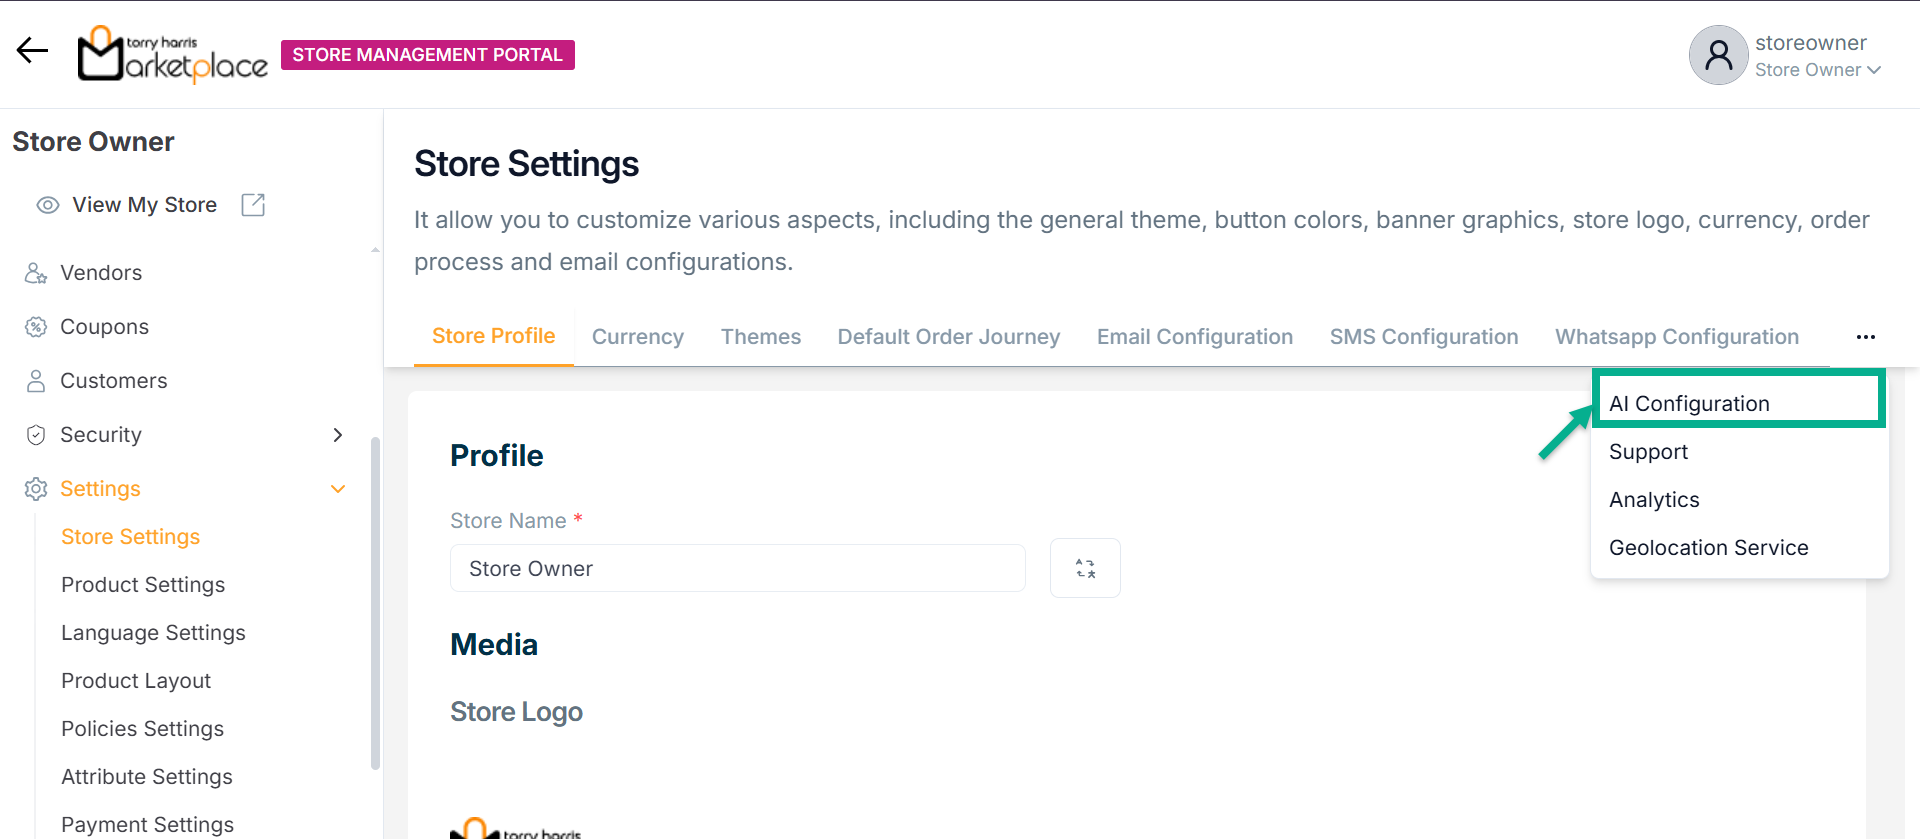
The screen appears as shown below.
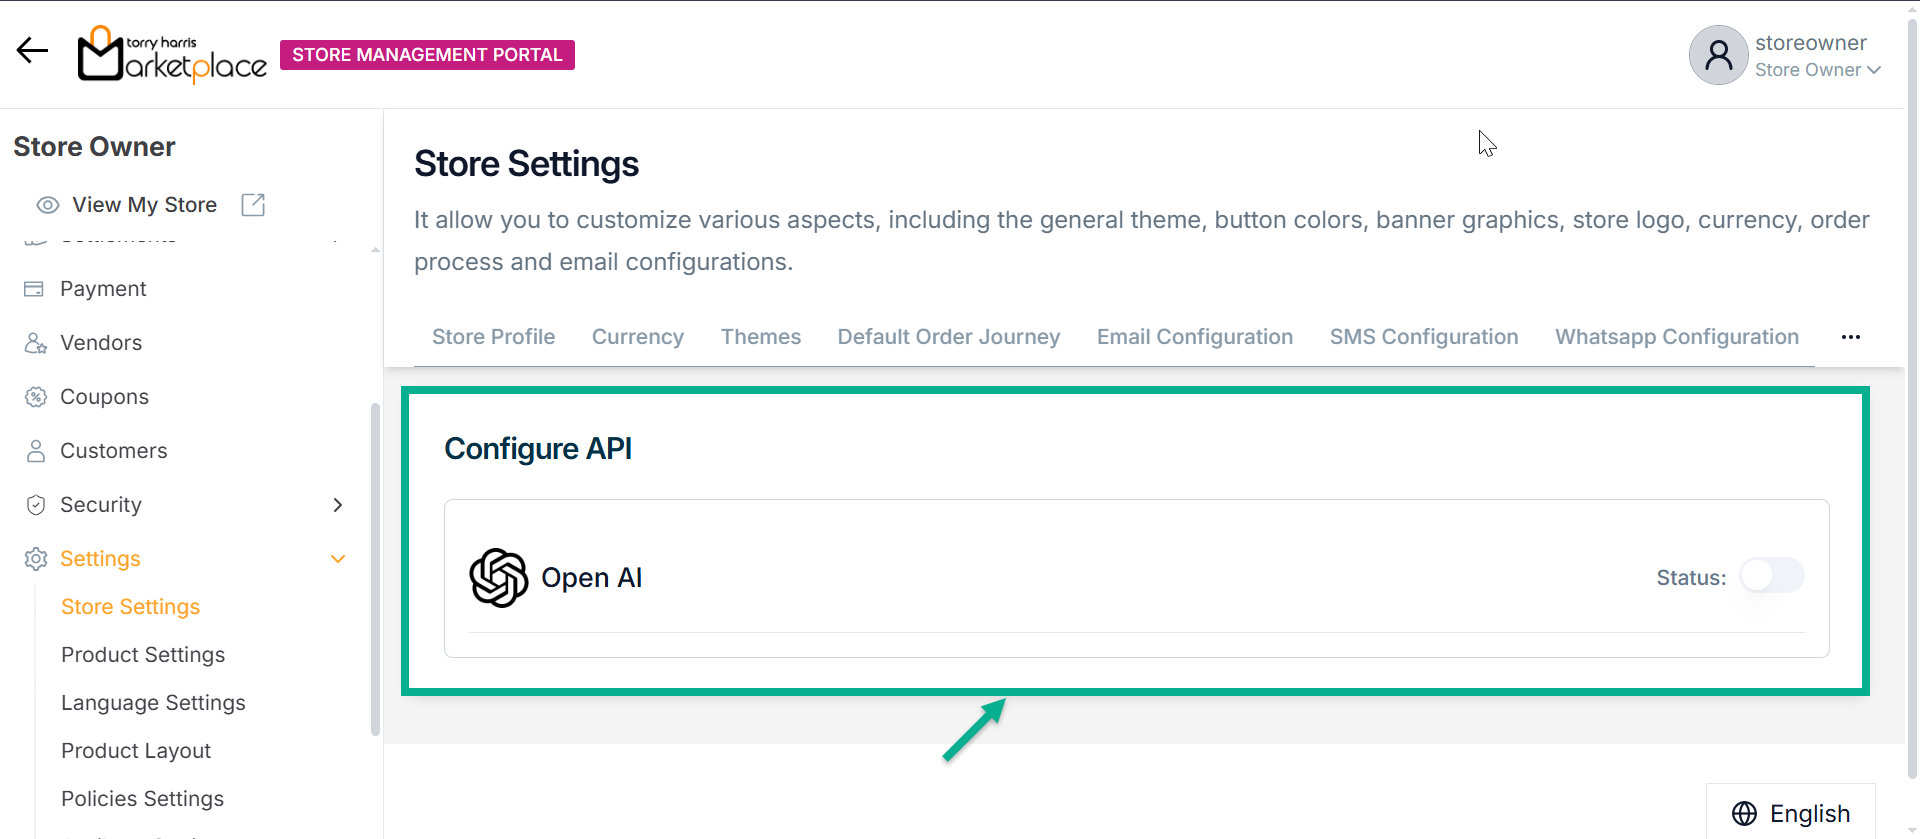
Configuring AIP
- Click Open AI.
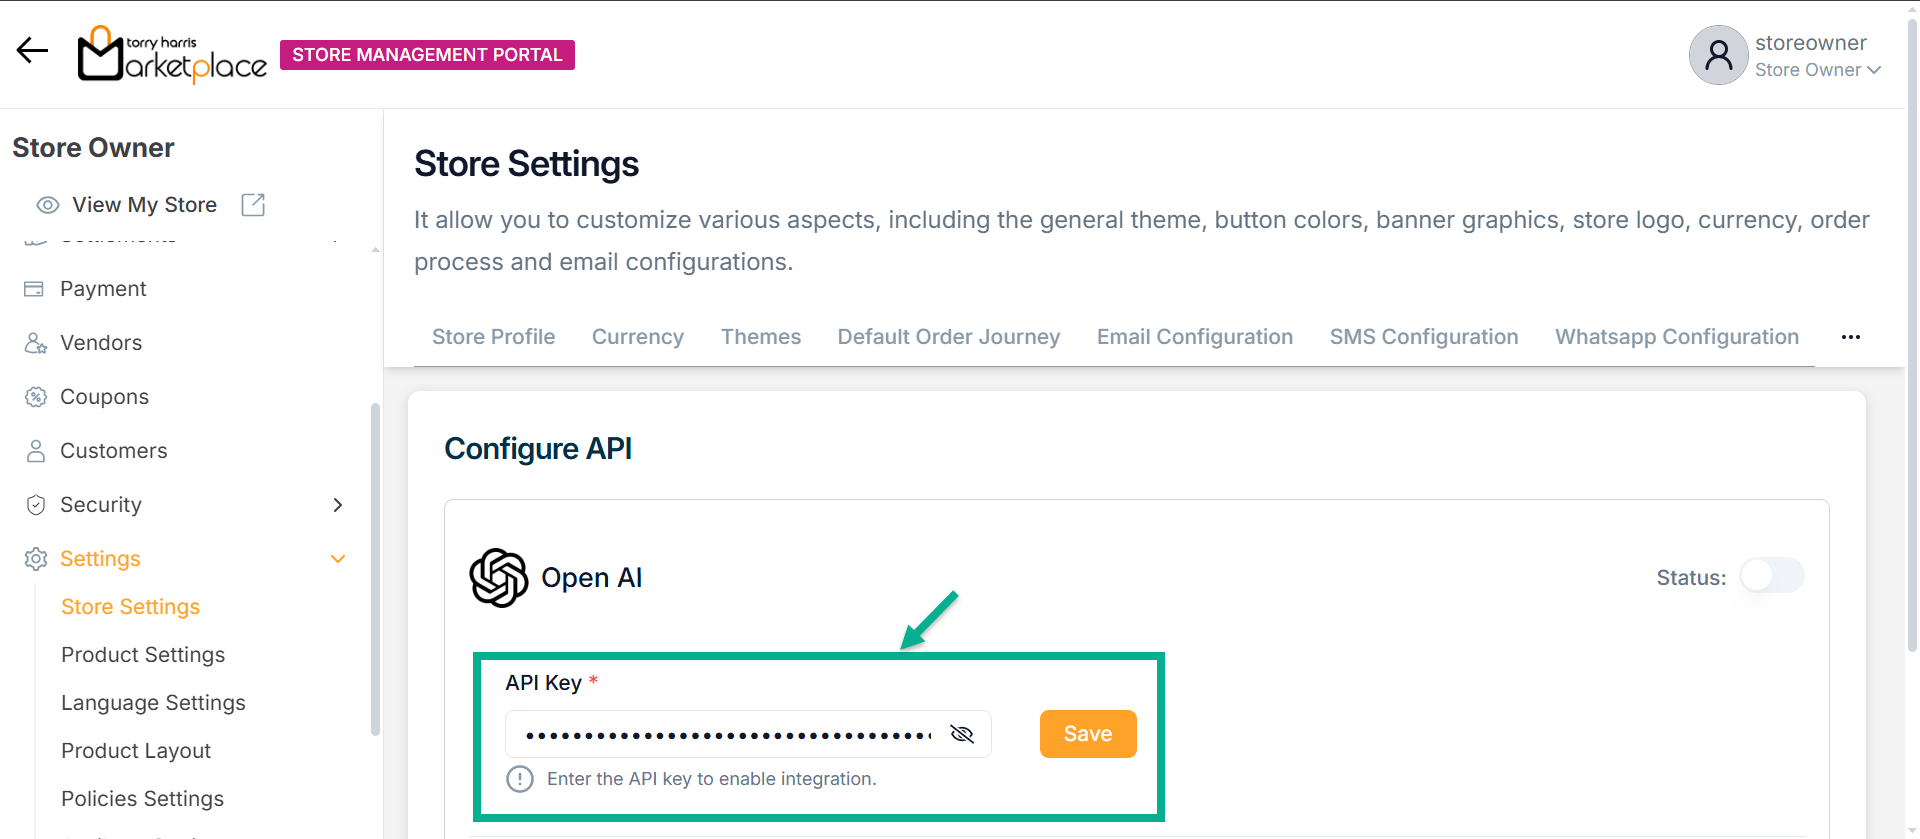
-
Enter API Key.
-
Click Save.
Upon saving, the confirmation message appears as shown below

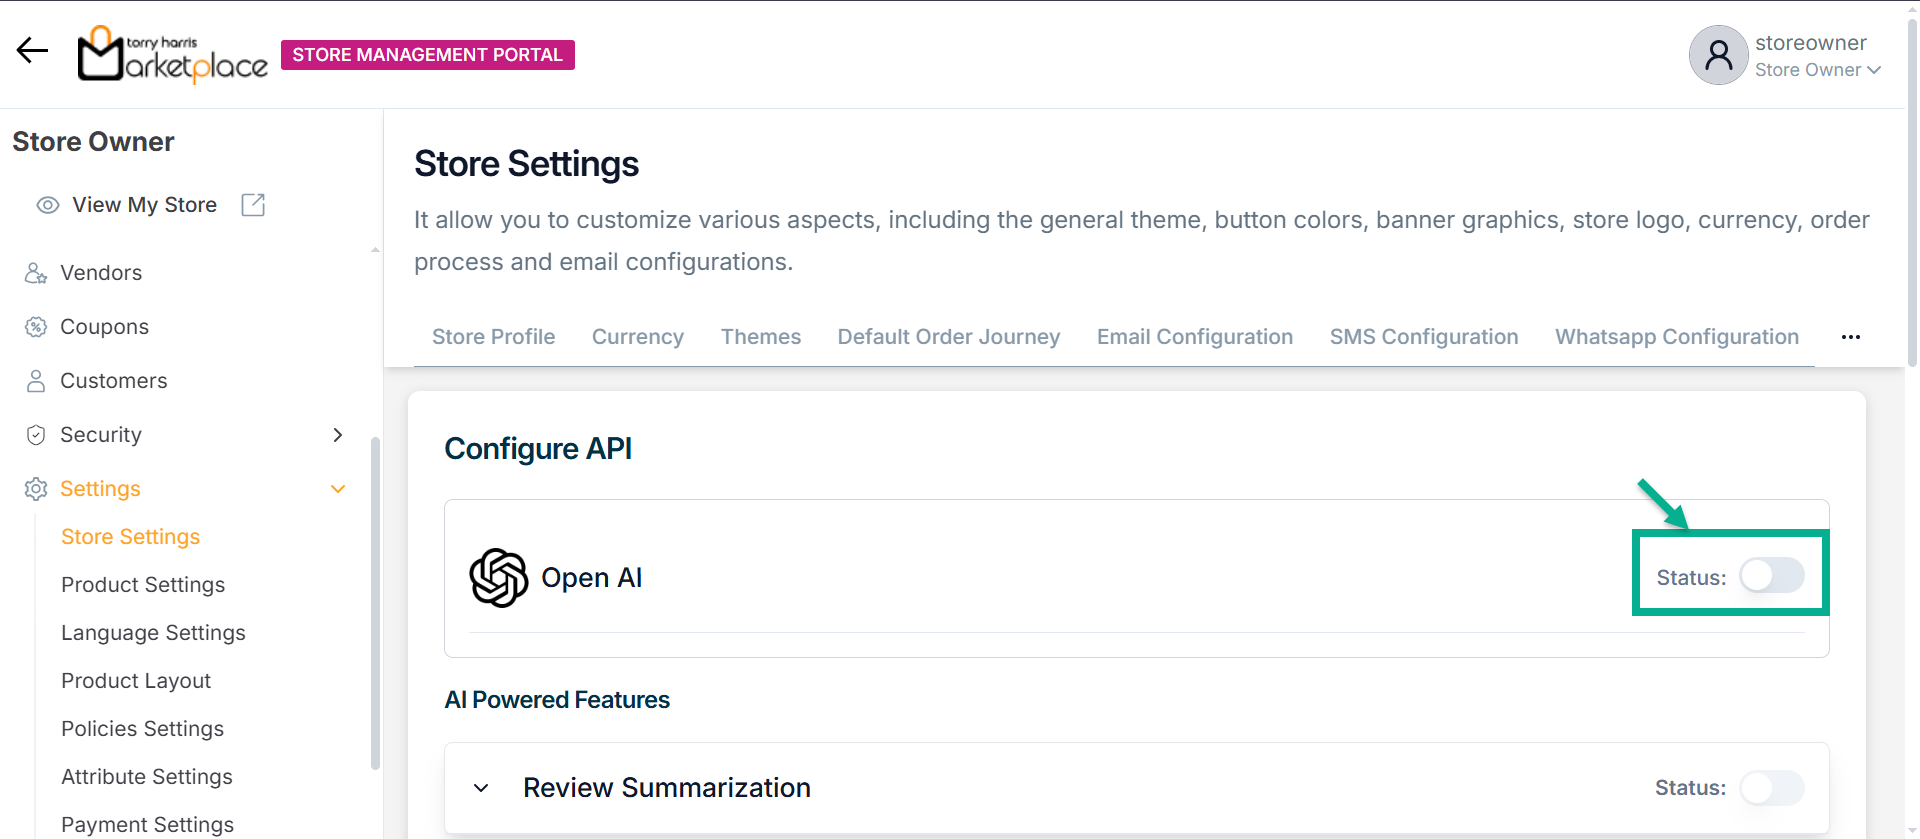
Activating AI Configuration
- Enable the Status toggle button to Activate the AI Configuration.
The Confirm API Activation dialogue box appears as shown below
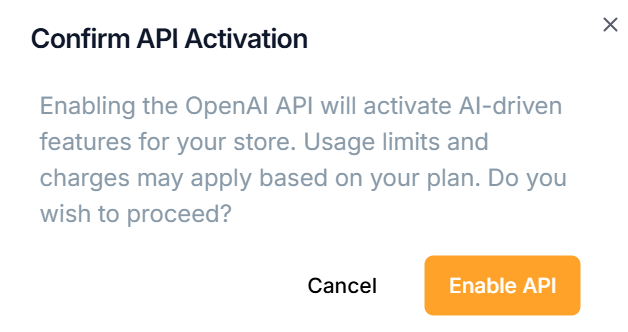
- Click Enable API button.
On enabling, the confirmation message appears as shown below

Enabling Review Summarization
Summarizes customer reviews using AI.
- Enable to Status toggle button to Activate the Review Summarization.
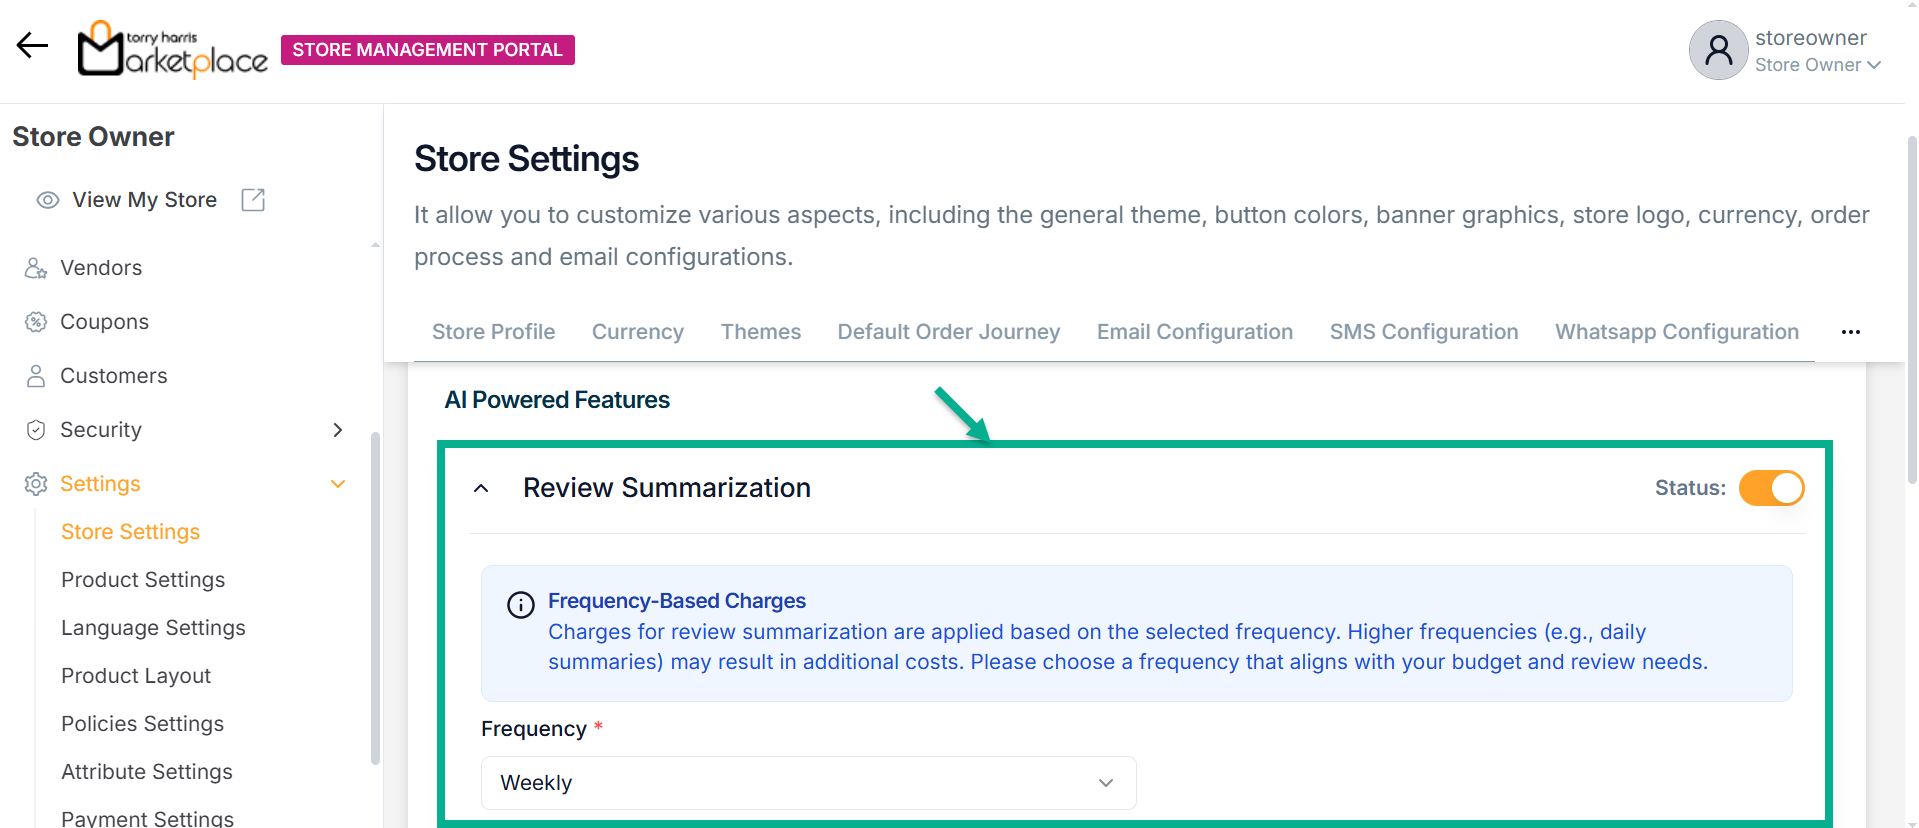
- Select the Frequency from the dropdown.
On selecting, the confirmation message appears as shown below
Enabling AI Image Generator
Generates product images using AI.
- Enable to Status toggle button to Activate the AI Image Generator.
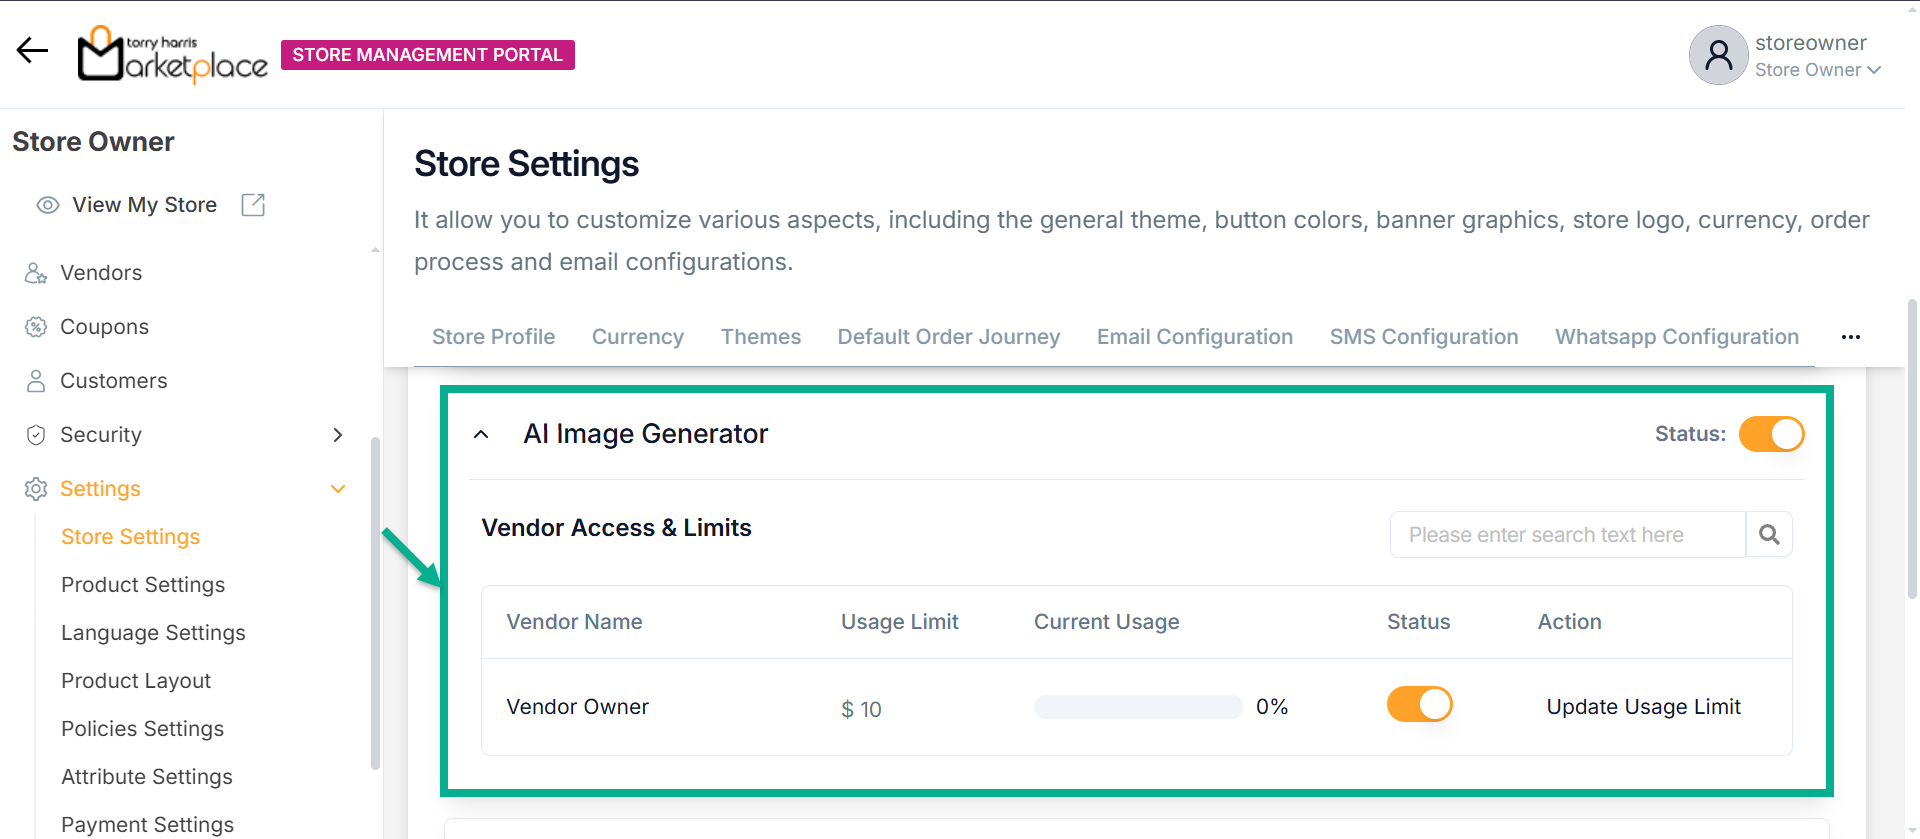
- Enable the status toggle to Activate the AI Image Generator for the selected vendor.
On activating, the confirmation message appears as shown below

Enabling AI Product Description Generator
Creates product descriptions automatically.
- Enable to Status toggle button to Activate the AI Product Description Generator.

- Enable the status toggle to Activate the AI Product Description Generator for the selected vendor.
On activating, the confirmation message appears as shown below
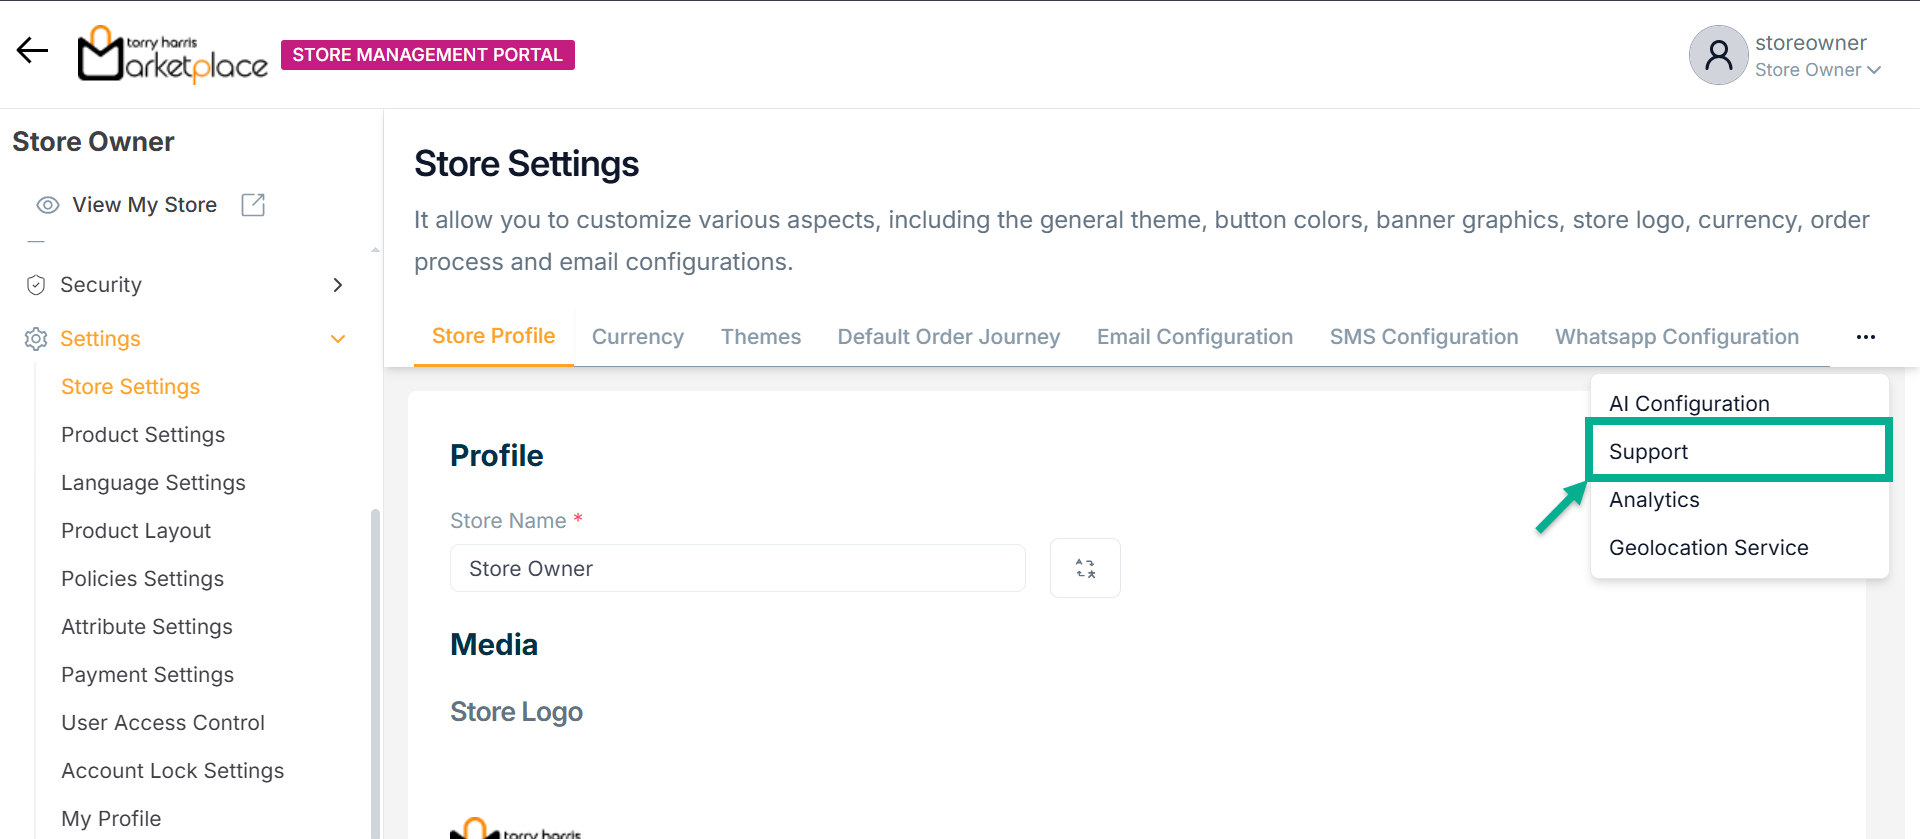
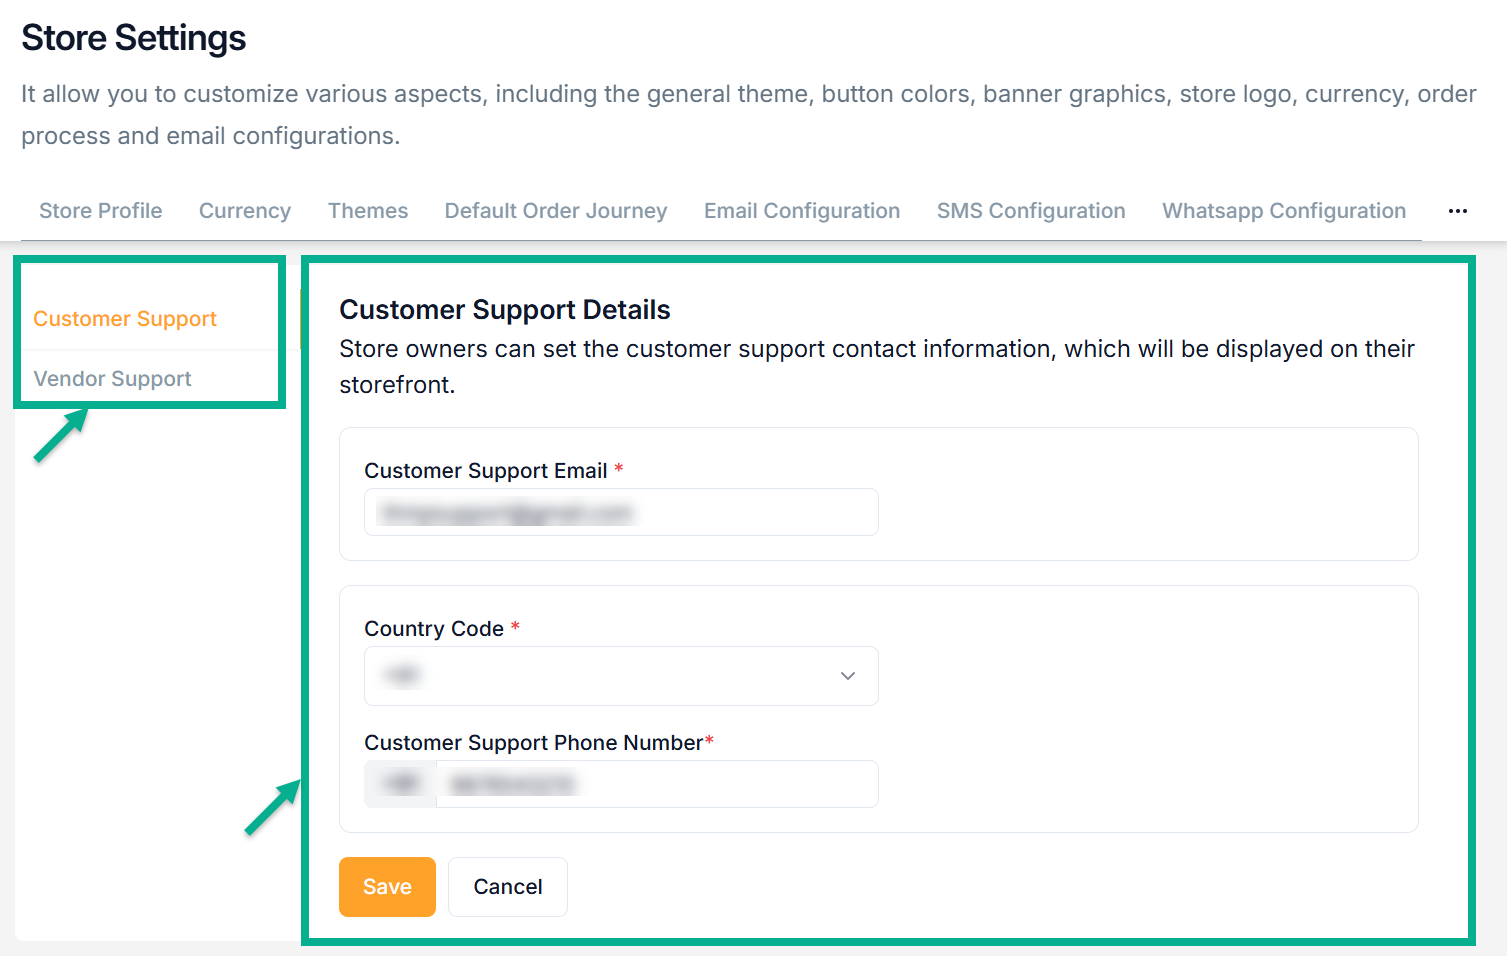
Support
Store owners can configure separate support contact details for both customers and vendors.
- Click the Support tab.
Customer Support details are displayed on the storefront and are visible to end-users.
Vendor Support details are visible only to vendors for issue resolution.
The screen appears as shown below:
-
Update the required details.
-
Click Save.
Upon saving, the confirmation message appears shown as below.

The same steps apply for configuring Vendor Support details.
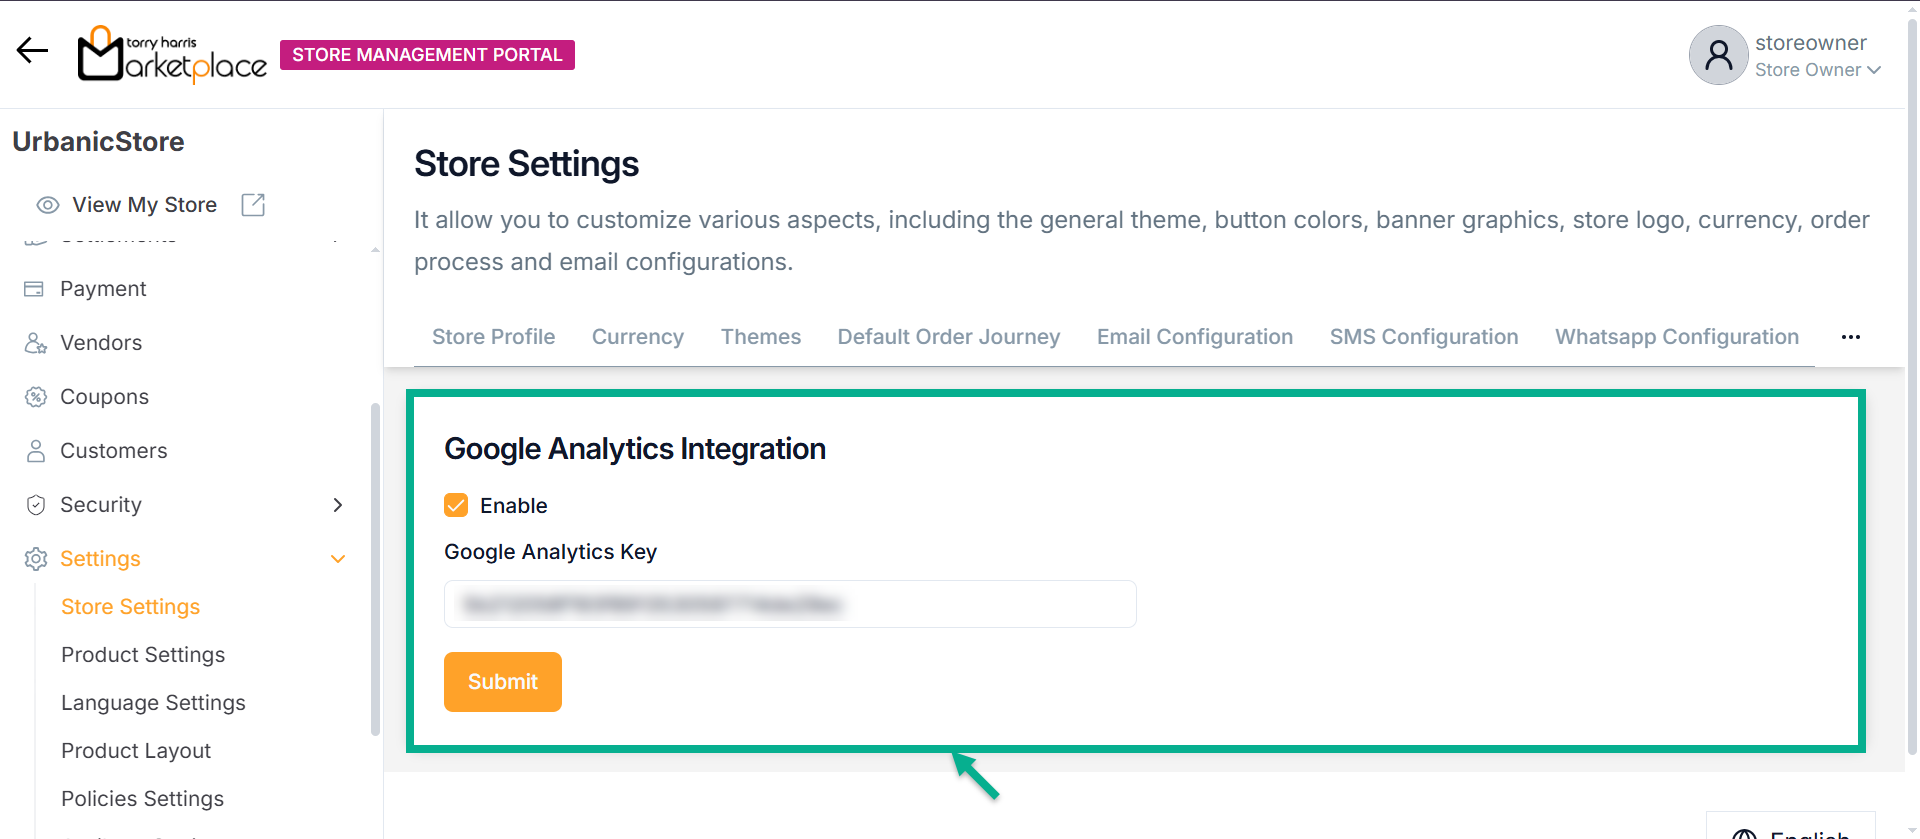
Analytics
Store owners can enable Google Analytics to track and analyze website traffic.
- Click Analytics tab.
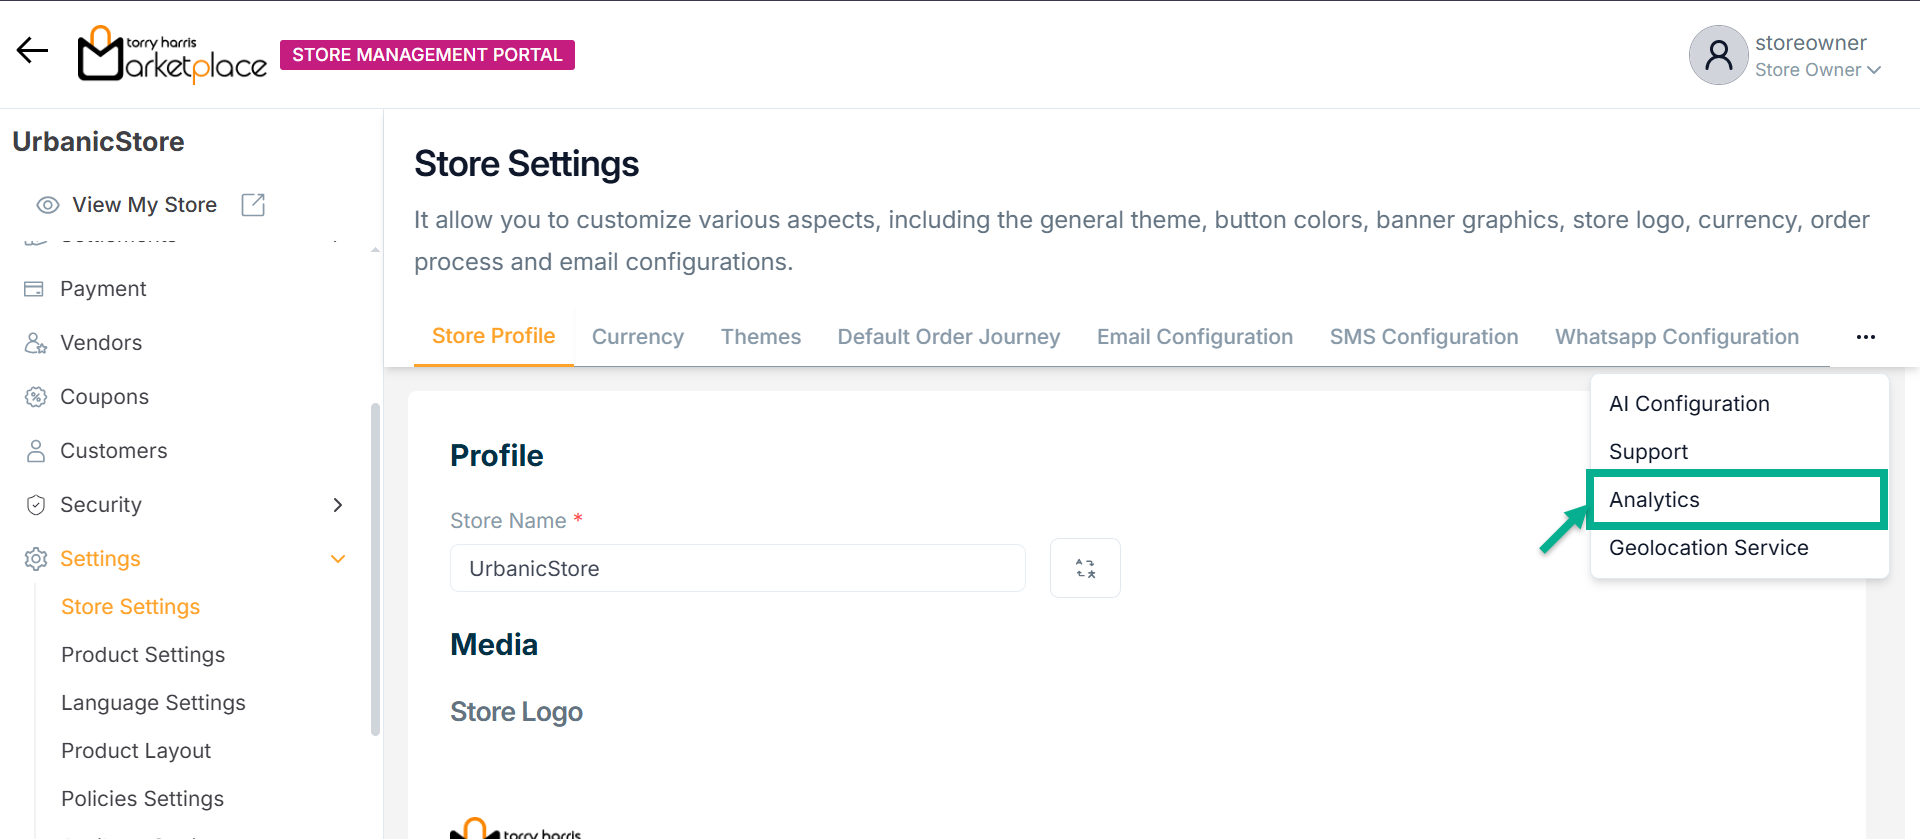
The screen appears as ahown below.
-
Enable the toggle to enter google tracking ID.
-
Enter Google Analytics Key.
-
Click Submit.
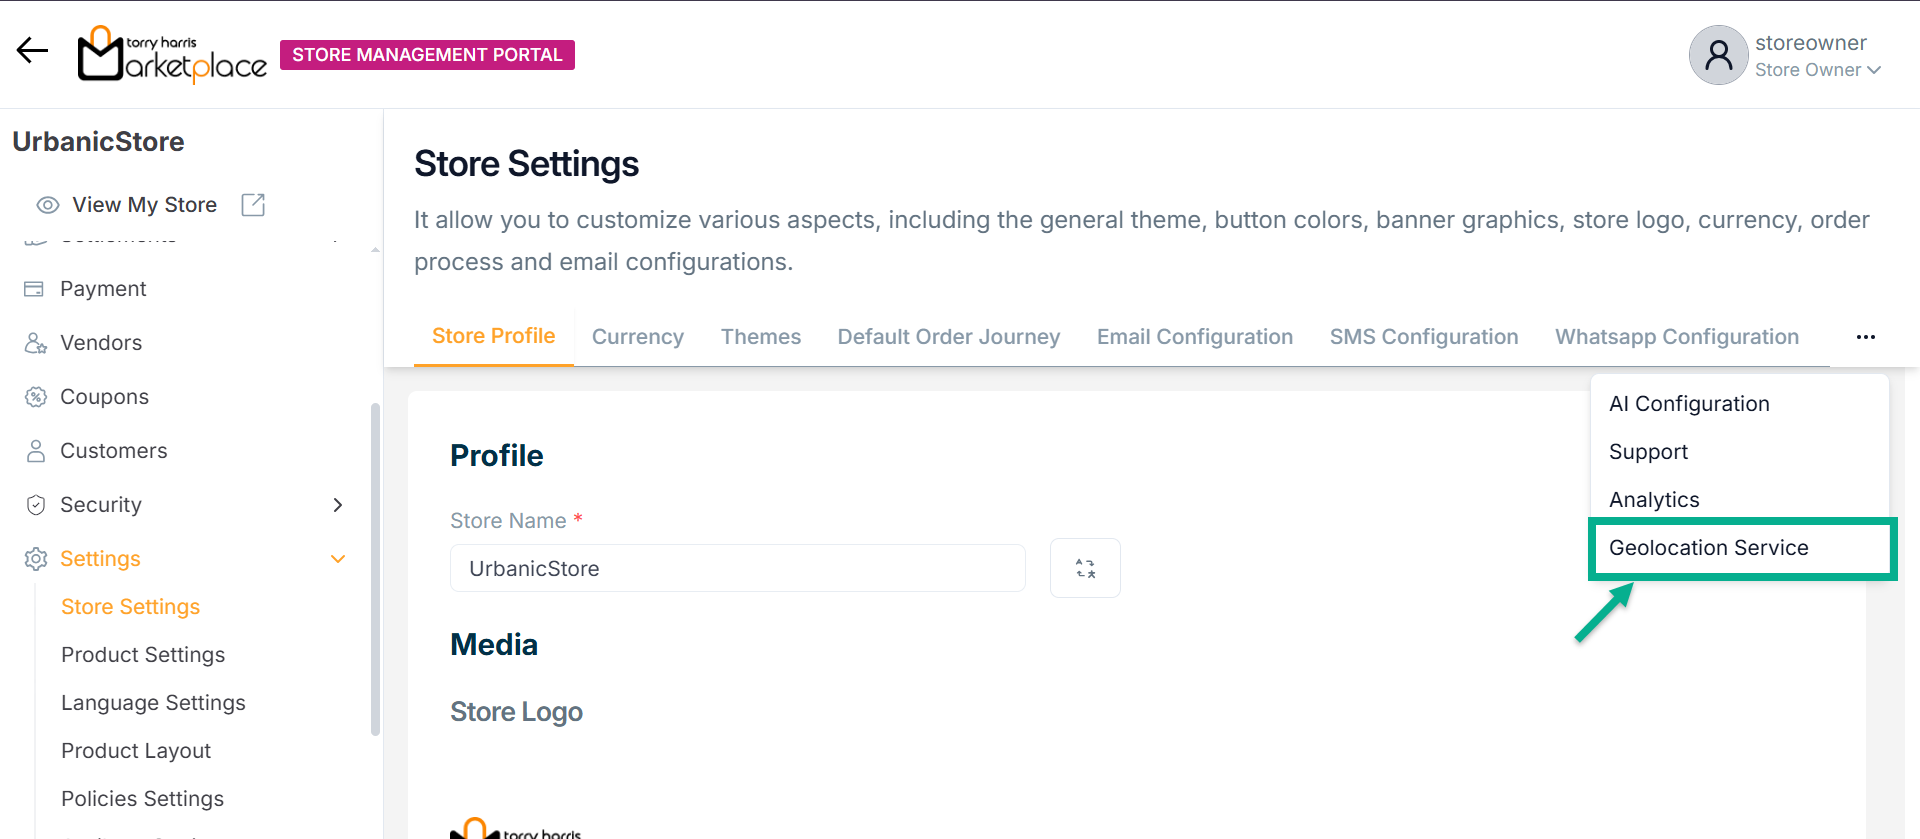
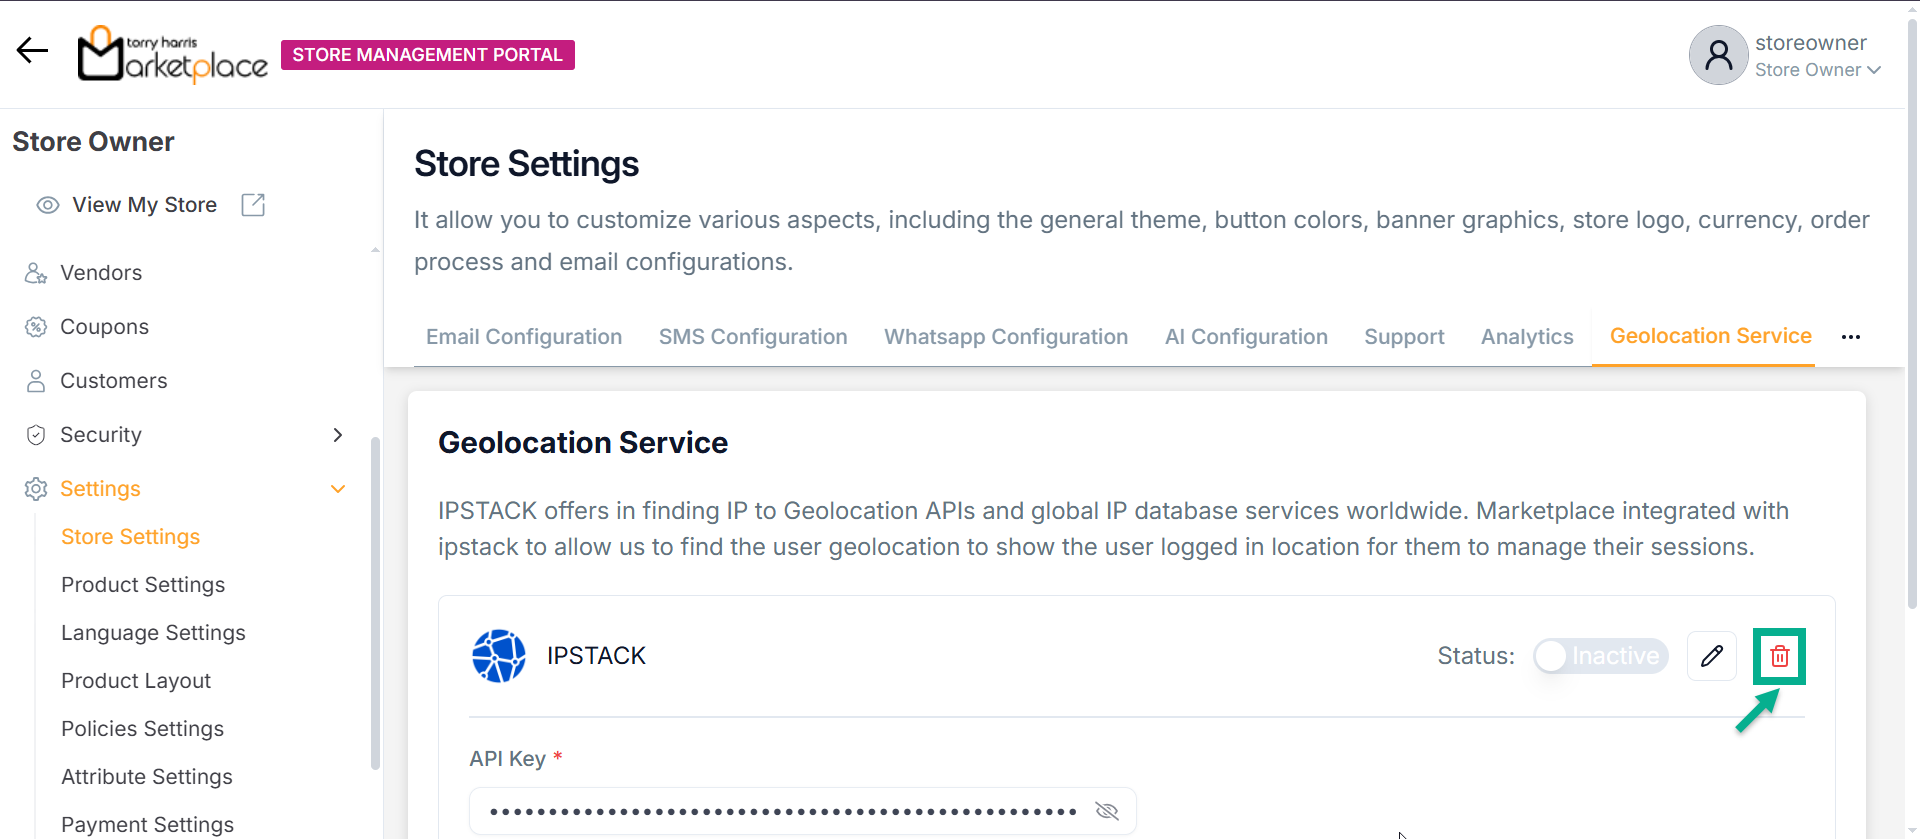
Geolocation Service
The Marketplace supports geolocation tracking using the IPSTACK service. This allows the system to detect a user's IP address and determine their geographical location.
IPSTACK offers APIs and a global IP database to identify the user's login location. This helps in managing user sessions more securely and accurately.
- Click Geolocation Service tab.
Configuring Geolocation Service
- Enter API Key.
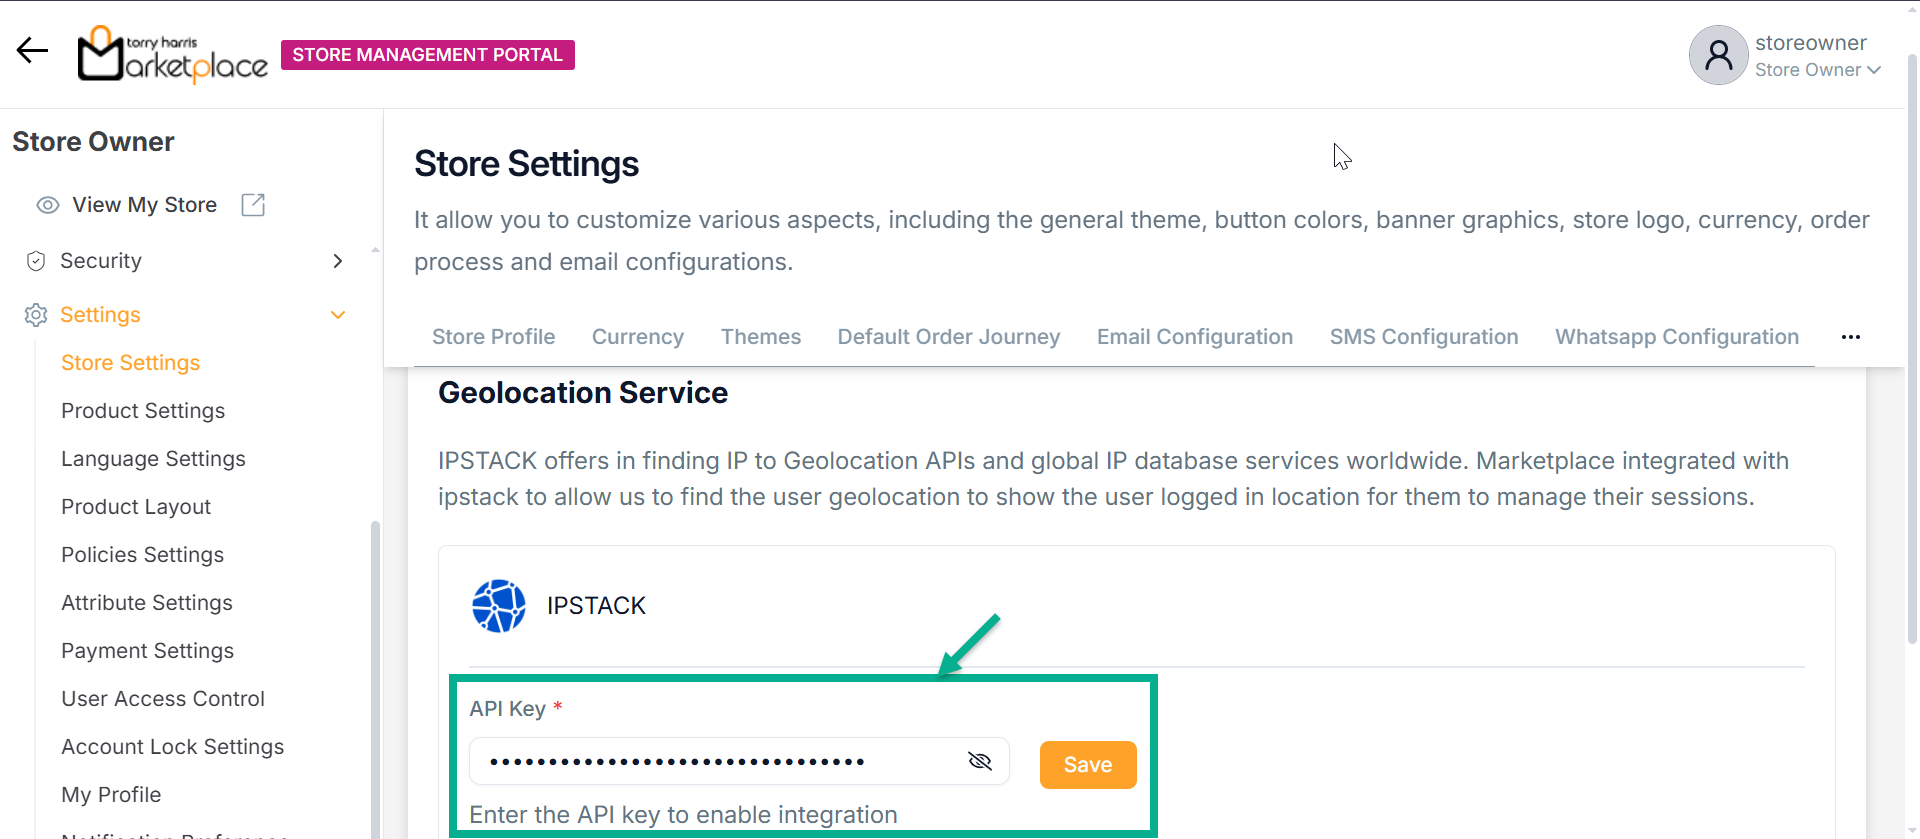
- Click Save.
On saving, the confirmation message appears as shown below.

Activating Geolocation Service
- Enable the Status toggle button to Activate the Geolocation Service.
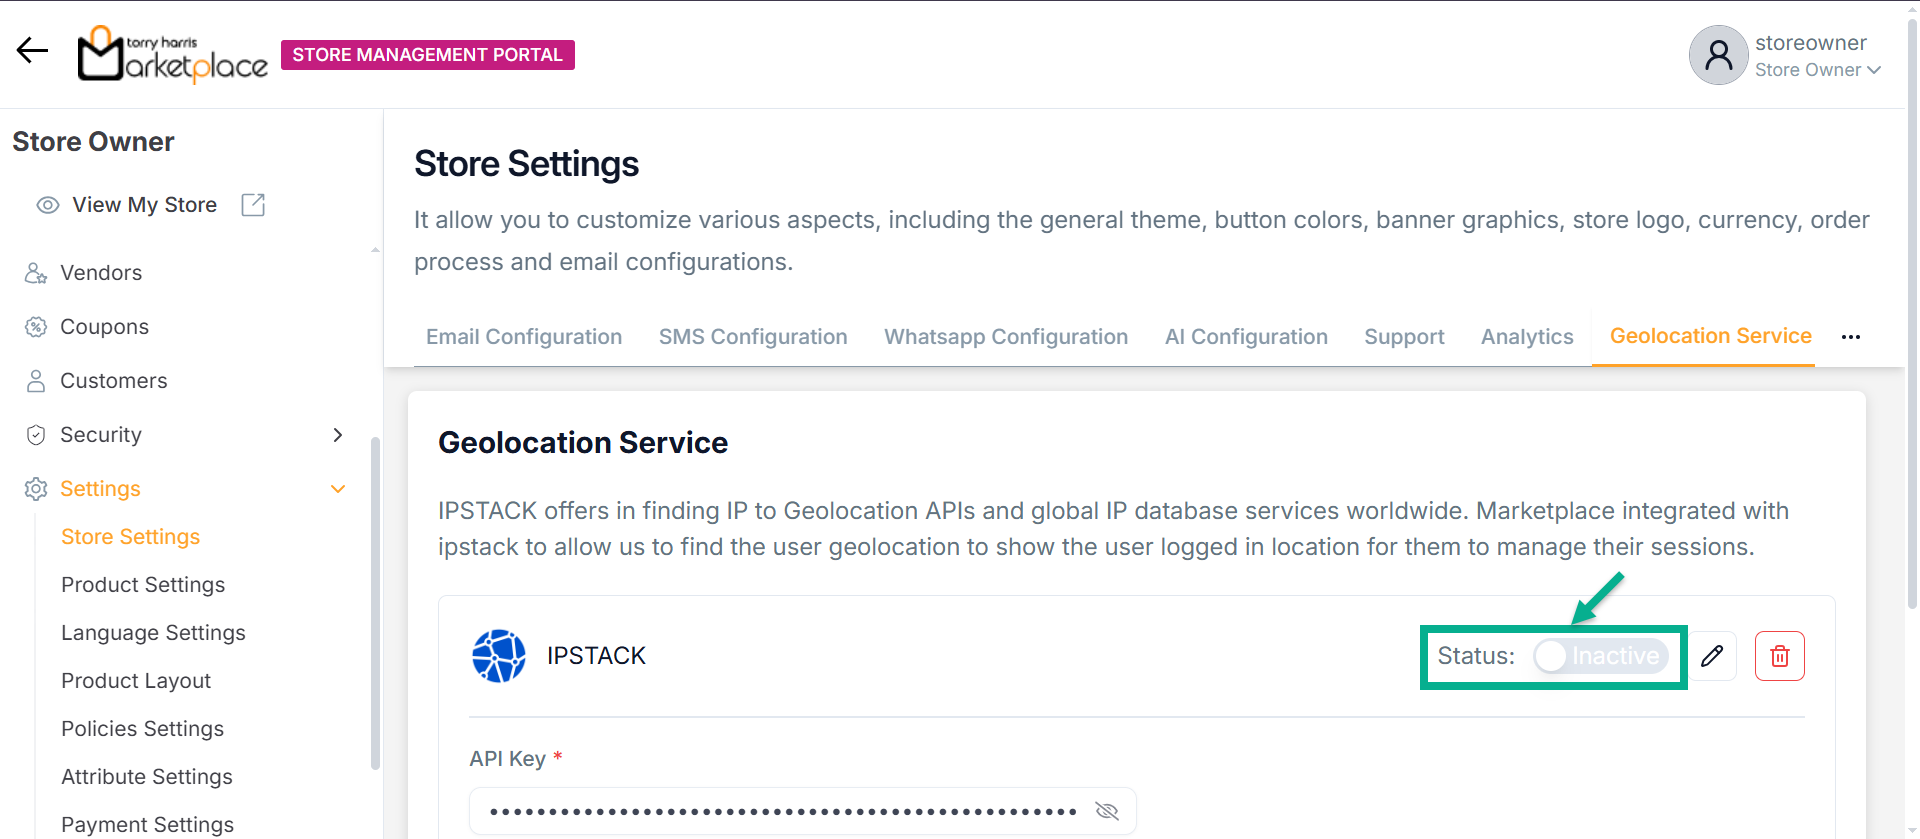
Upon activating, the confirmation message appears as shown below.

Updating Geolocation Service
- Click Edit icon.
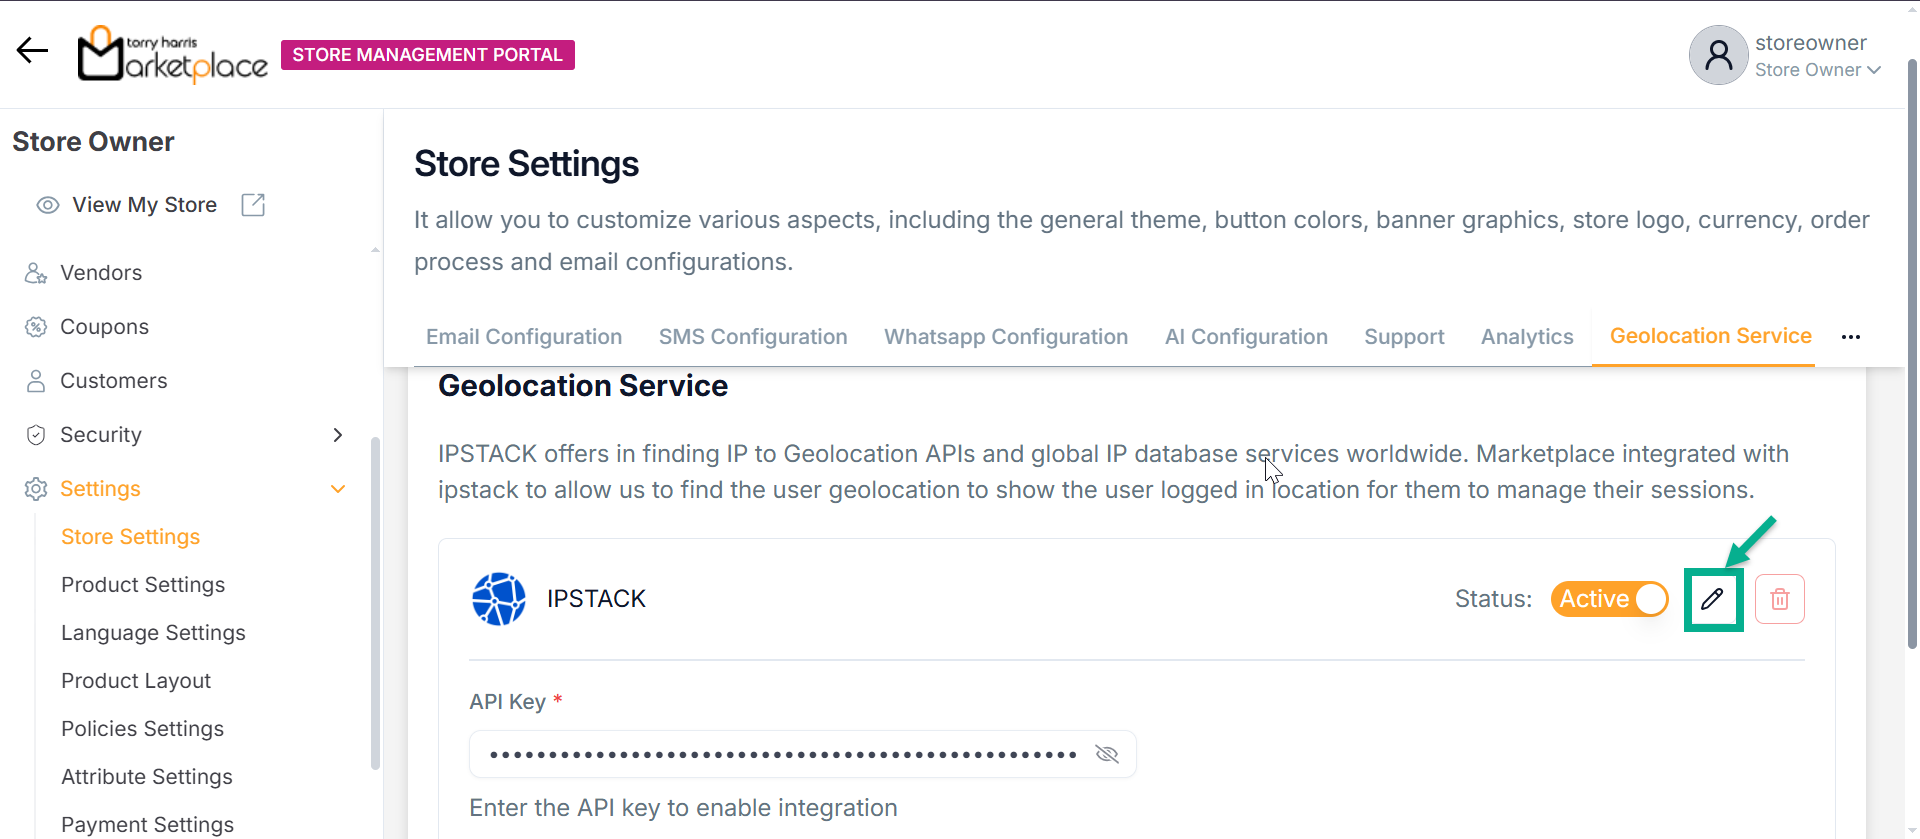
- Update the API Key.
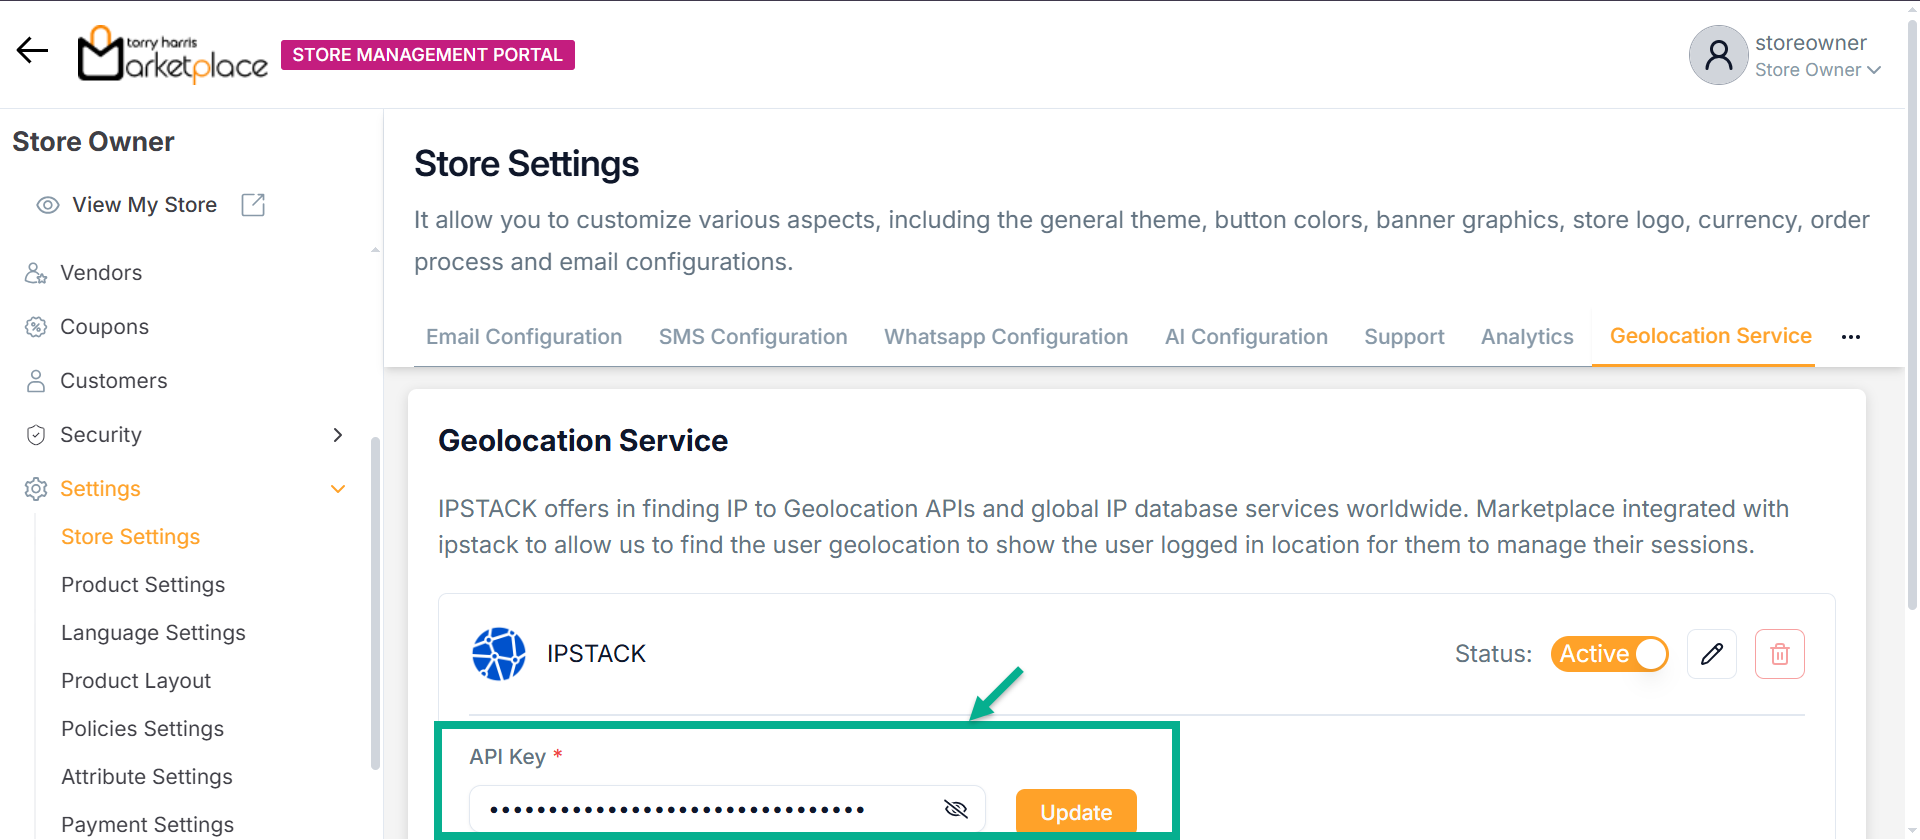
- Click Update.
On updating, the confirmation message appears as shown below.

Deleting Geolocation Service
- Click Delete icon.
The Delete API Configuration dailogue box appears as shown below
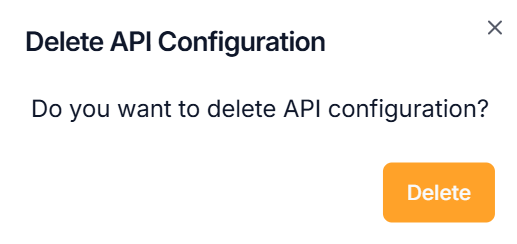
- Click Delete.
On deleting, the confirmation message appears as shown below.